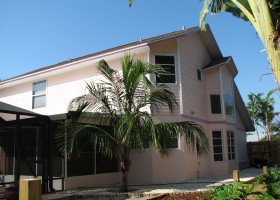
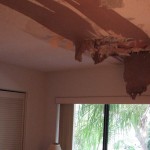
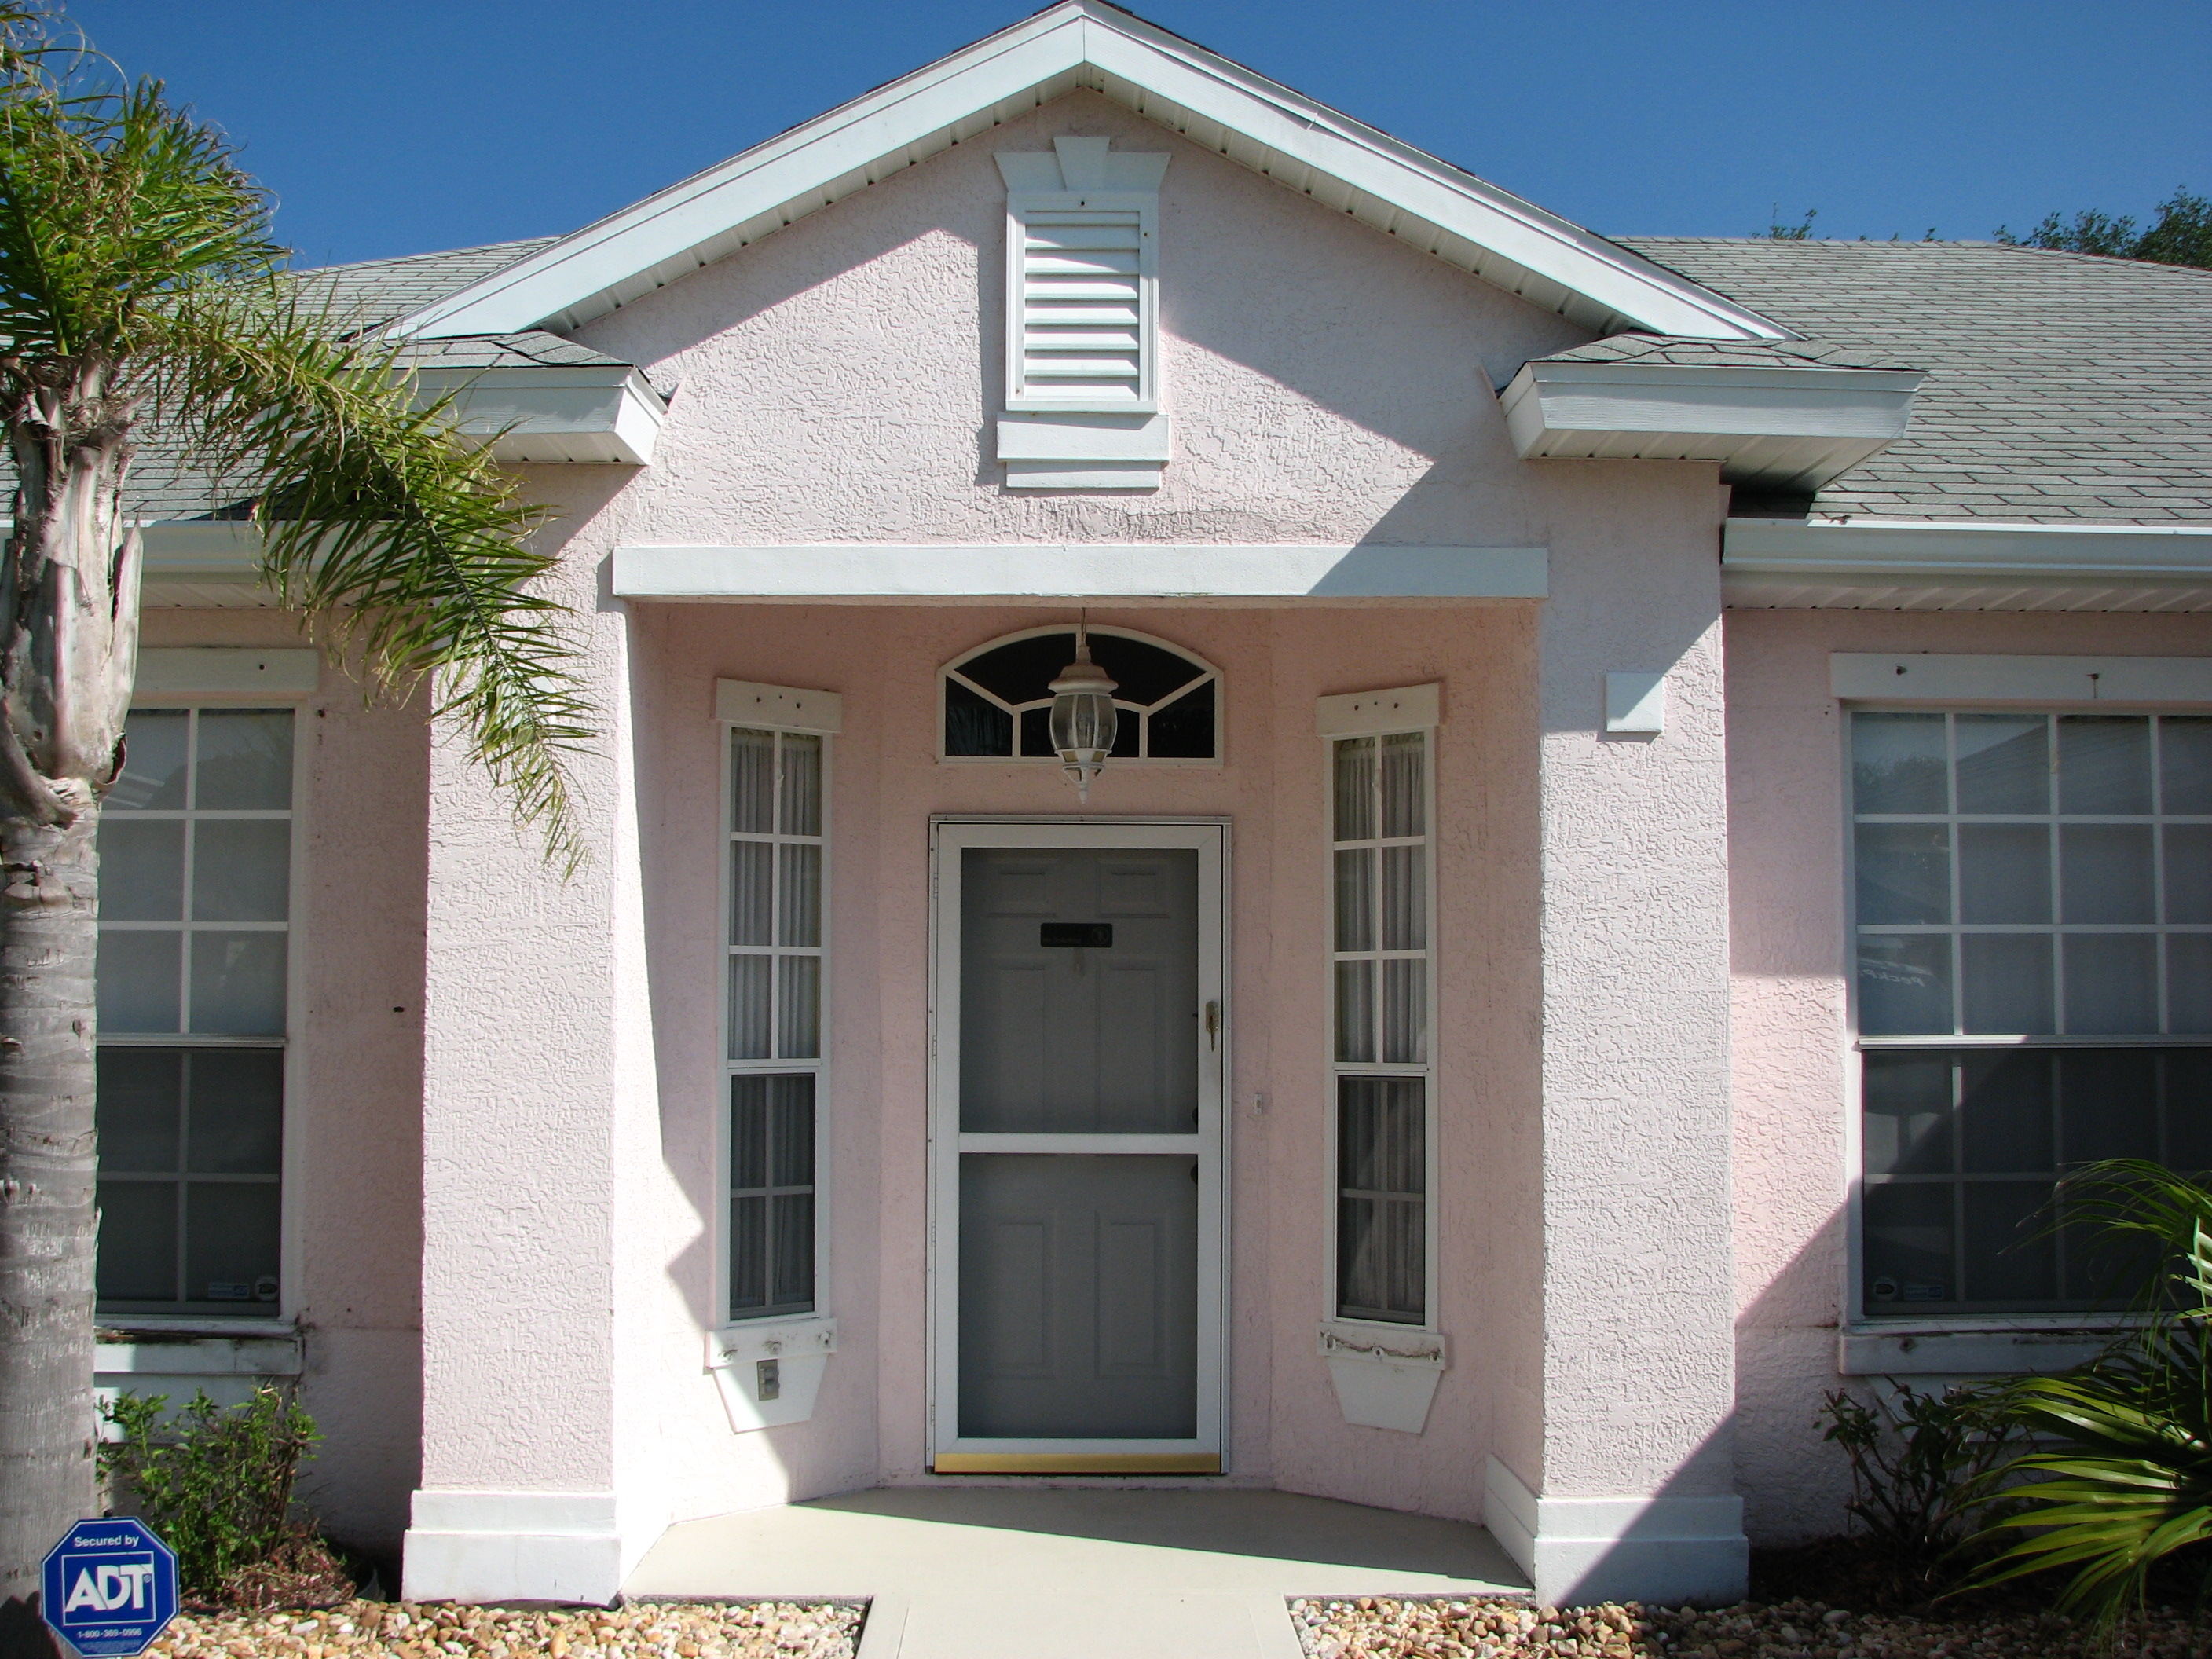
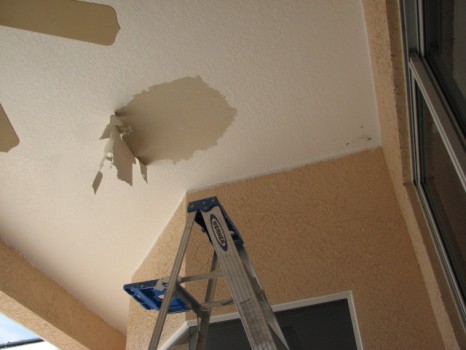
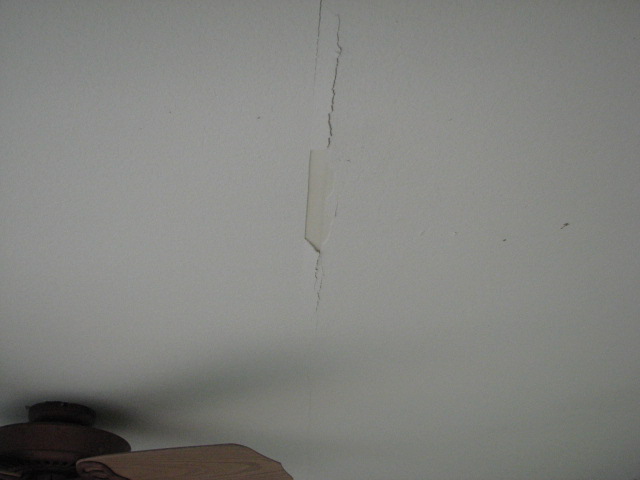
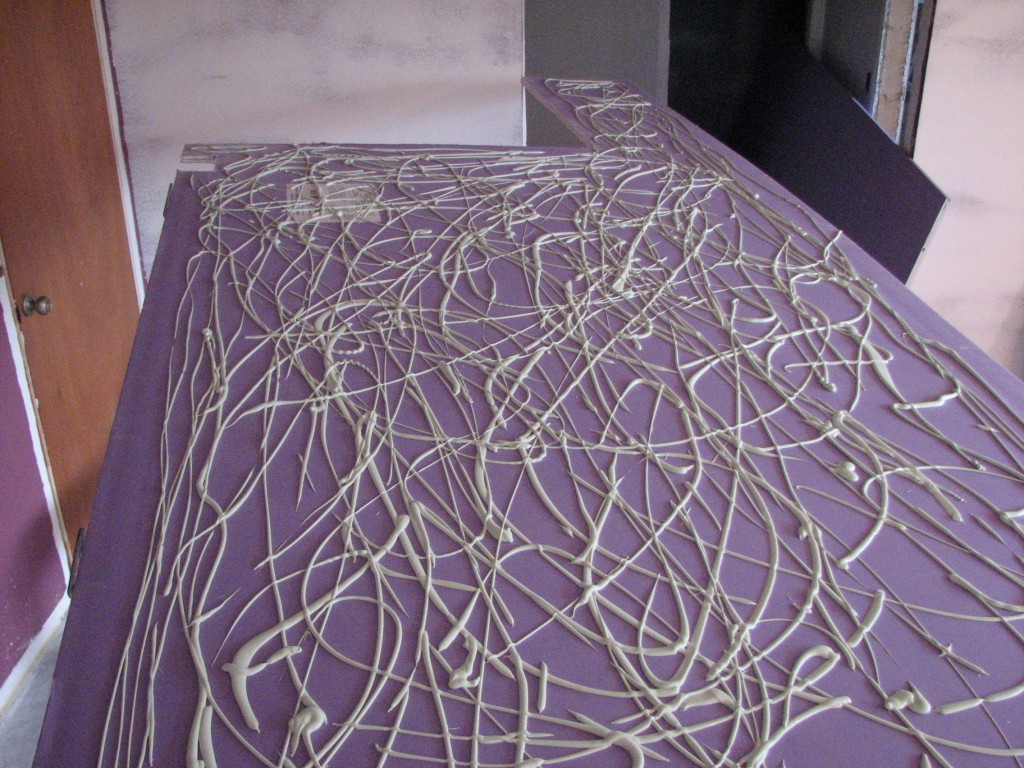
On this Cocoa, Florida exterior repaint in Port Saint John we repaired several staircase stucco cracks, damaged stucco from the hurricane shutters and a buckled stucco area at the front entrance of this Cocoa, Fl home.
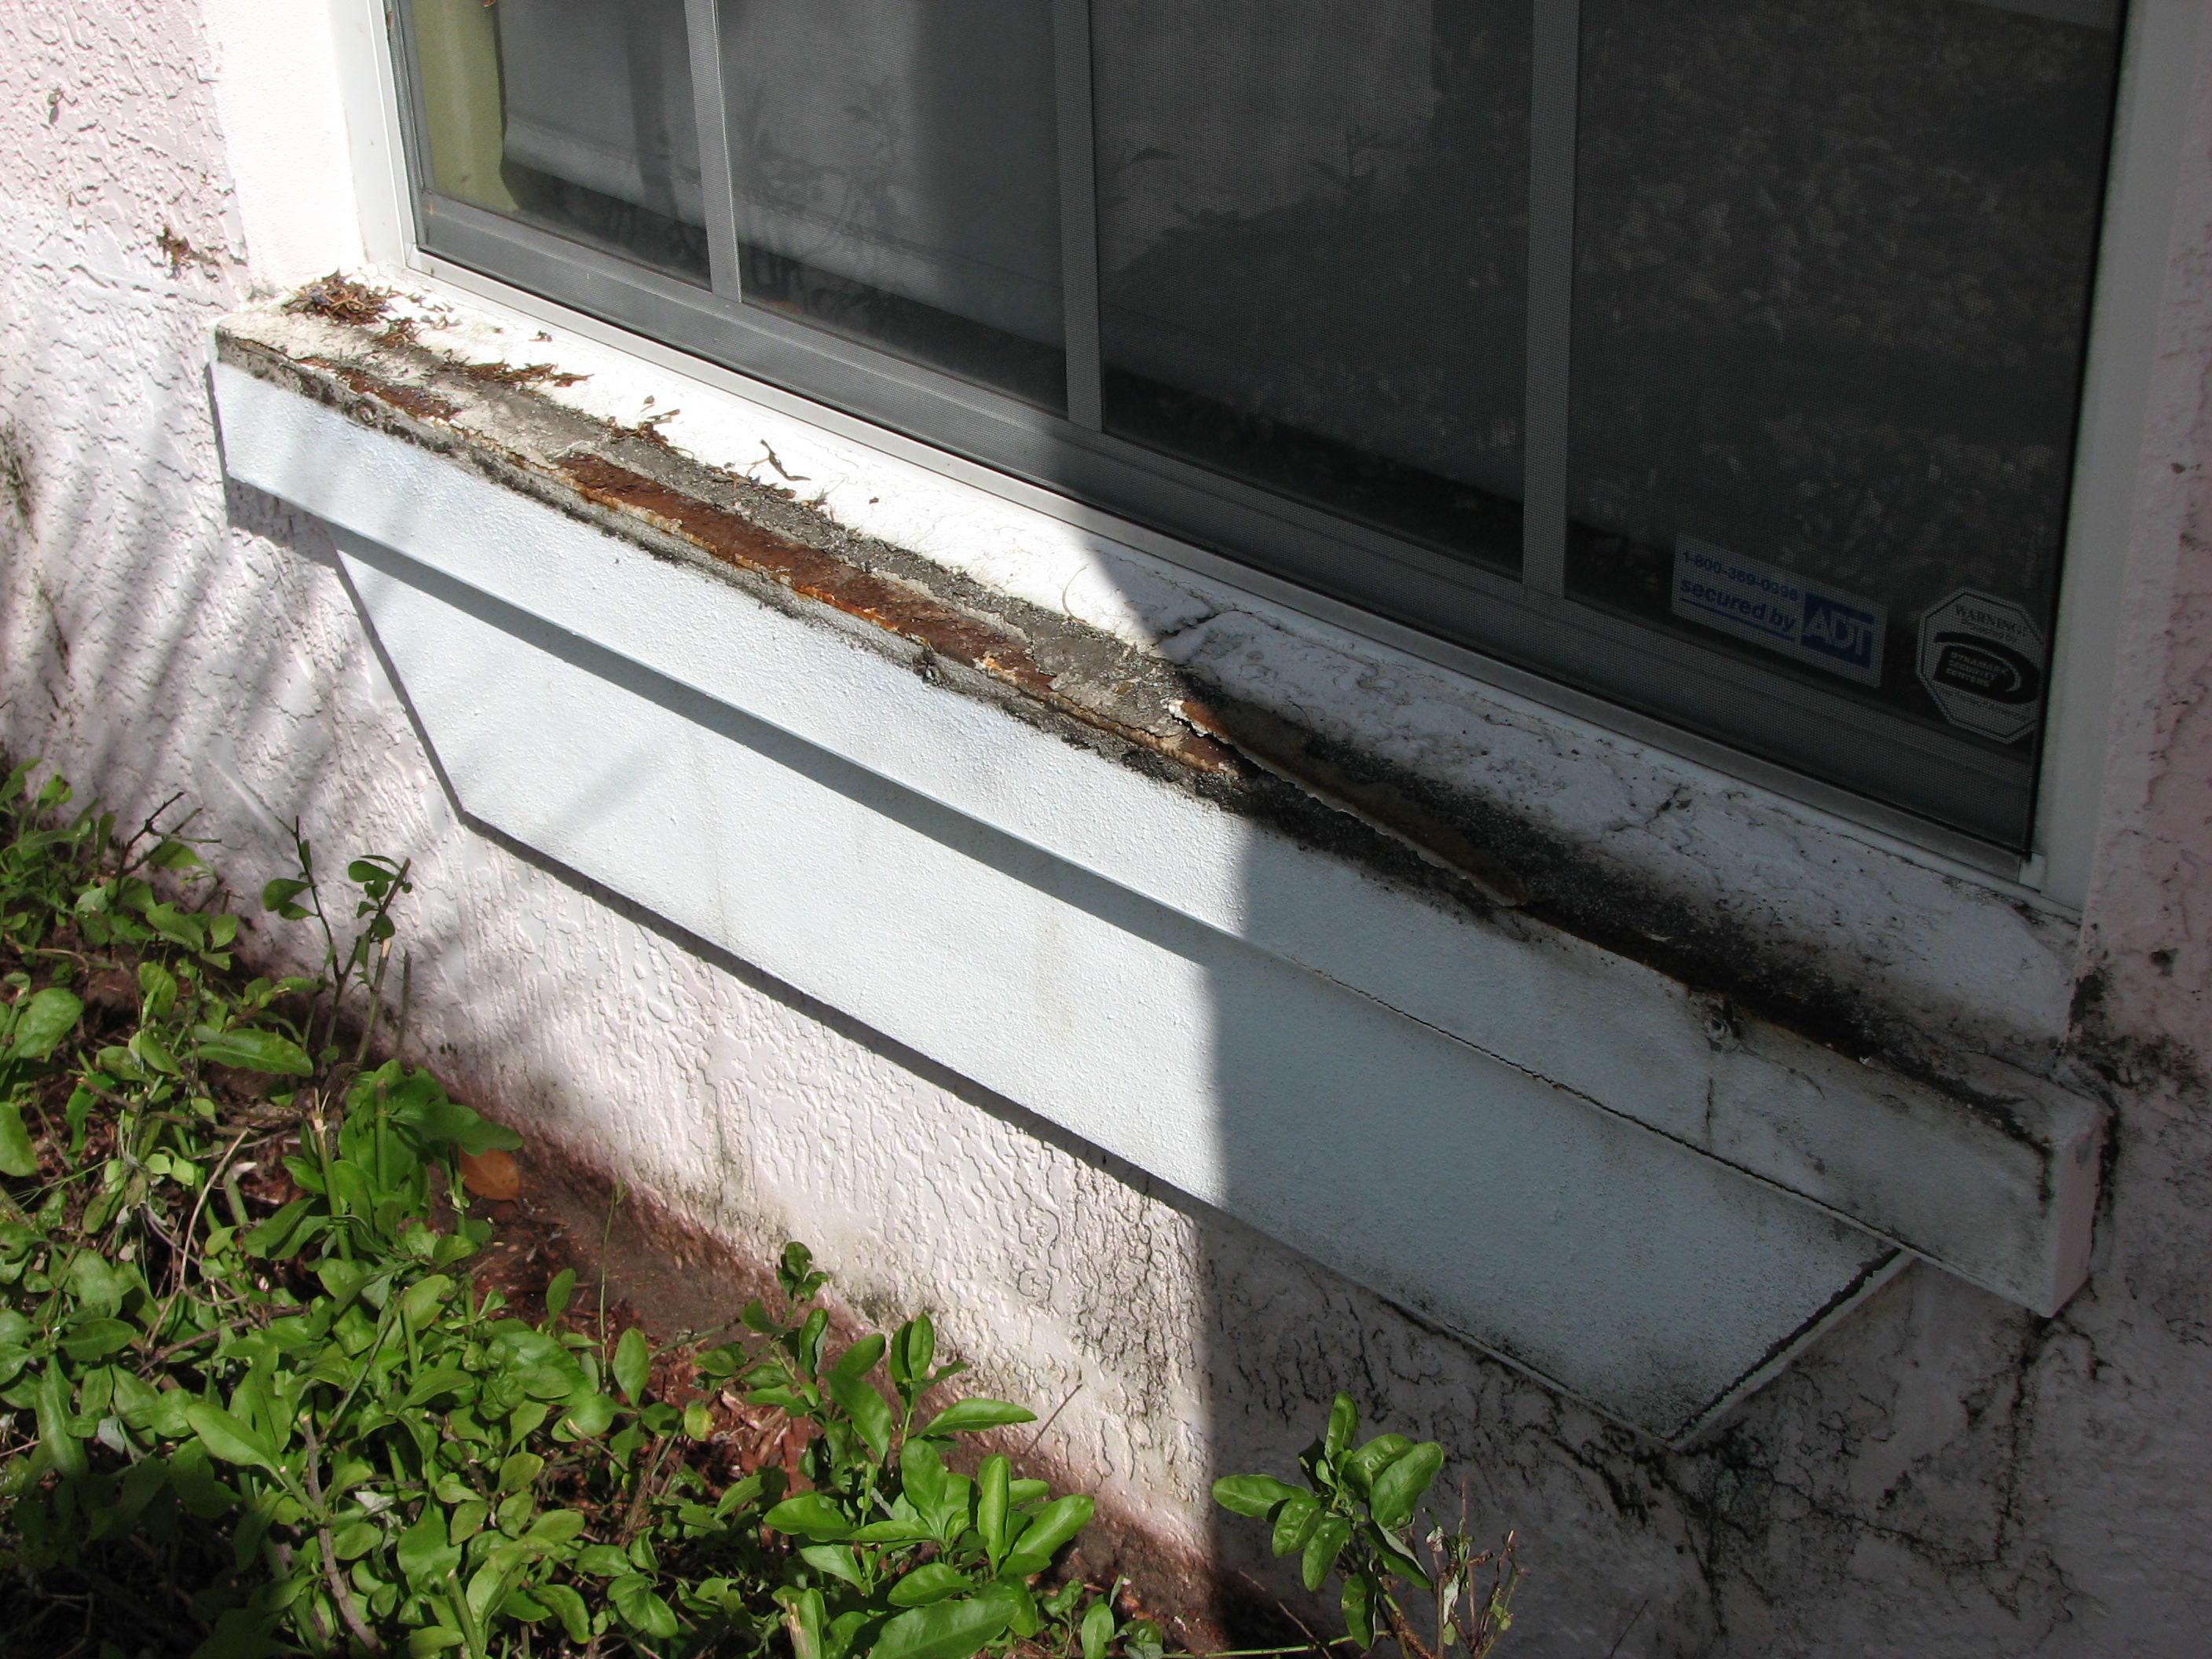
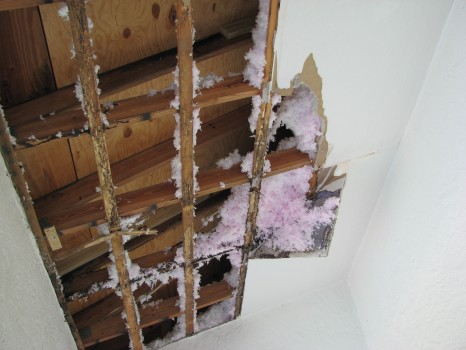
Water had gotten behind the decorative stucco piece and rusted out the wire lathe at the front entrance of this South facing 10 year old home.
Which ultimately caused the stucco to buckle and fail in that area.
-

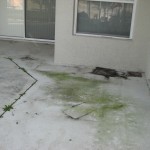
- Stucco damaged at entry
-

- Buckled stucco
-
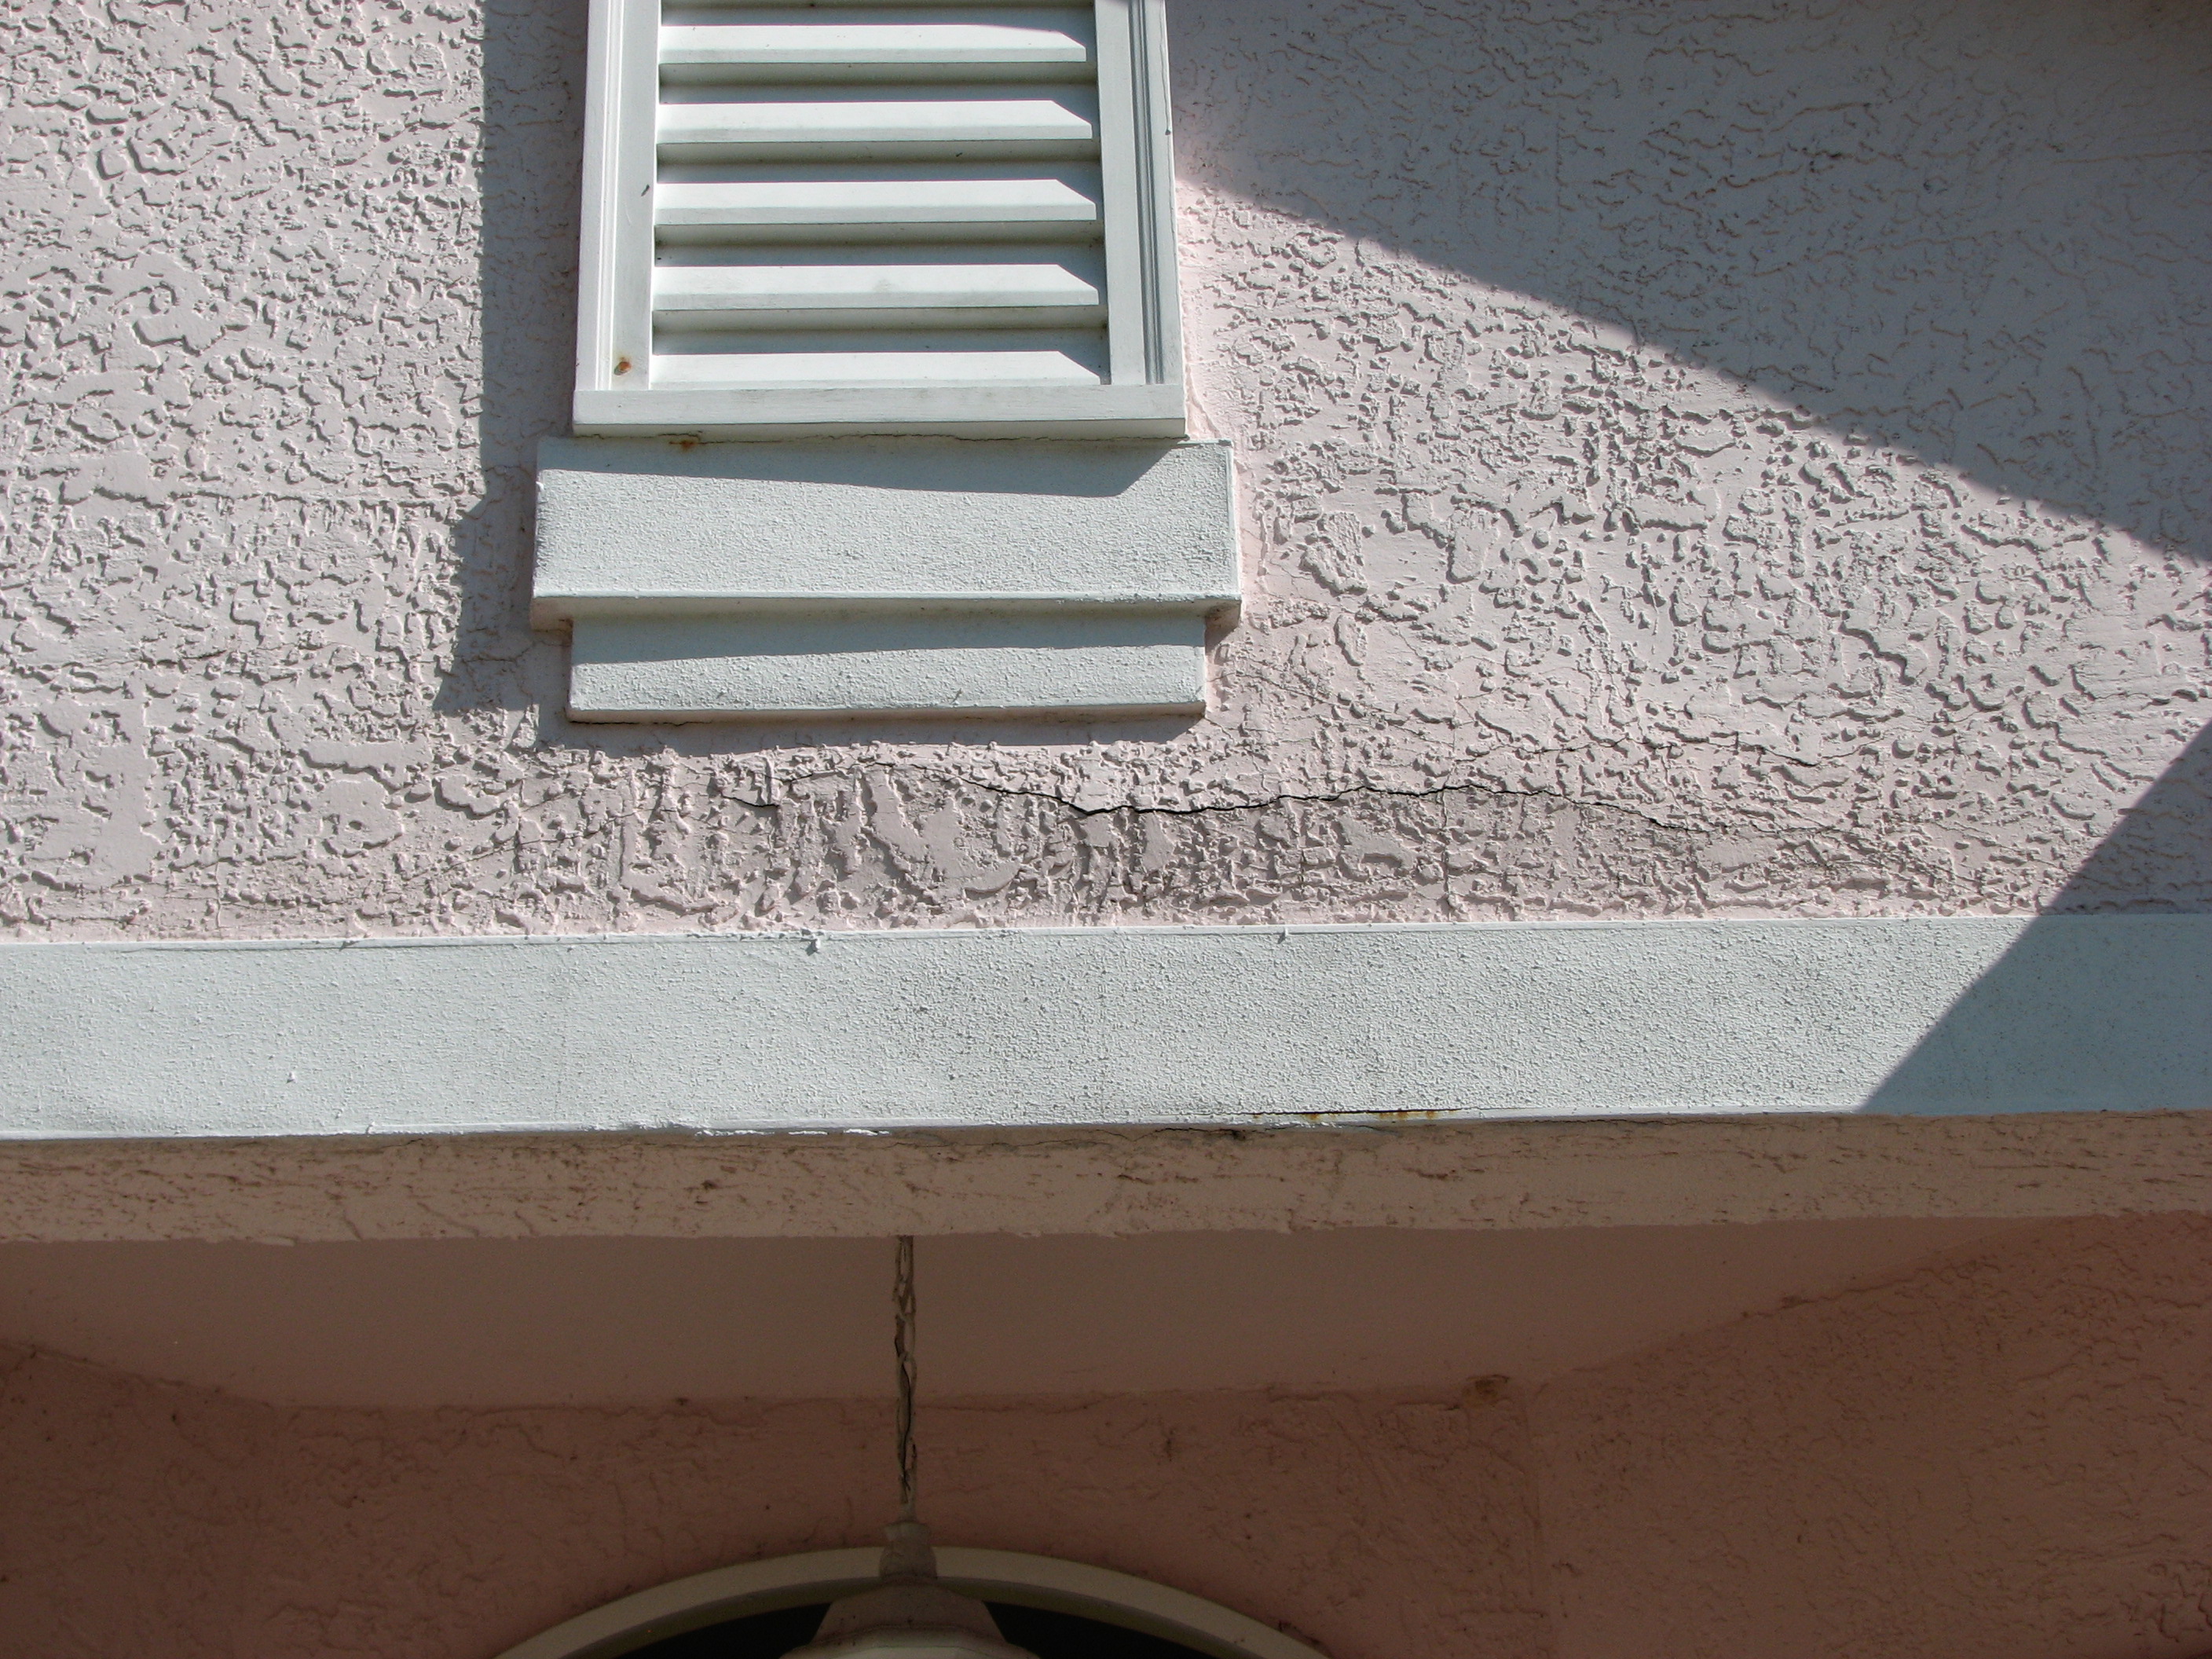
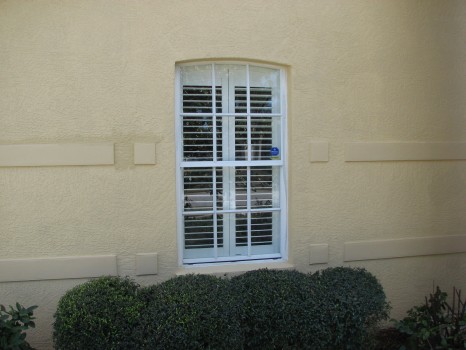
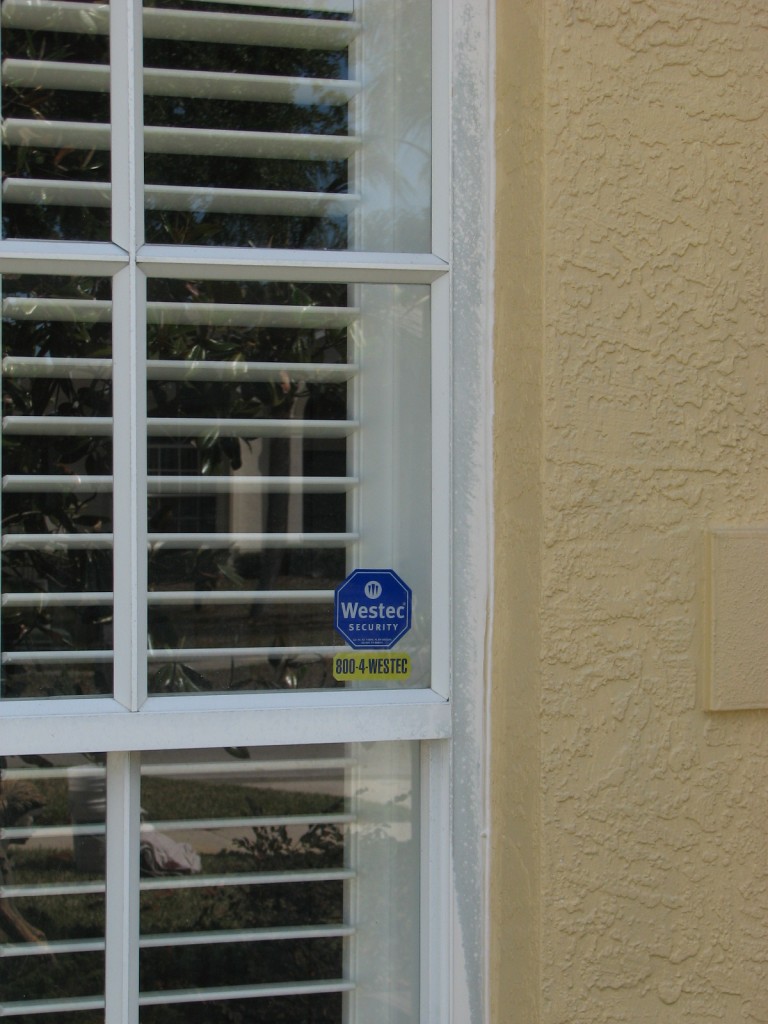
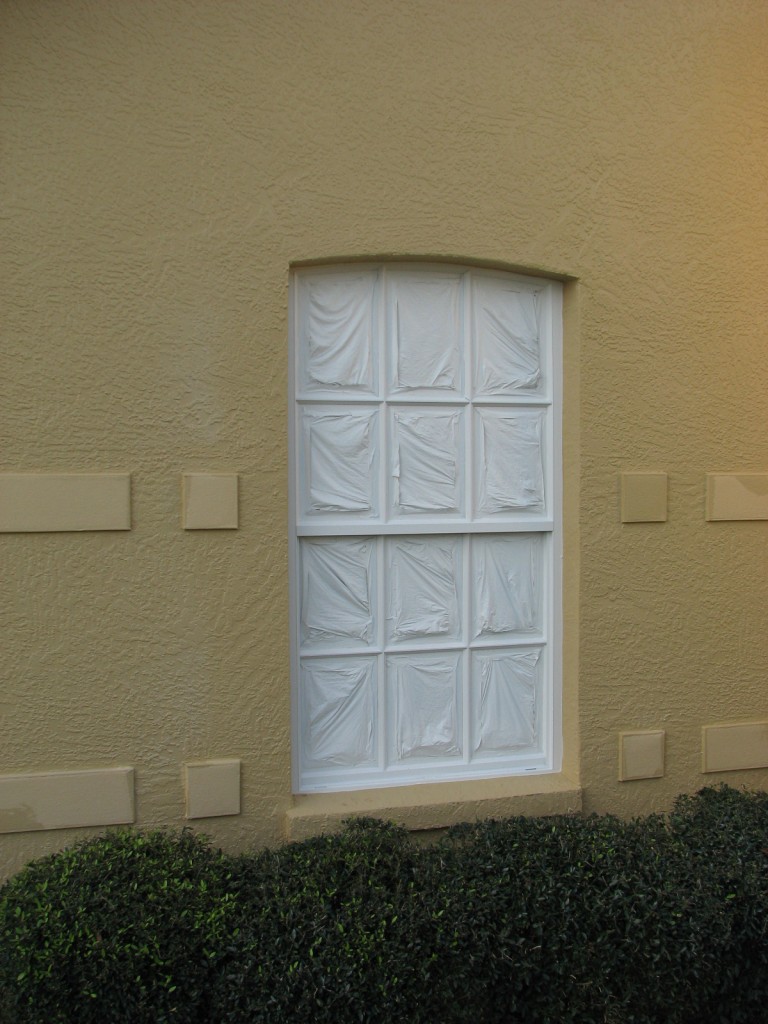
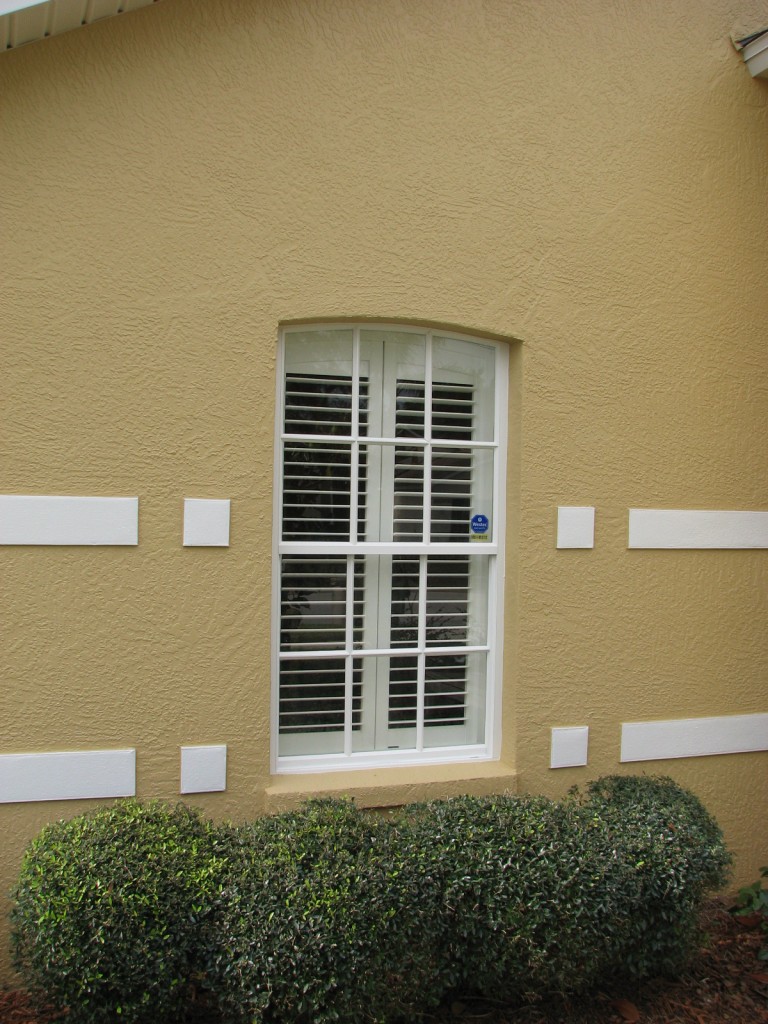
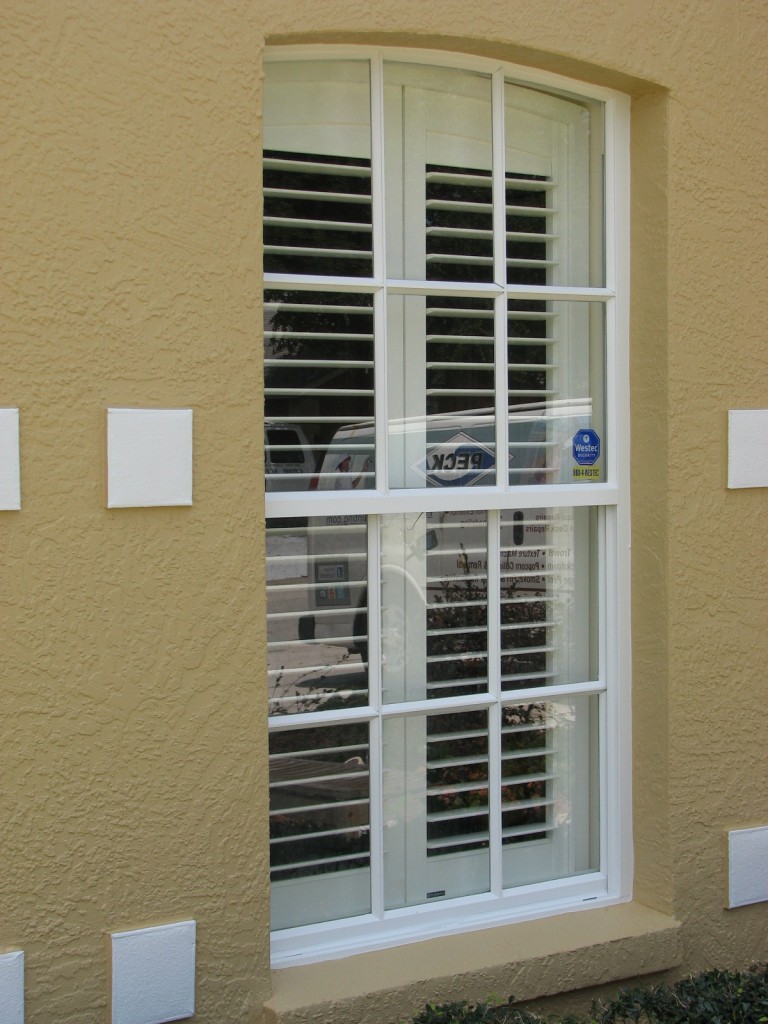
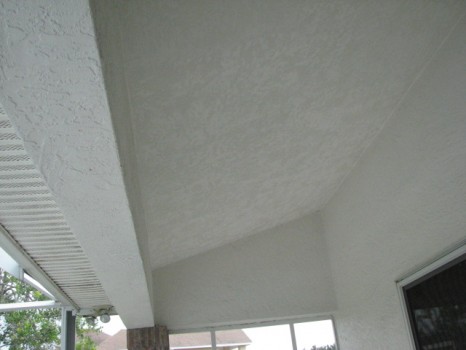
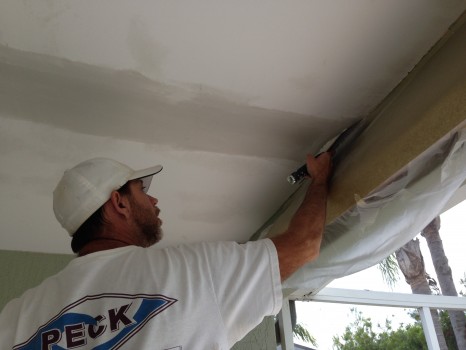
- Stucco band damaged by hurricane shutters
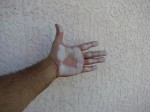
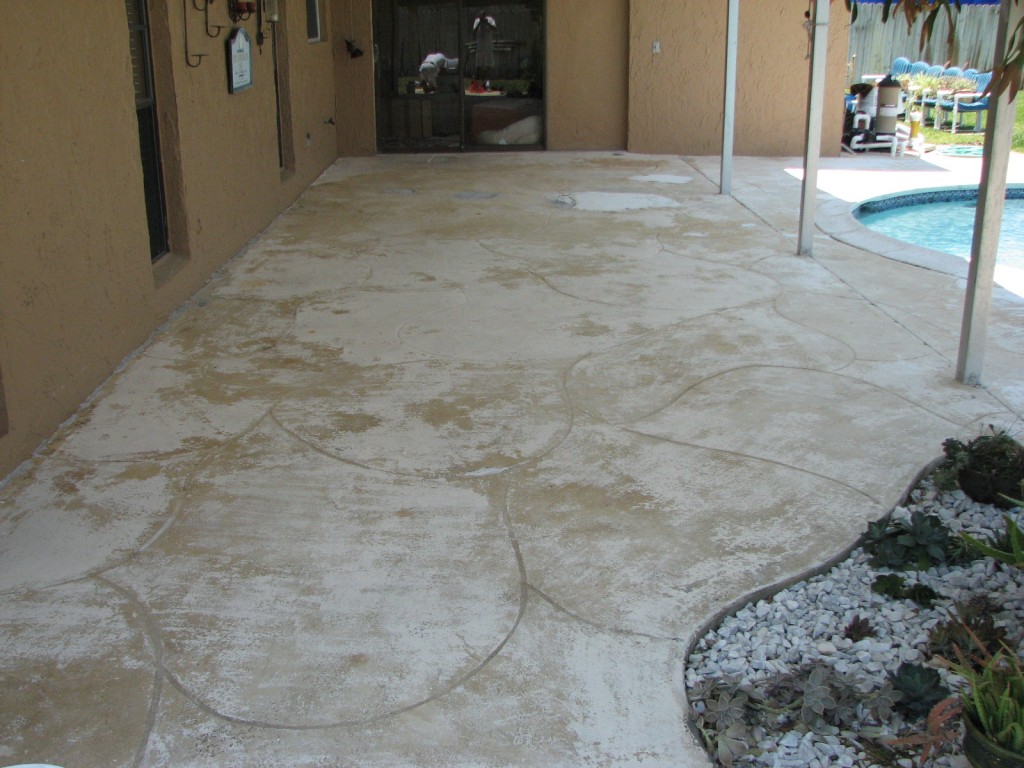
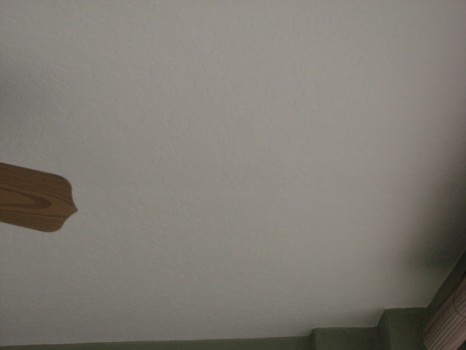
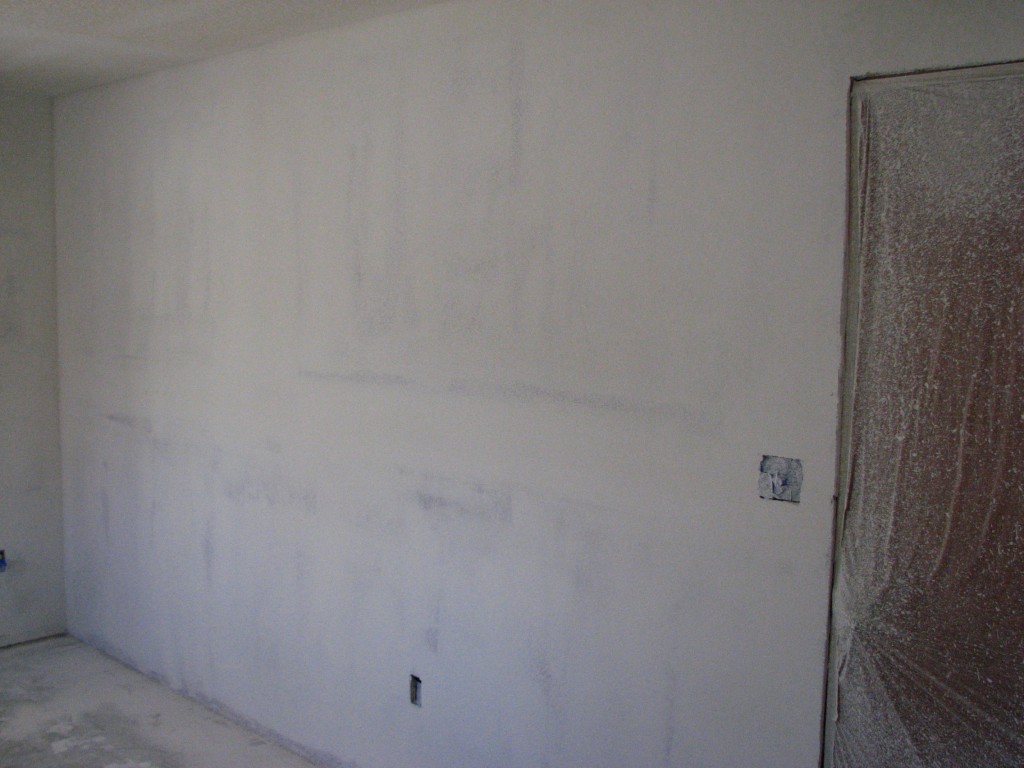
Chalky paint
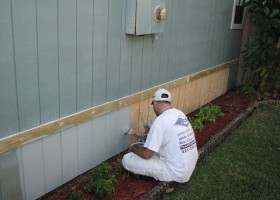
Here’s the steps we took to prep and paint the exterior of this Cocoa, Fl home:
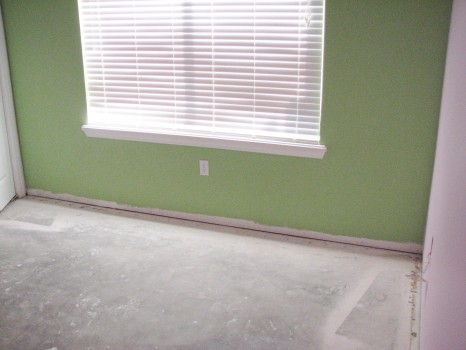
1) After digging out 4″ to 6″ around the perimeter of this homes exterior stucco walls
2) We pressure washed all of the exterior surfaces to be painted on this stucco home.
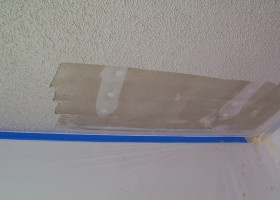
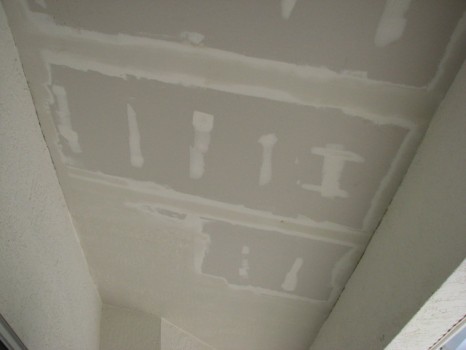
3) Then repaired several buckled stucco areas, stucco that had been damaged from hurricane shutters and staircase stucco cracks.
4) Next we spot primed the repaired stucco areas with Richards- Rich Flex alkali resistant acrylic masonry primer.
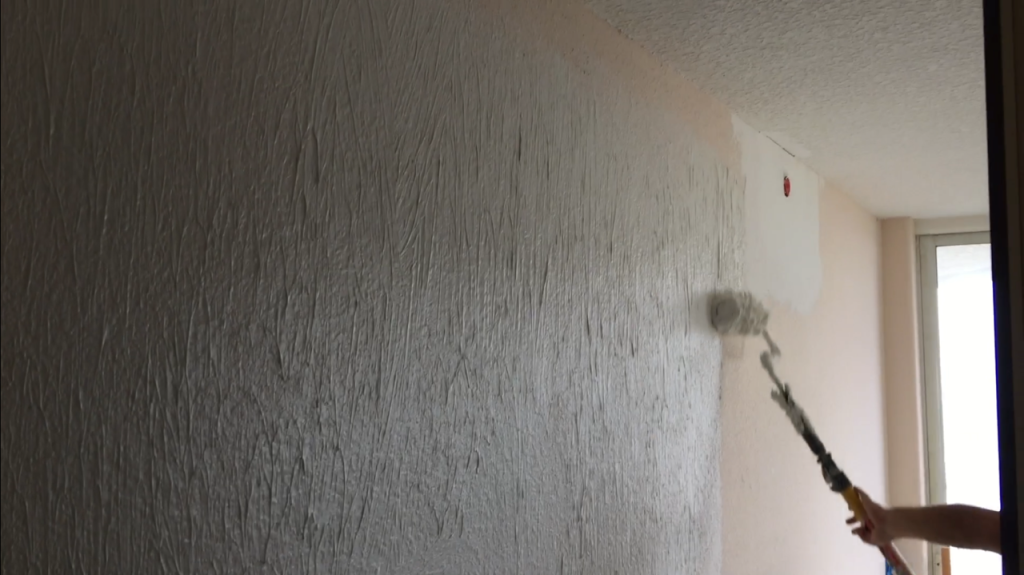
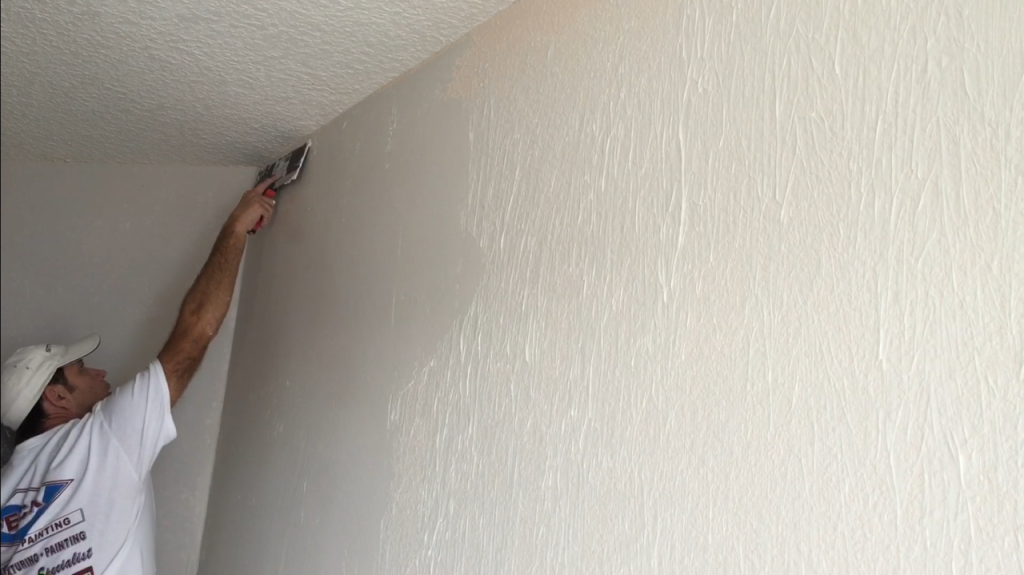
5) Then we applied Richards- Rich Flex multi-surface conditioner (due to chalkiness and also to assure good adhesion of the finish coat) to the rest of the surfaces of the home to be painted.
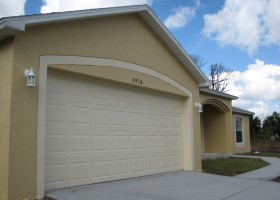
6) Lastly we re-caulked all windows and applied two colors and two coats of Richards- Signature Series 100% acrylic satin house and trim paint to the stucco walls, bands, columns, garage doors and all exterior entry doors. We also spray painted the garage doors for a fresh new factory finish look.
Once all of the painting was completed we backfilled around the perimeter and did one last walk through with home owners to make sure they were completely satisfied.
Highly Recommended!.
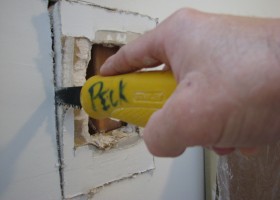
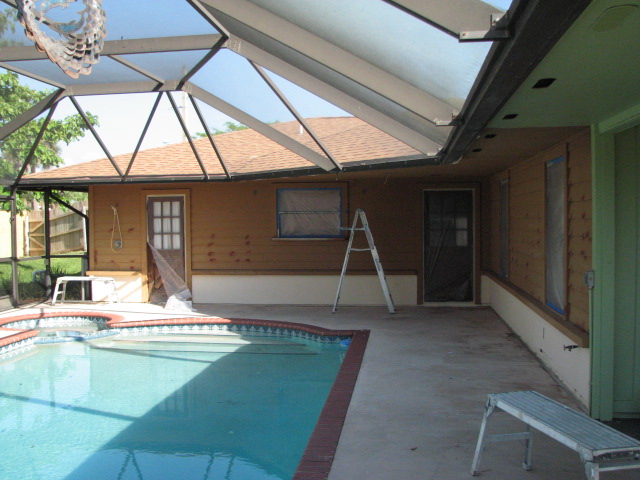
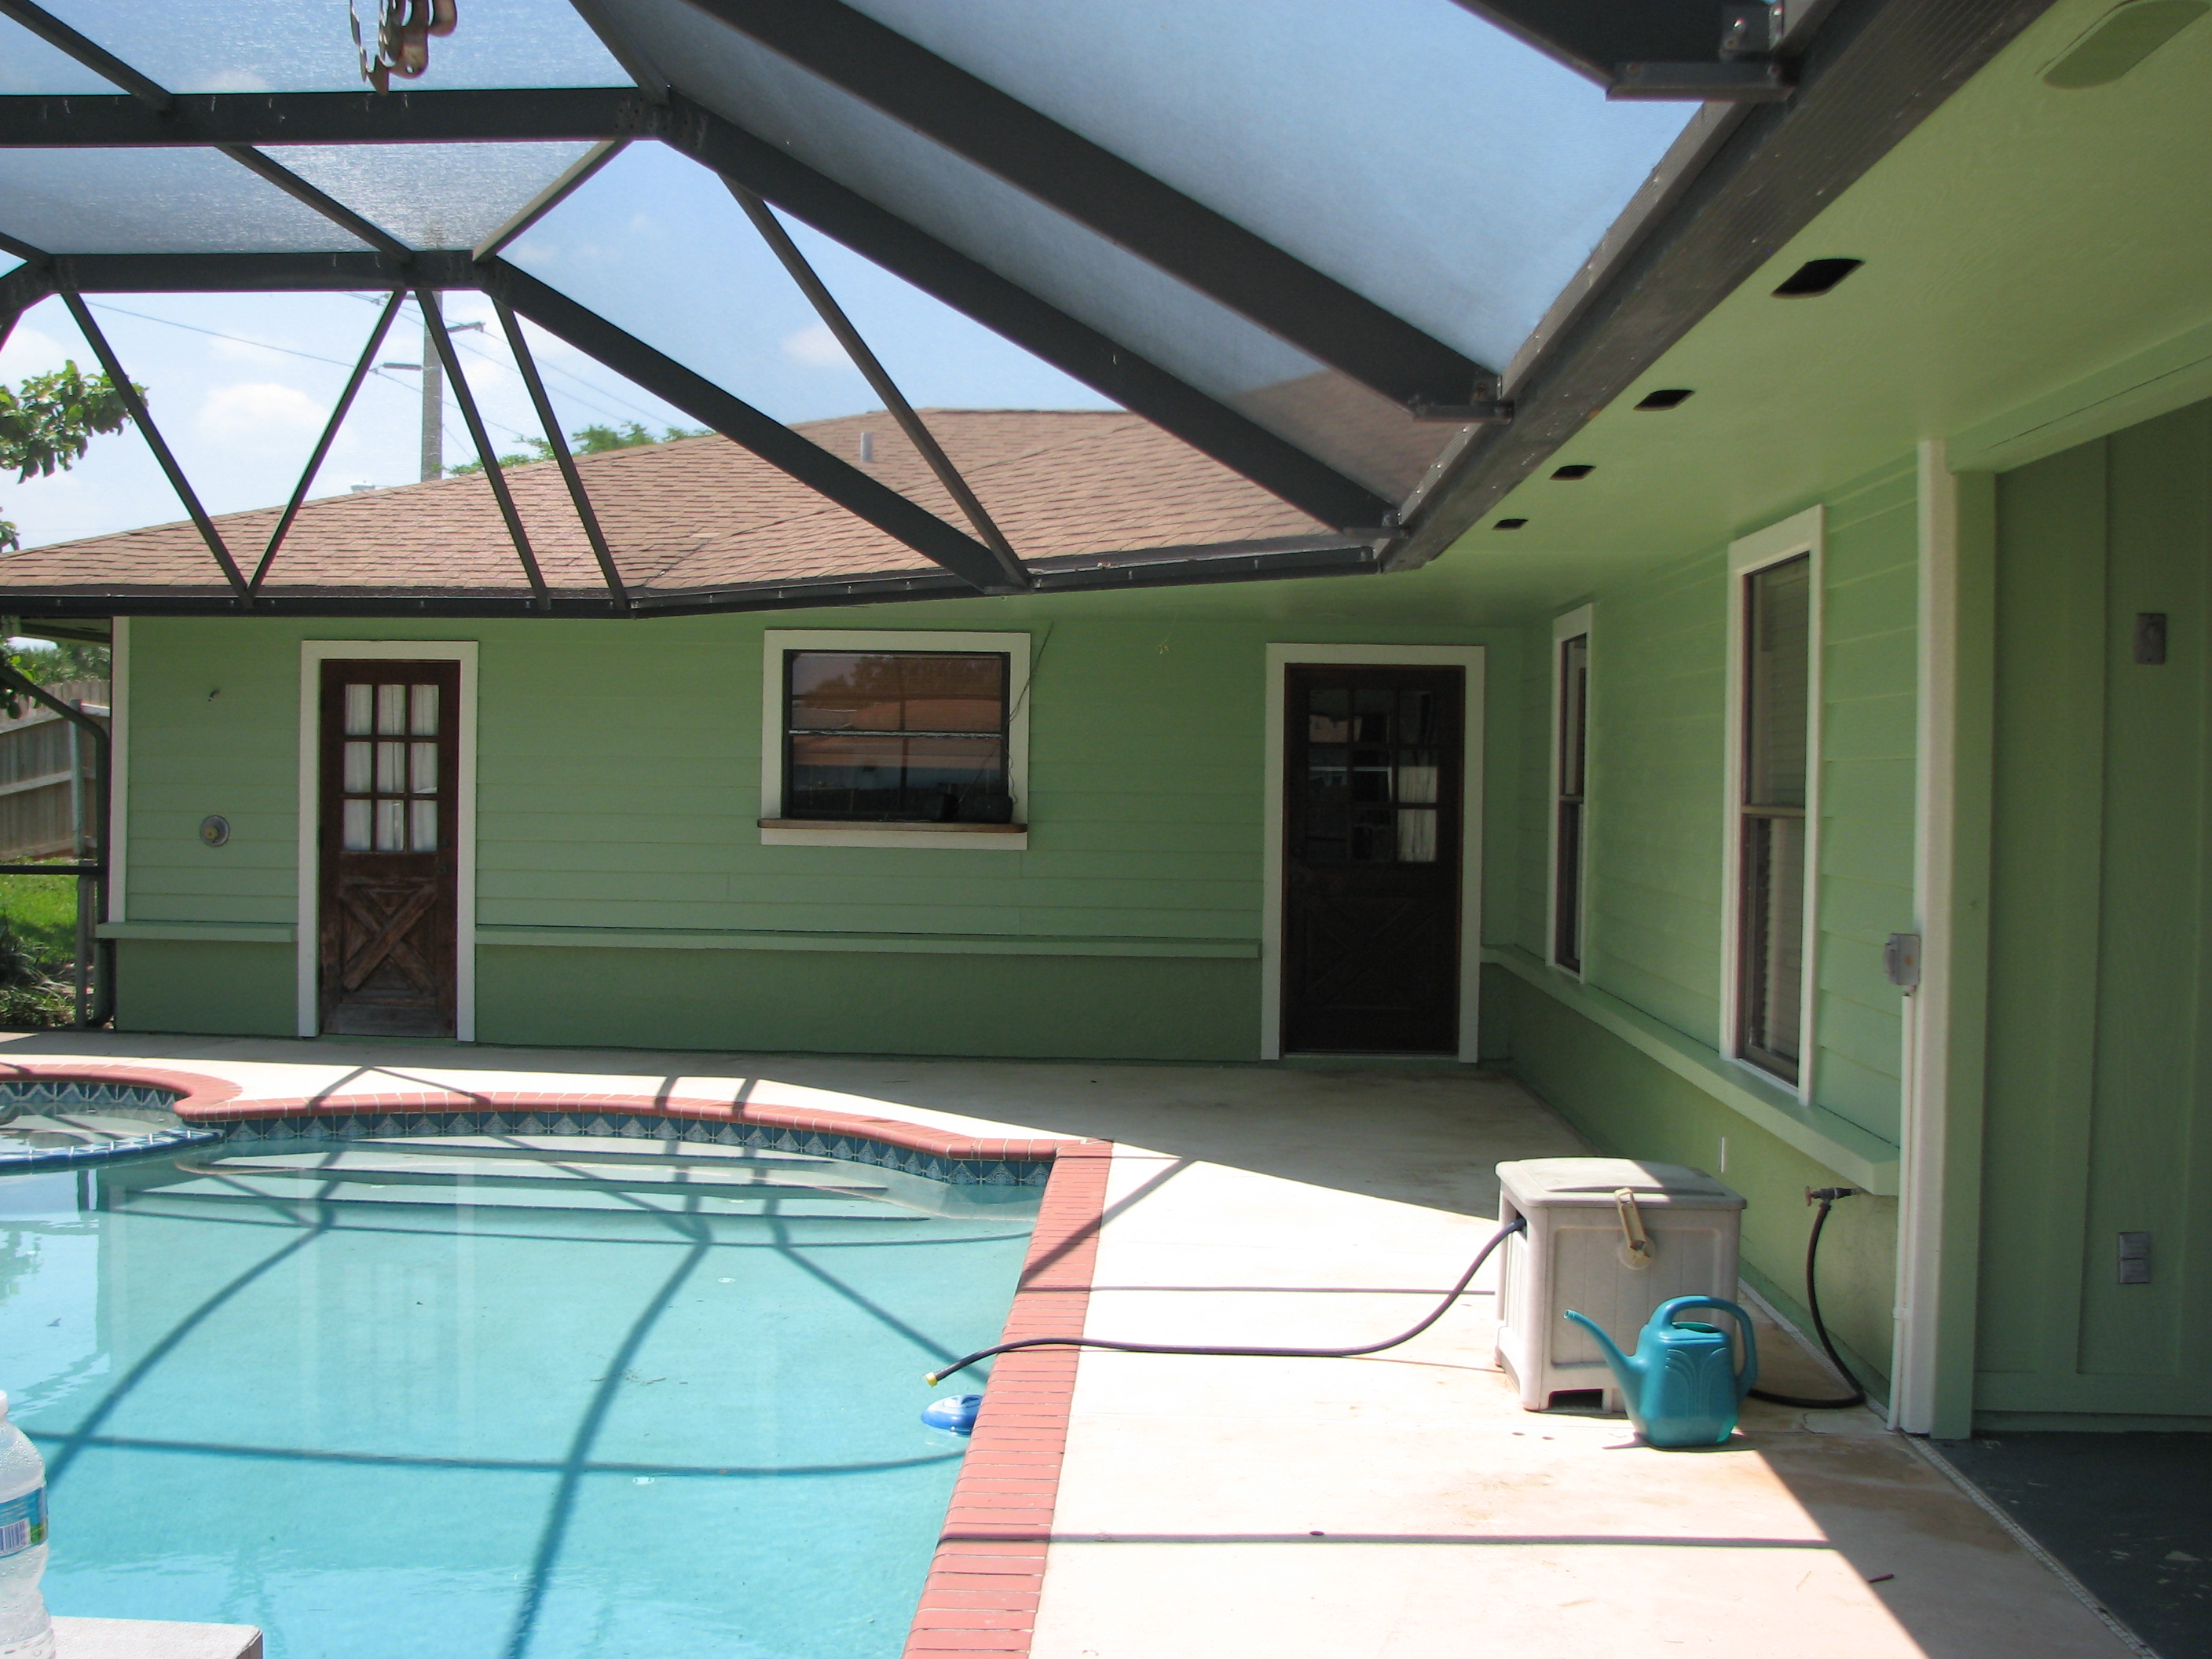
We recently used Peck Drywall & Painting to paint the exterior of our house and pool deck. Their quote was competitive, and they completed the work promptly and to a very high standard. They were courteous and professional from start to finish. We will use them for all of our future painting needs.
Rob F.– Cocoa, Fl
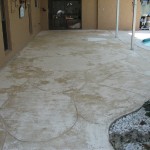
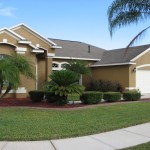
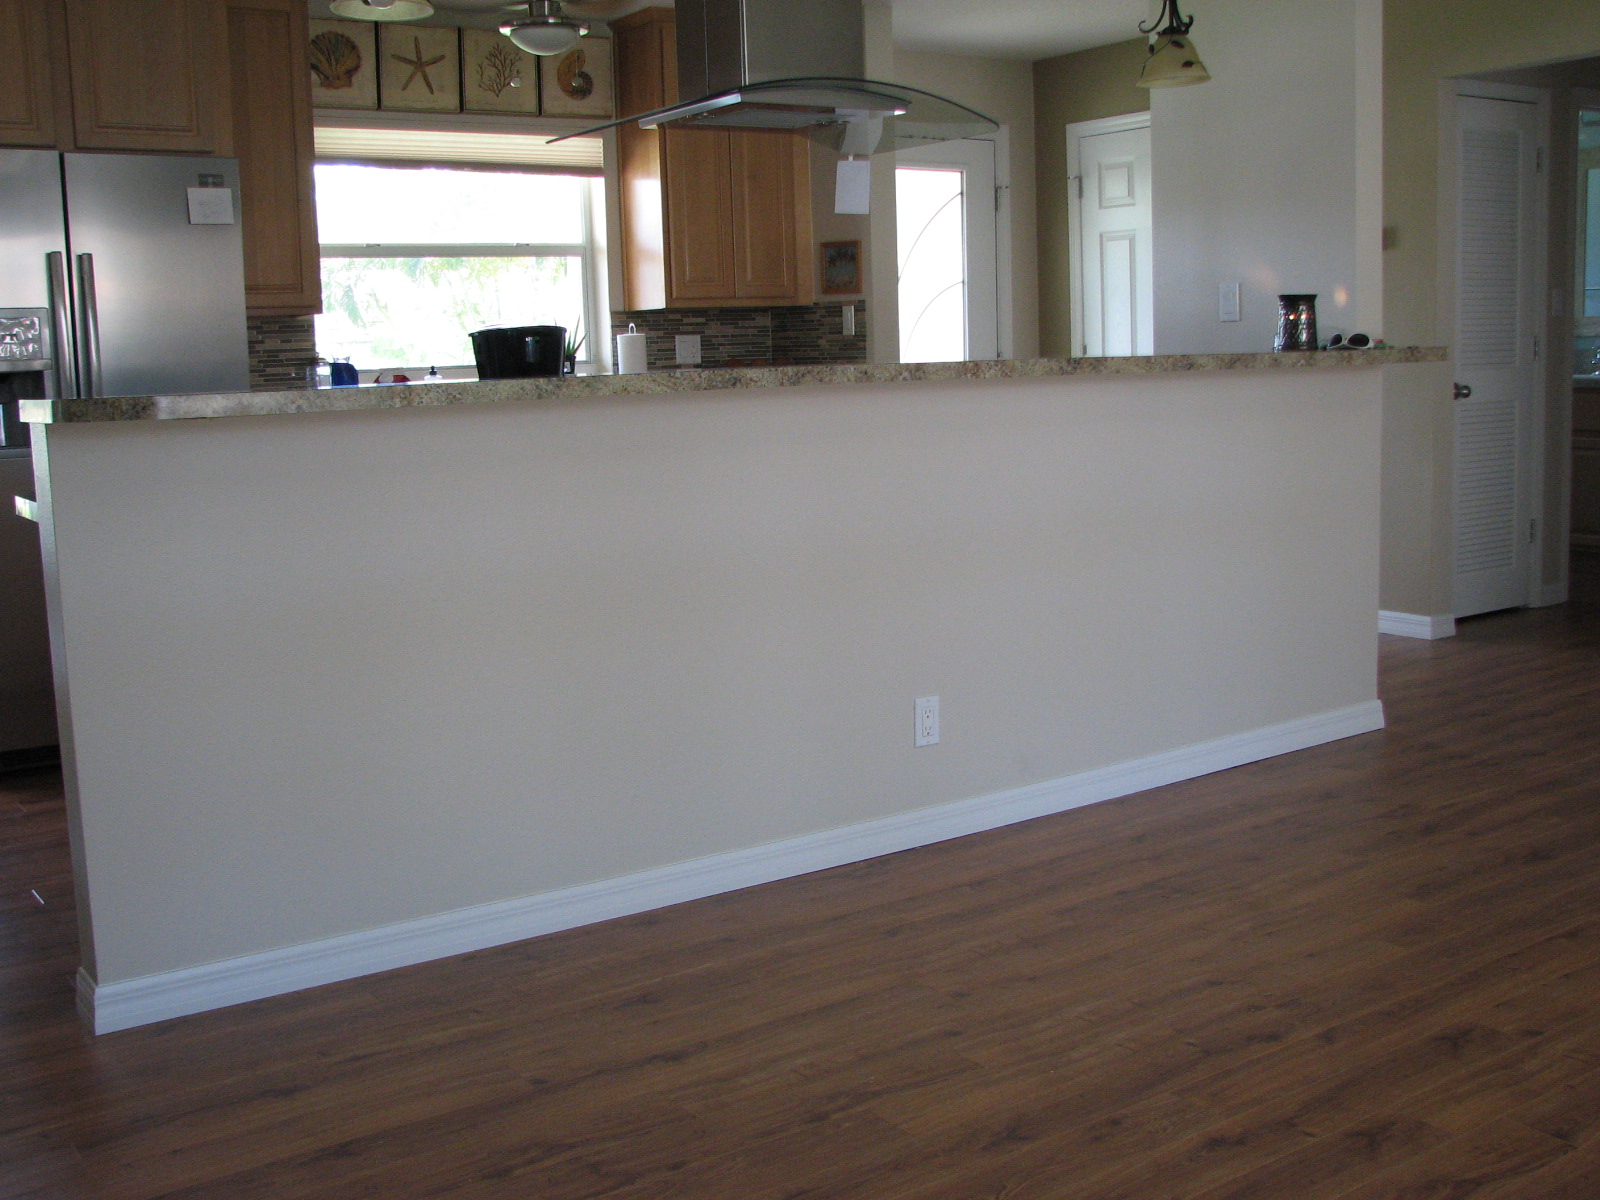
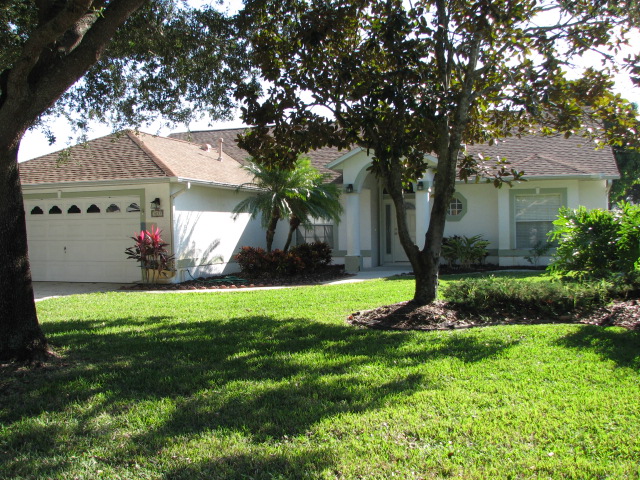
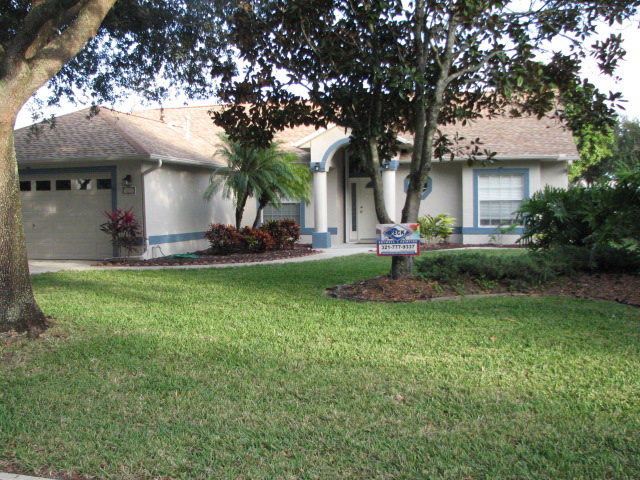
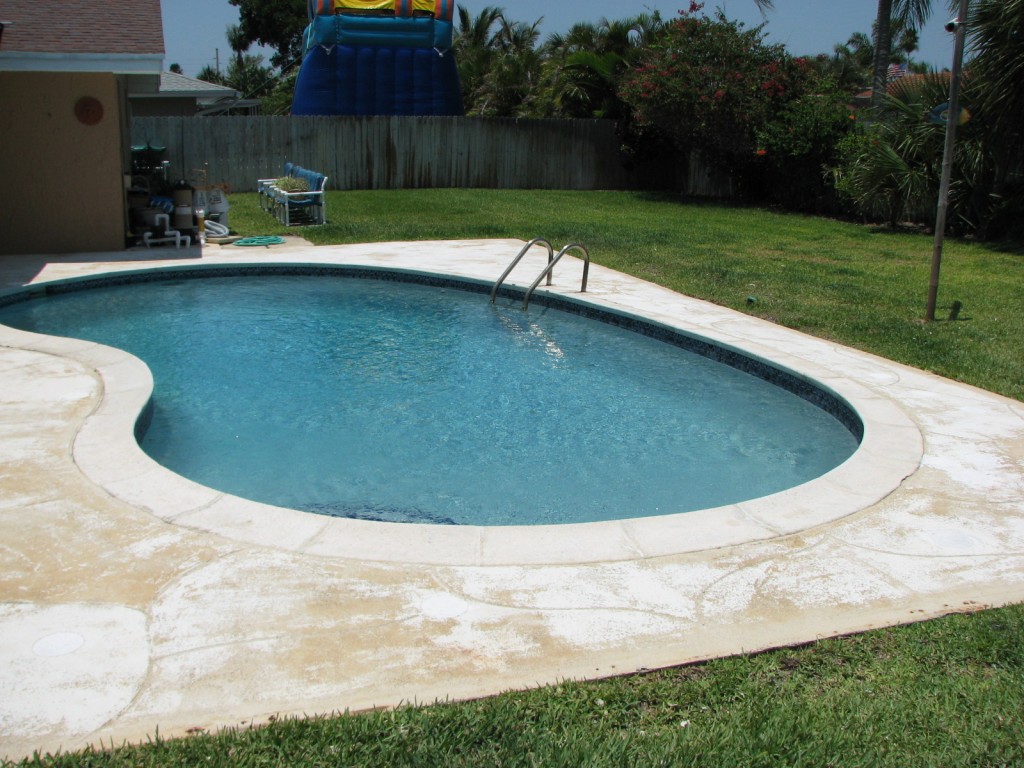
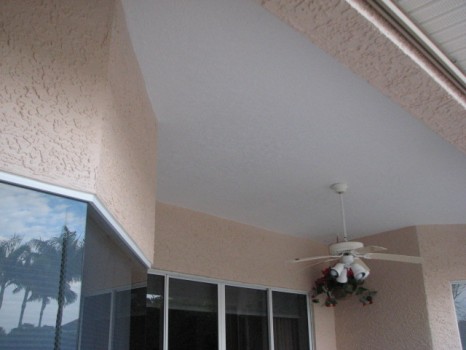
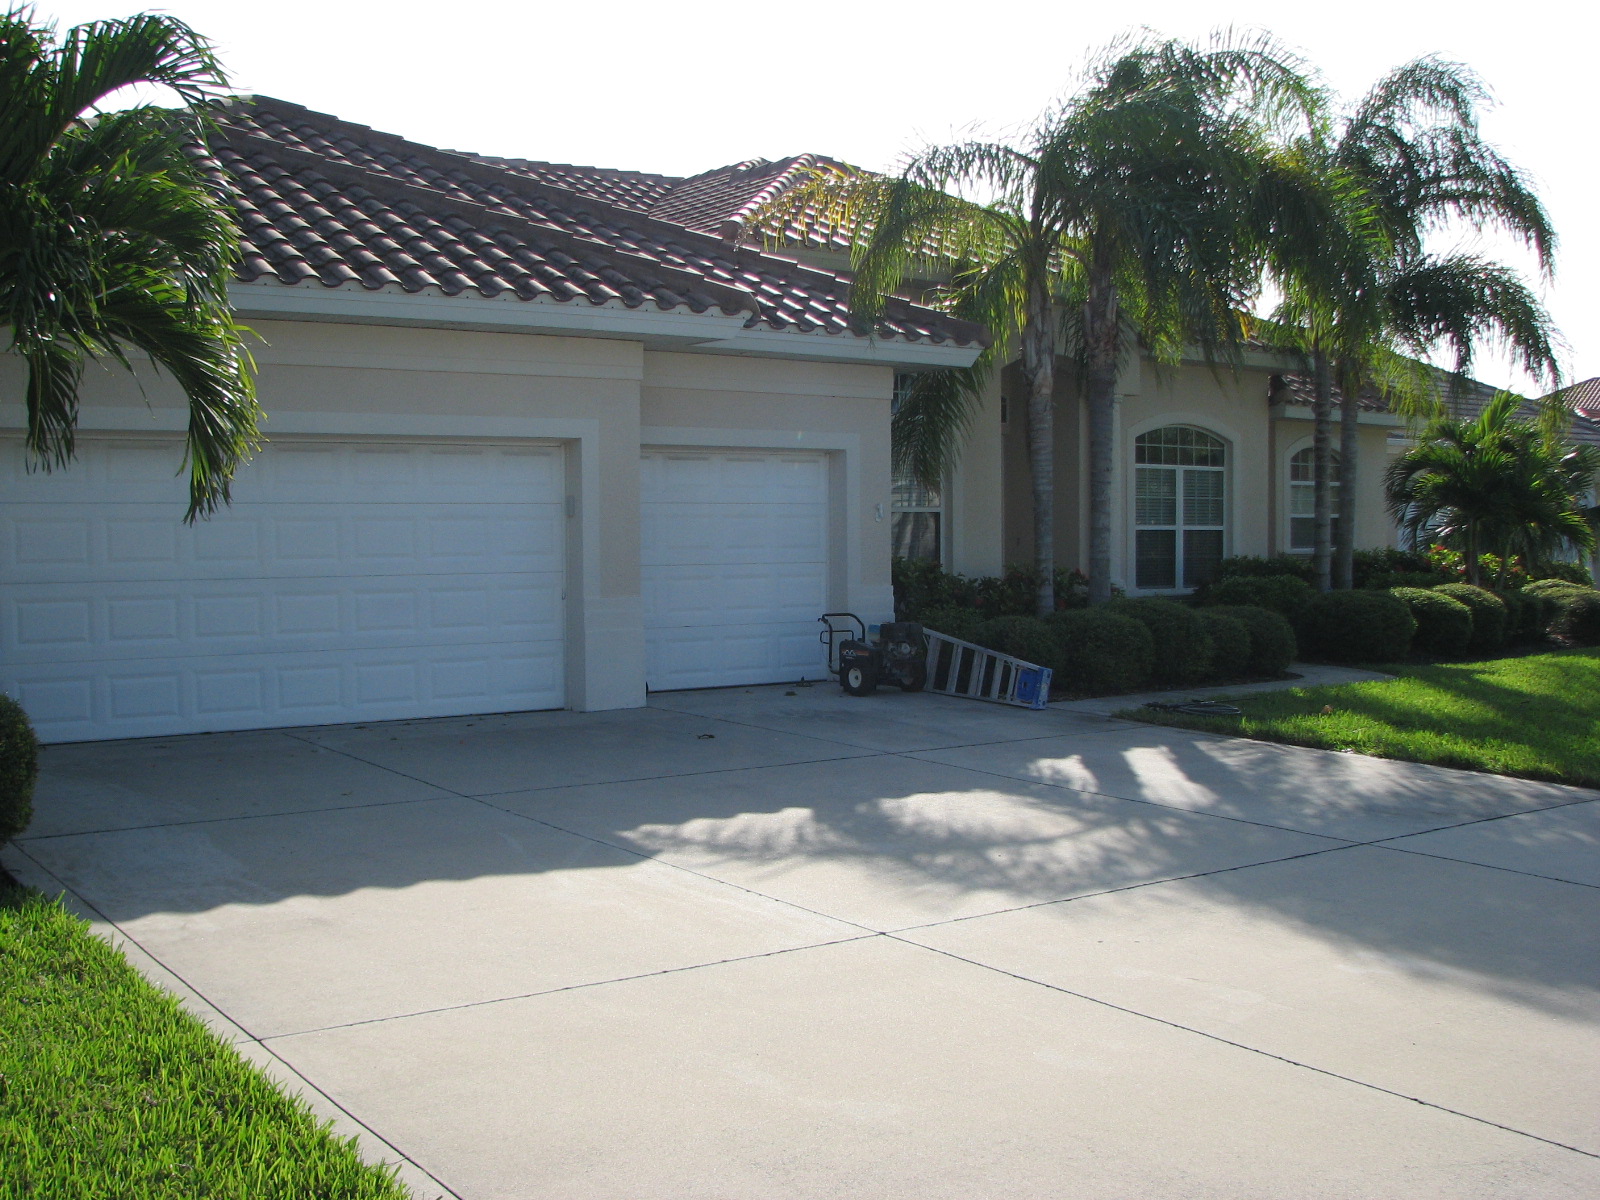
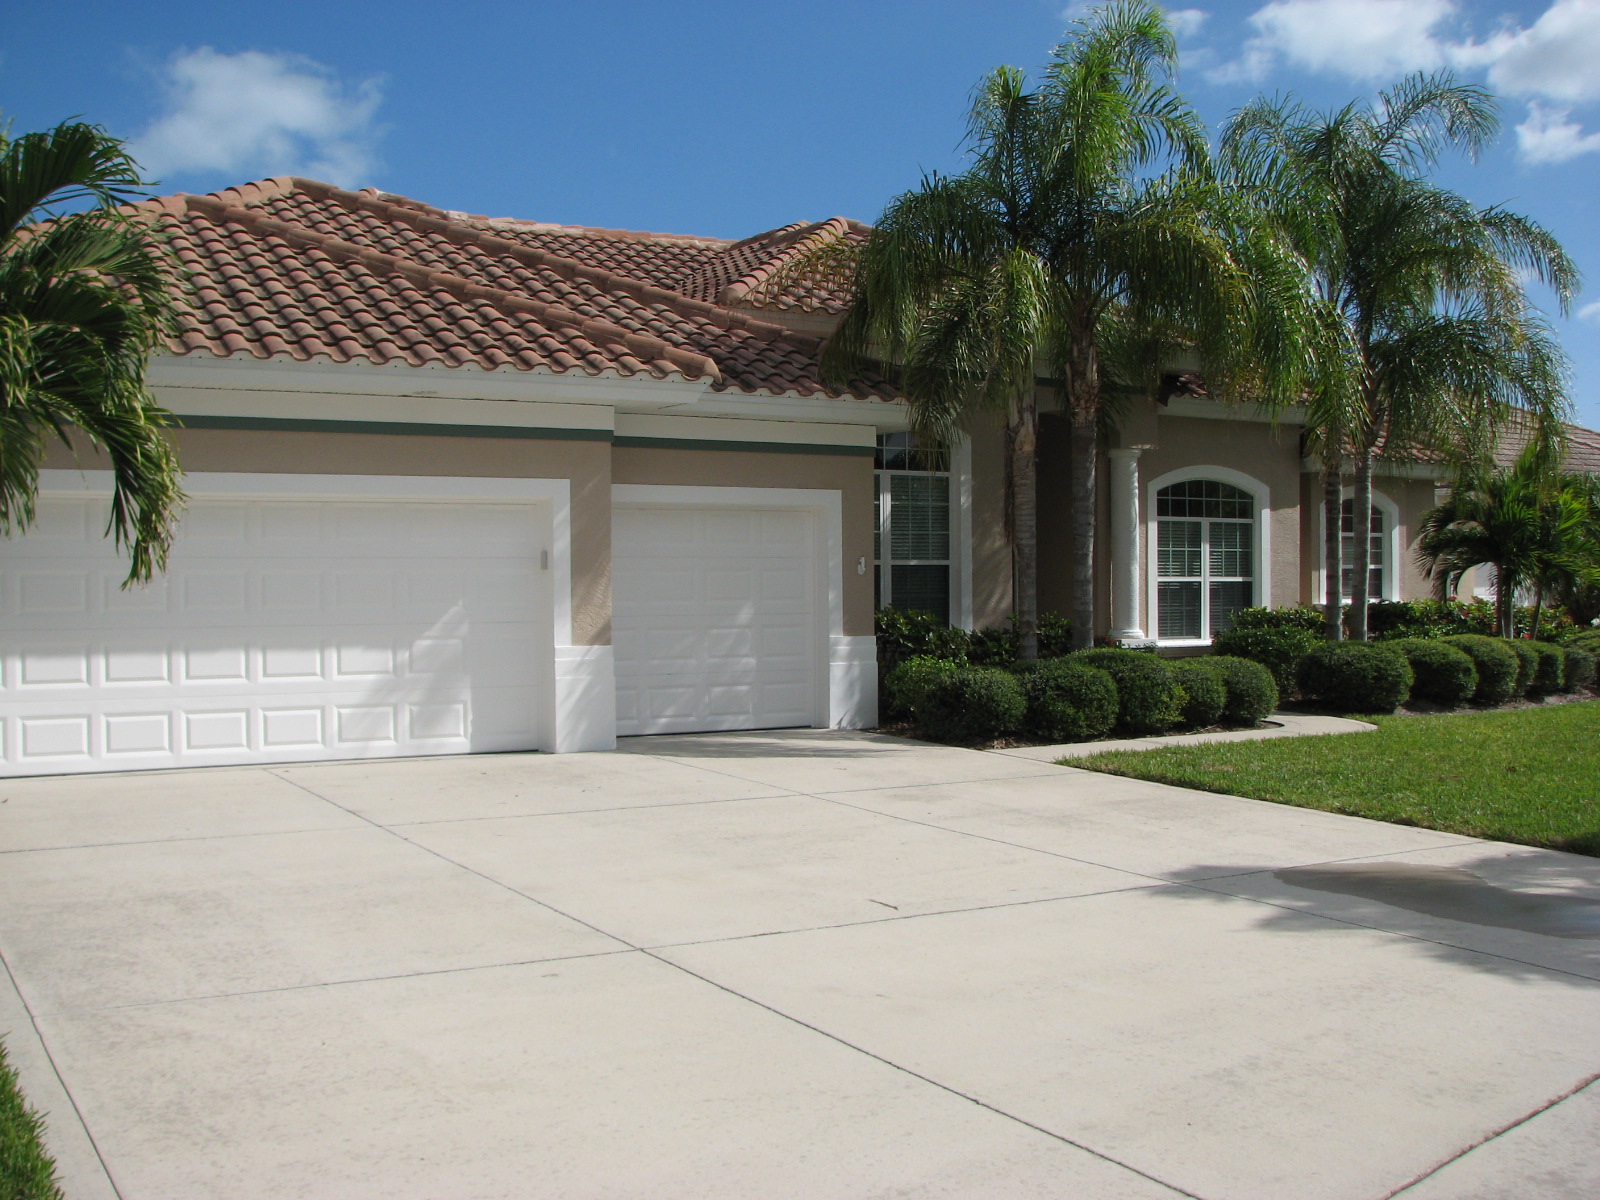
Here’s a few Before and After photos of this Cocoa, Fl exterior painting project:
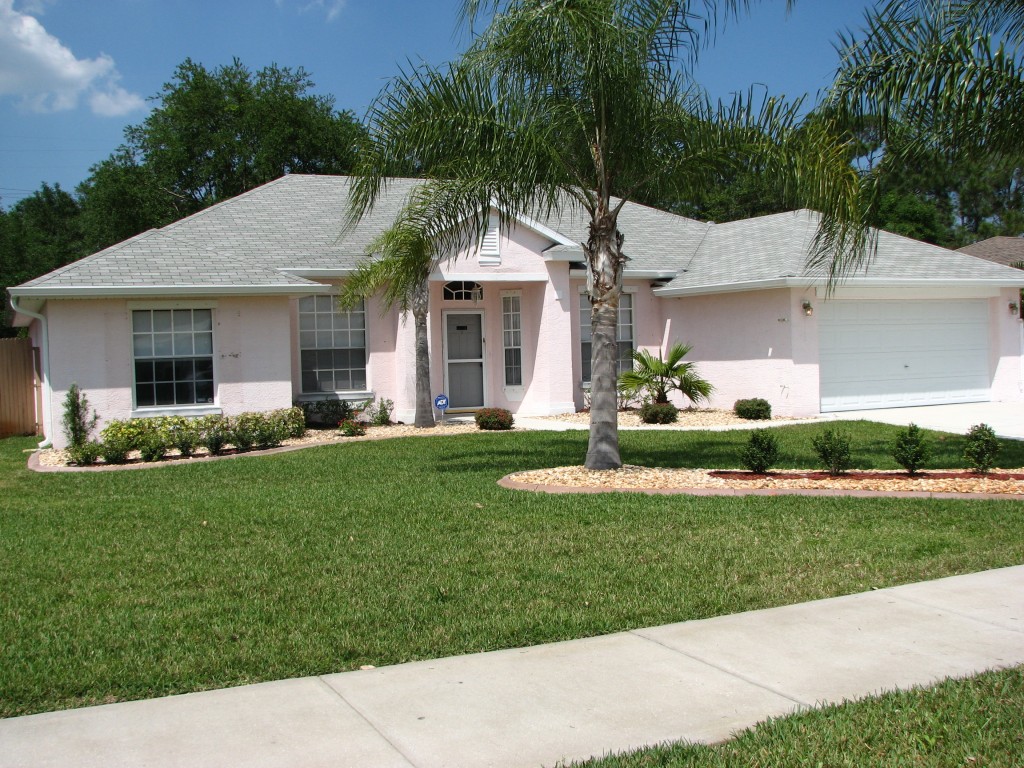
Before:

After:
Would you like more information about our exterior paint and labor warranties?
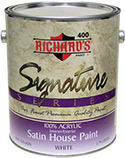
Signature Series by: Richards Paint
Click Here for more information about our exterior painting services
Schedule Your Exterior Painting Estimate Here
Call
Cocoa Beach/Cocoa: 321-453-6233
or
Over the past 19 years we have built a great project portfolio by completing all types of commercial and residential exterior painting projects here in Merritt Island, Cocoa Beach, Rockledge, Viera, Melbourne, Melbourne Beach, Satellite Beach, Indian Harbour Beach and surrounding areas.
Certified Painting Contractor


")