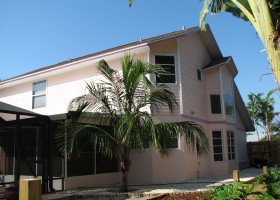
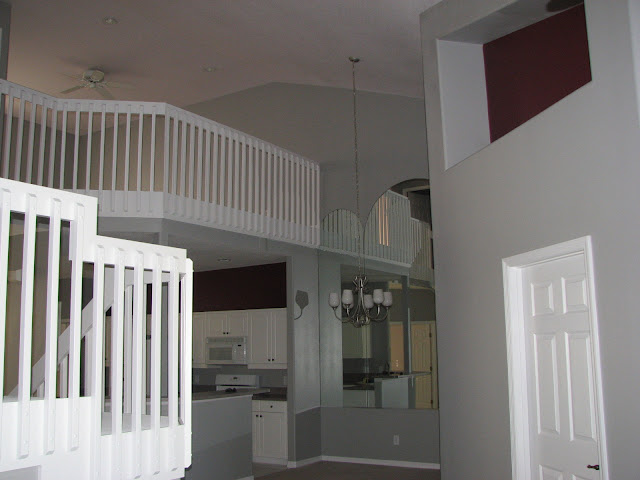
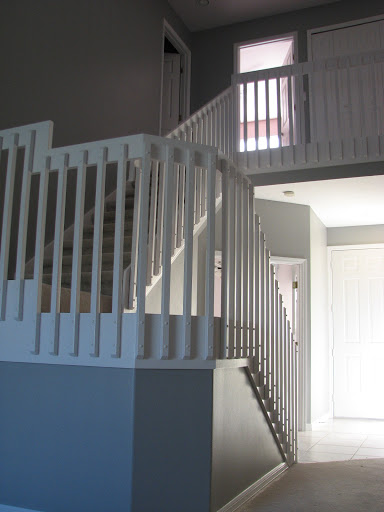
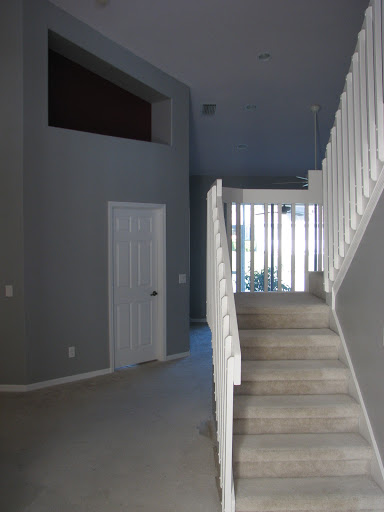
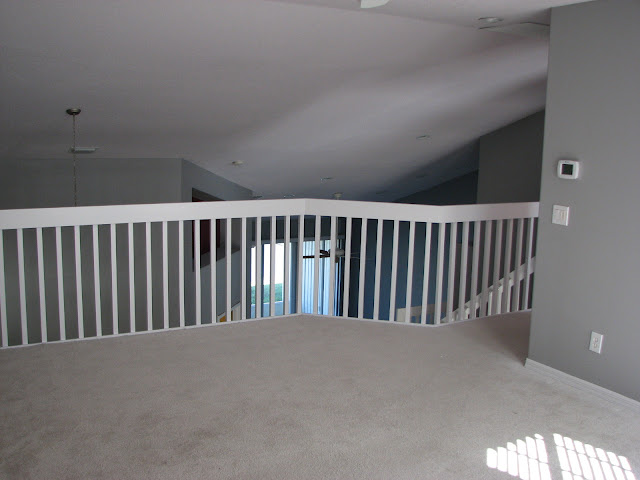
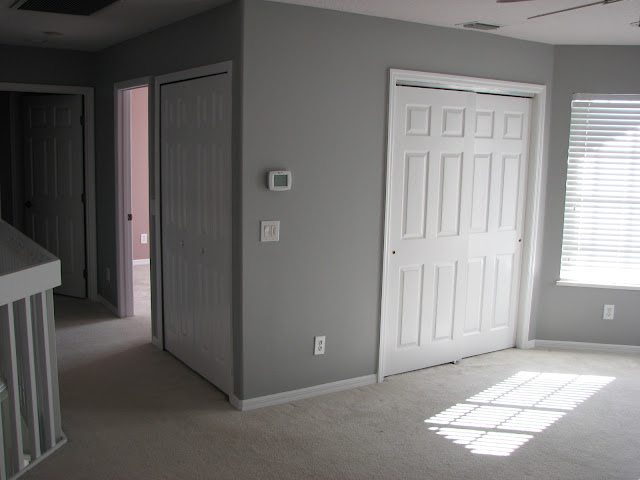
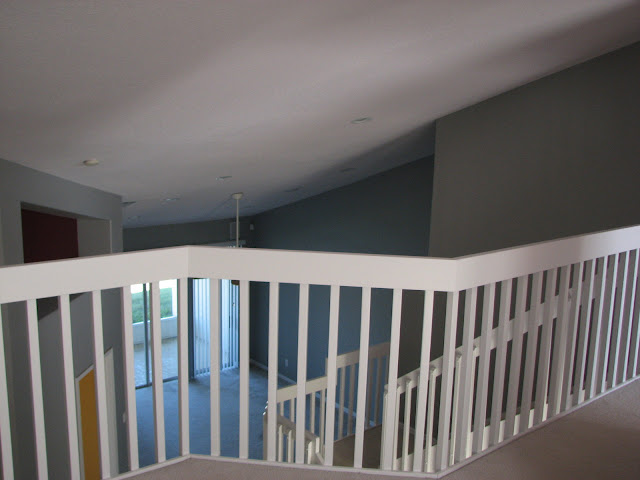
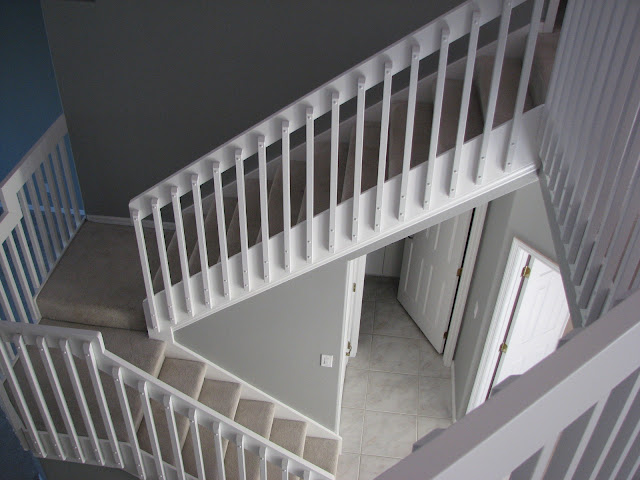
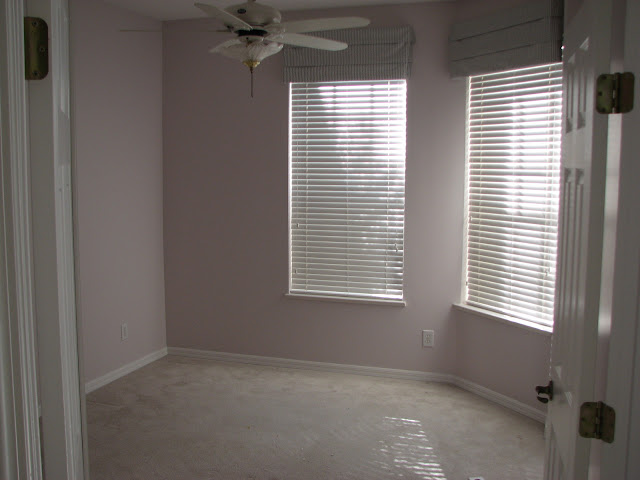
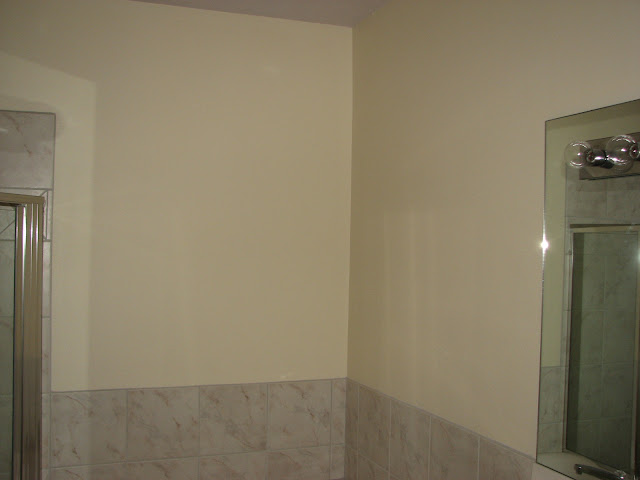
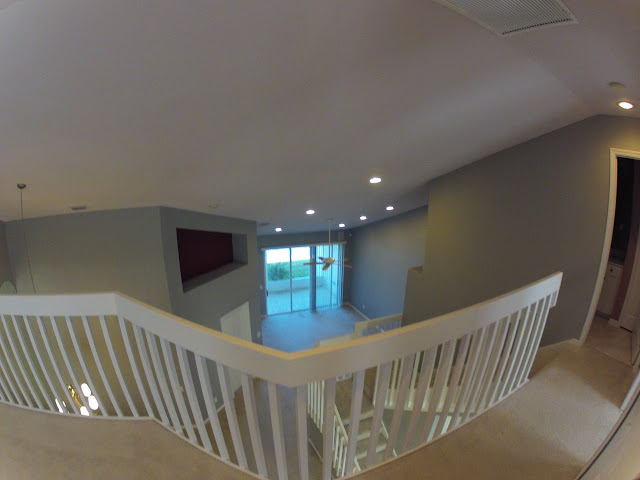
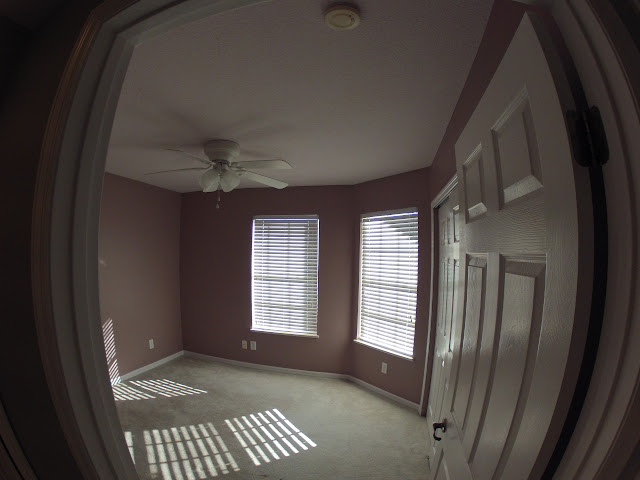
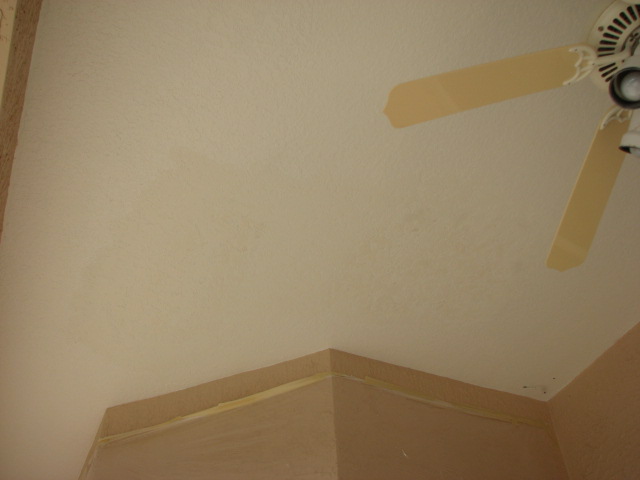
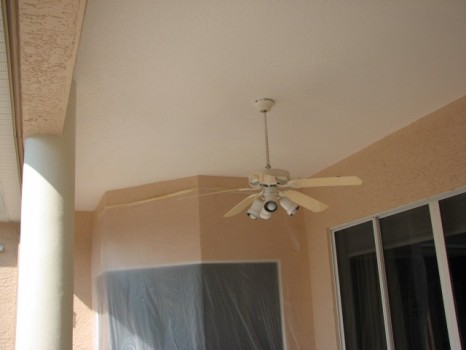
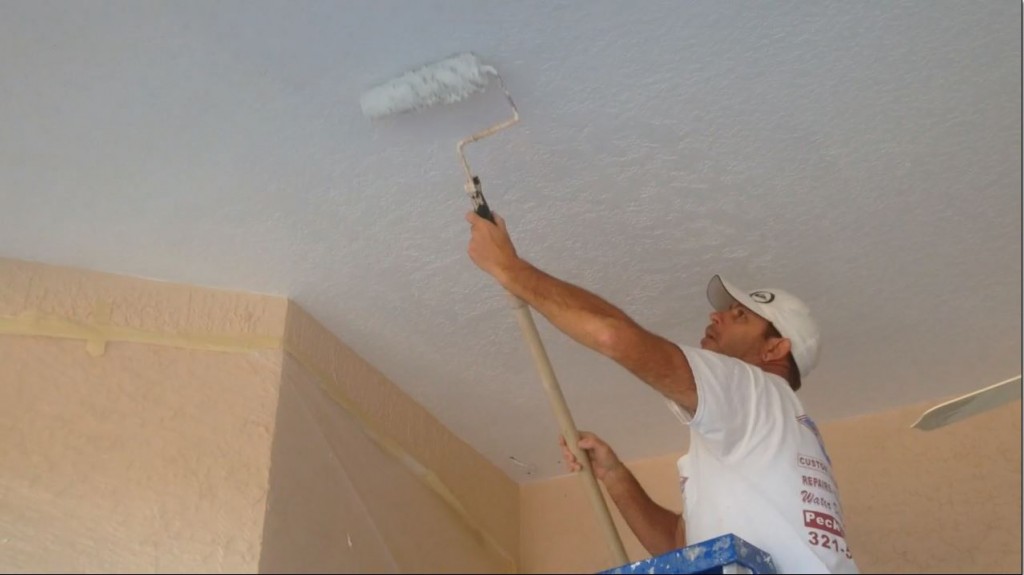
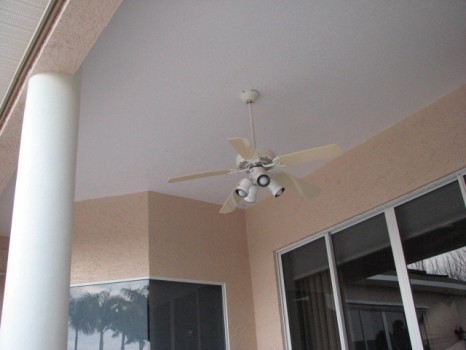
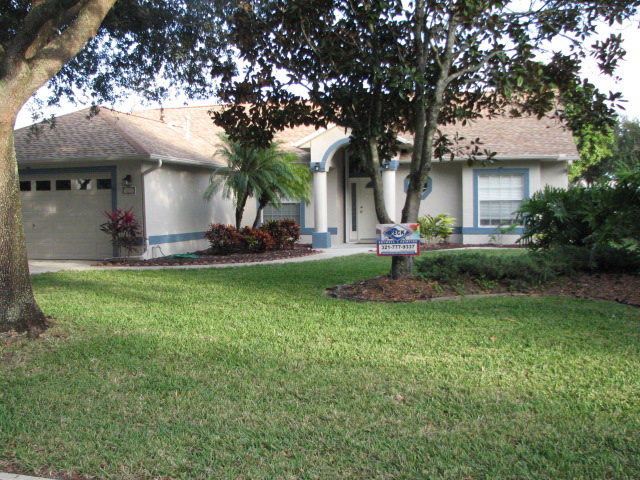
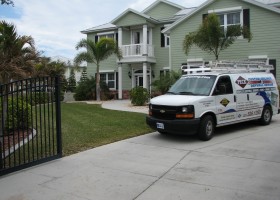
I just finished up this interior painting project in the Suntree/Viera area of Melbourne.
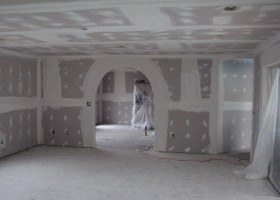
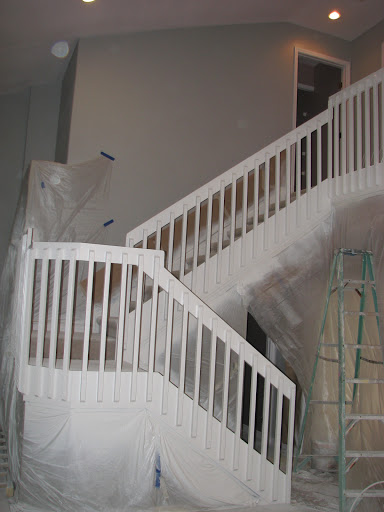
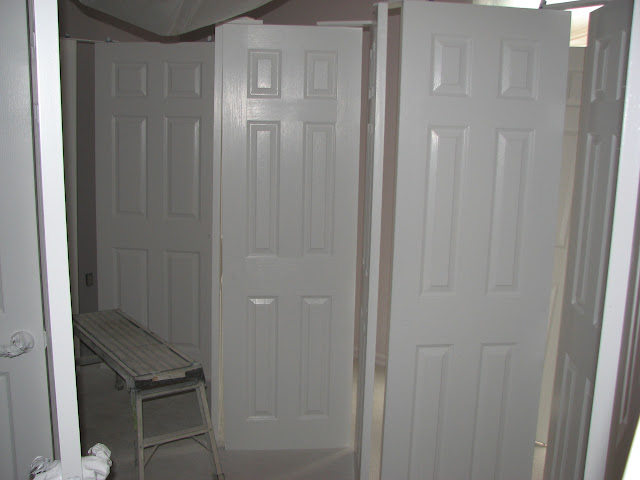
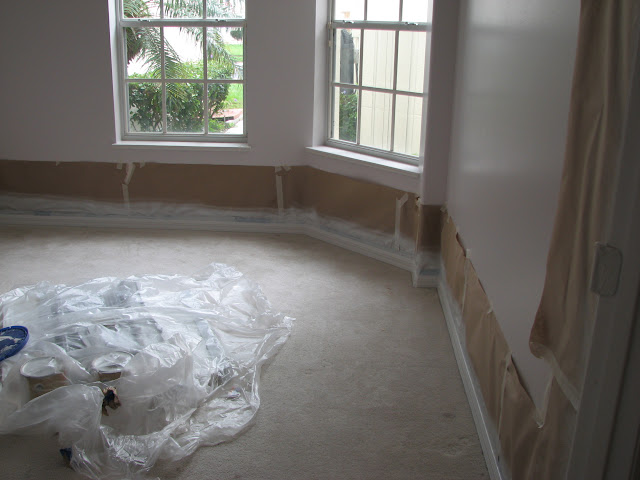
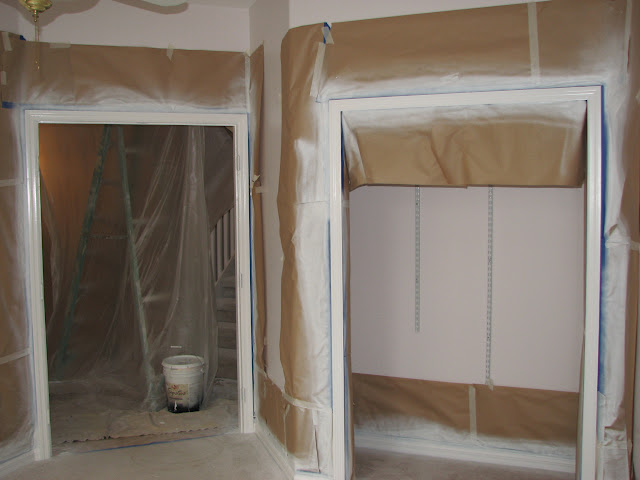
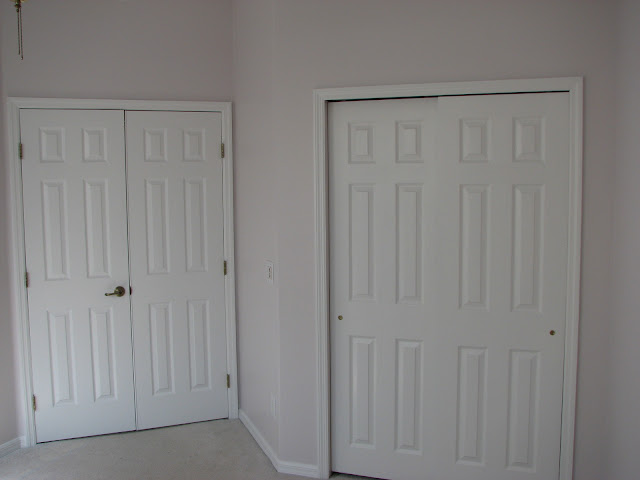
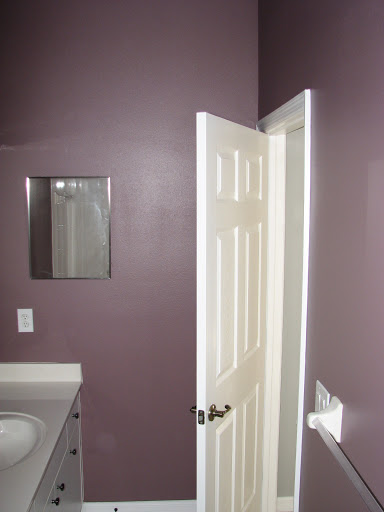
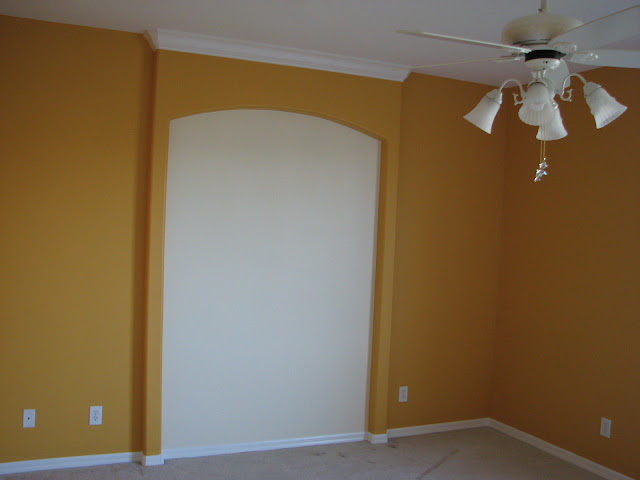
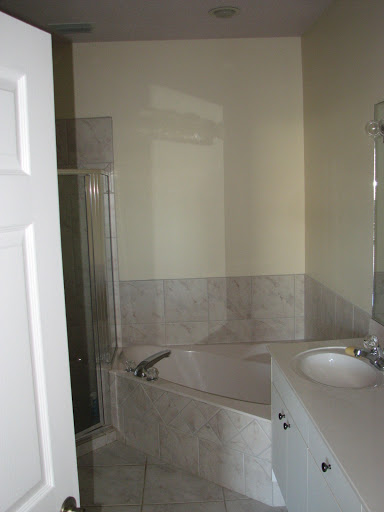
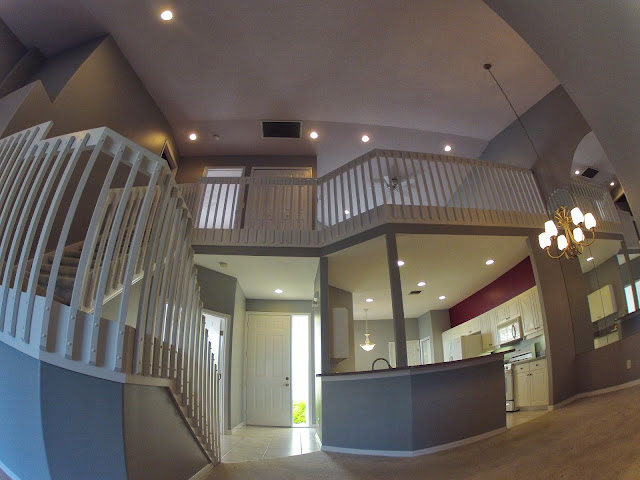
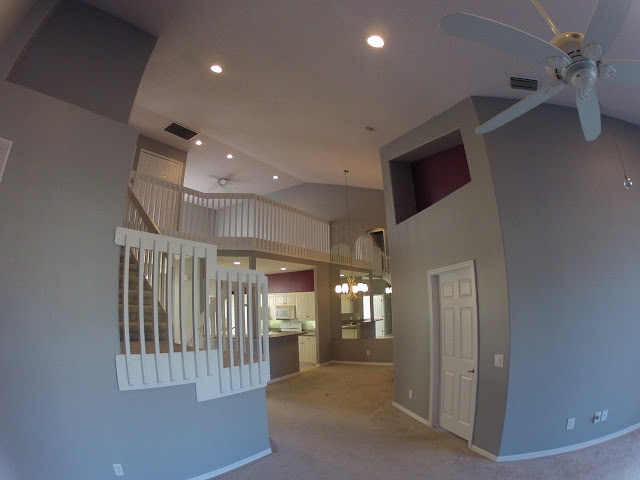
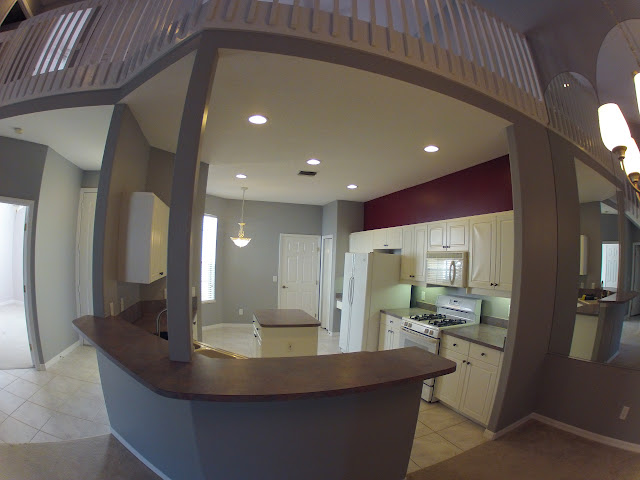
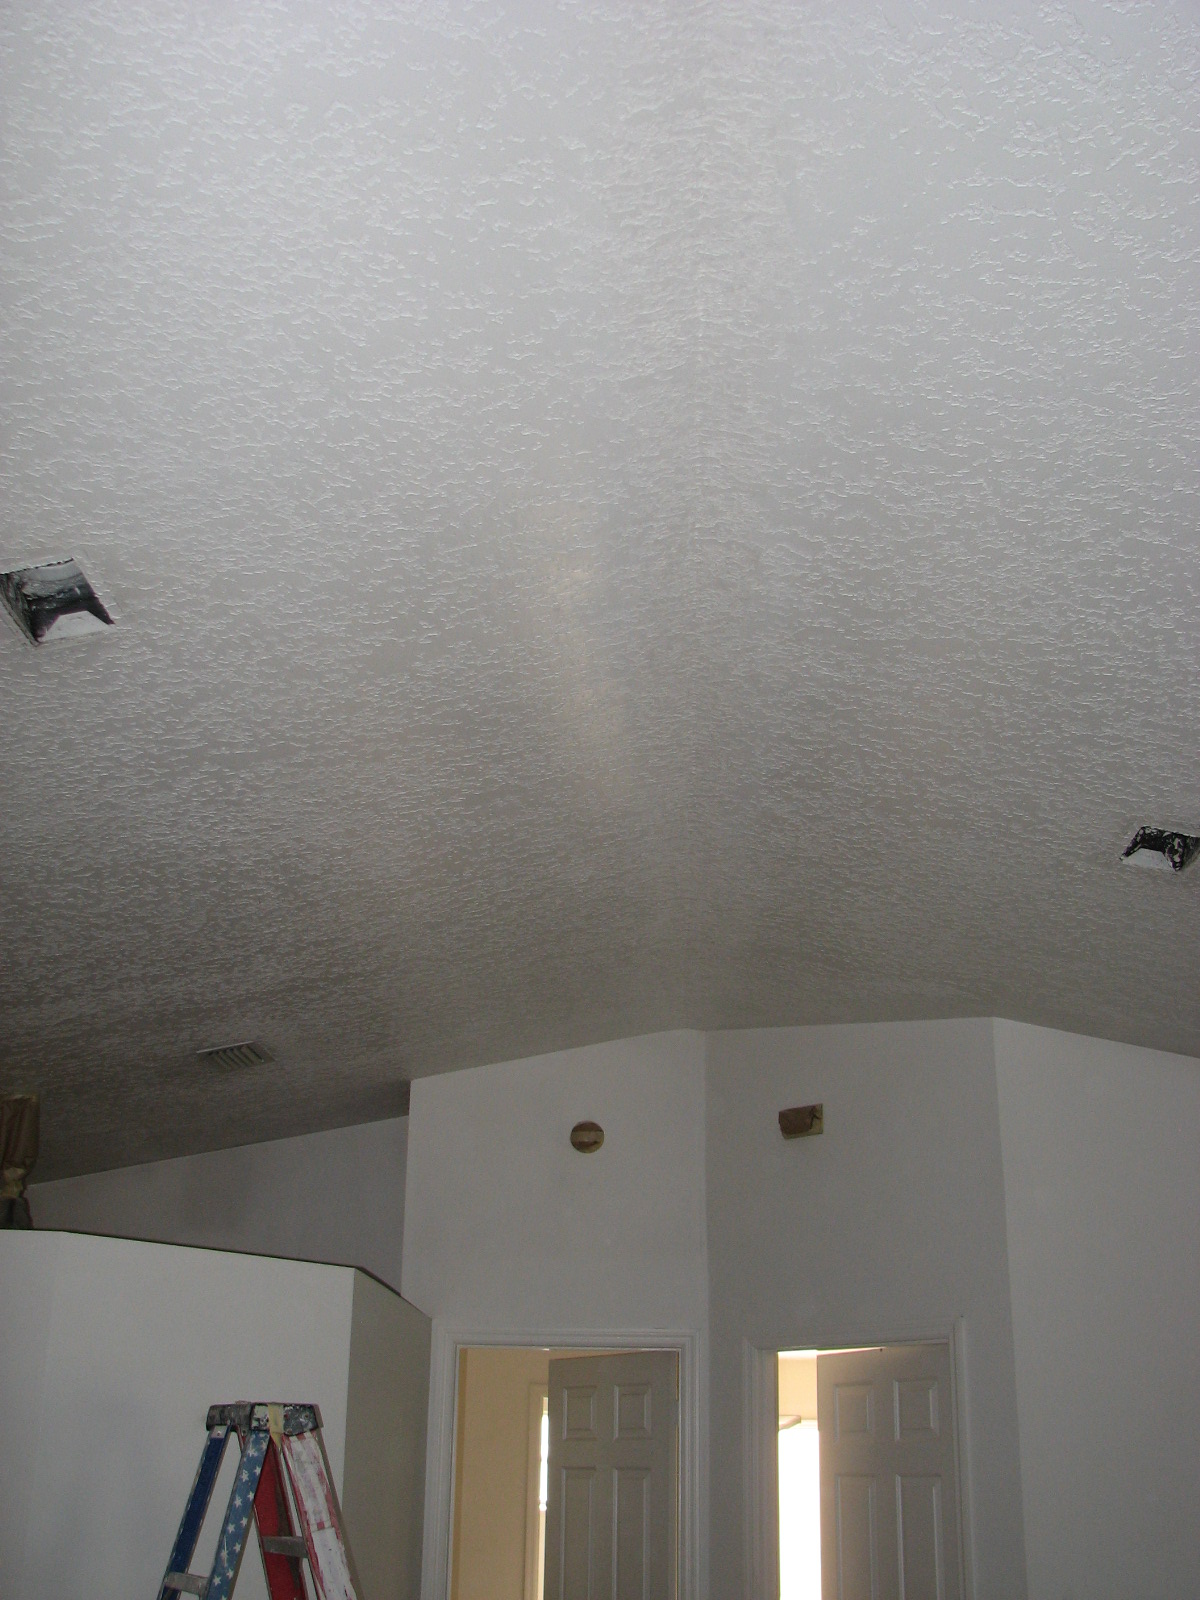
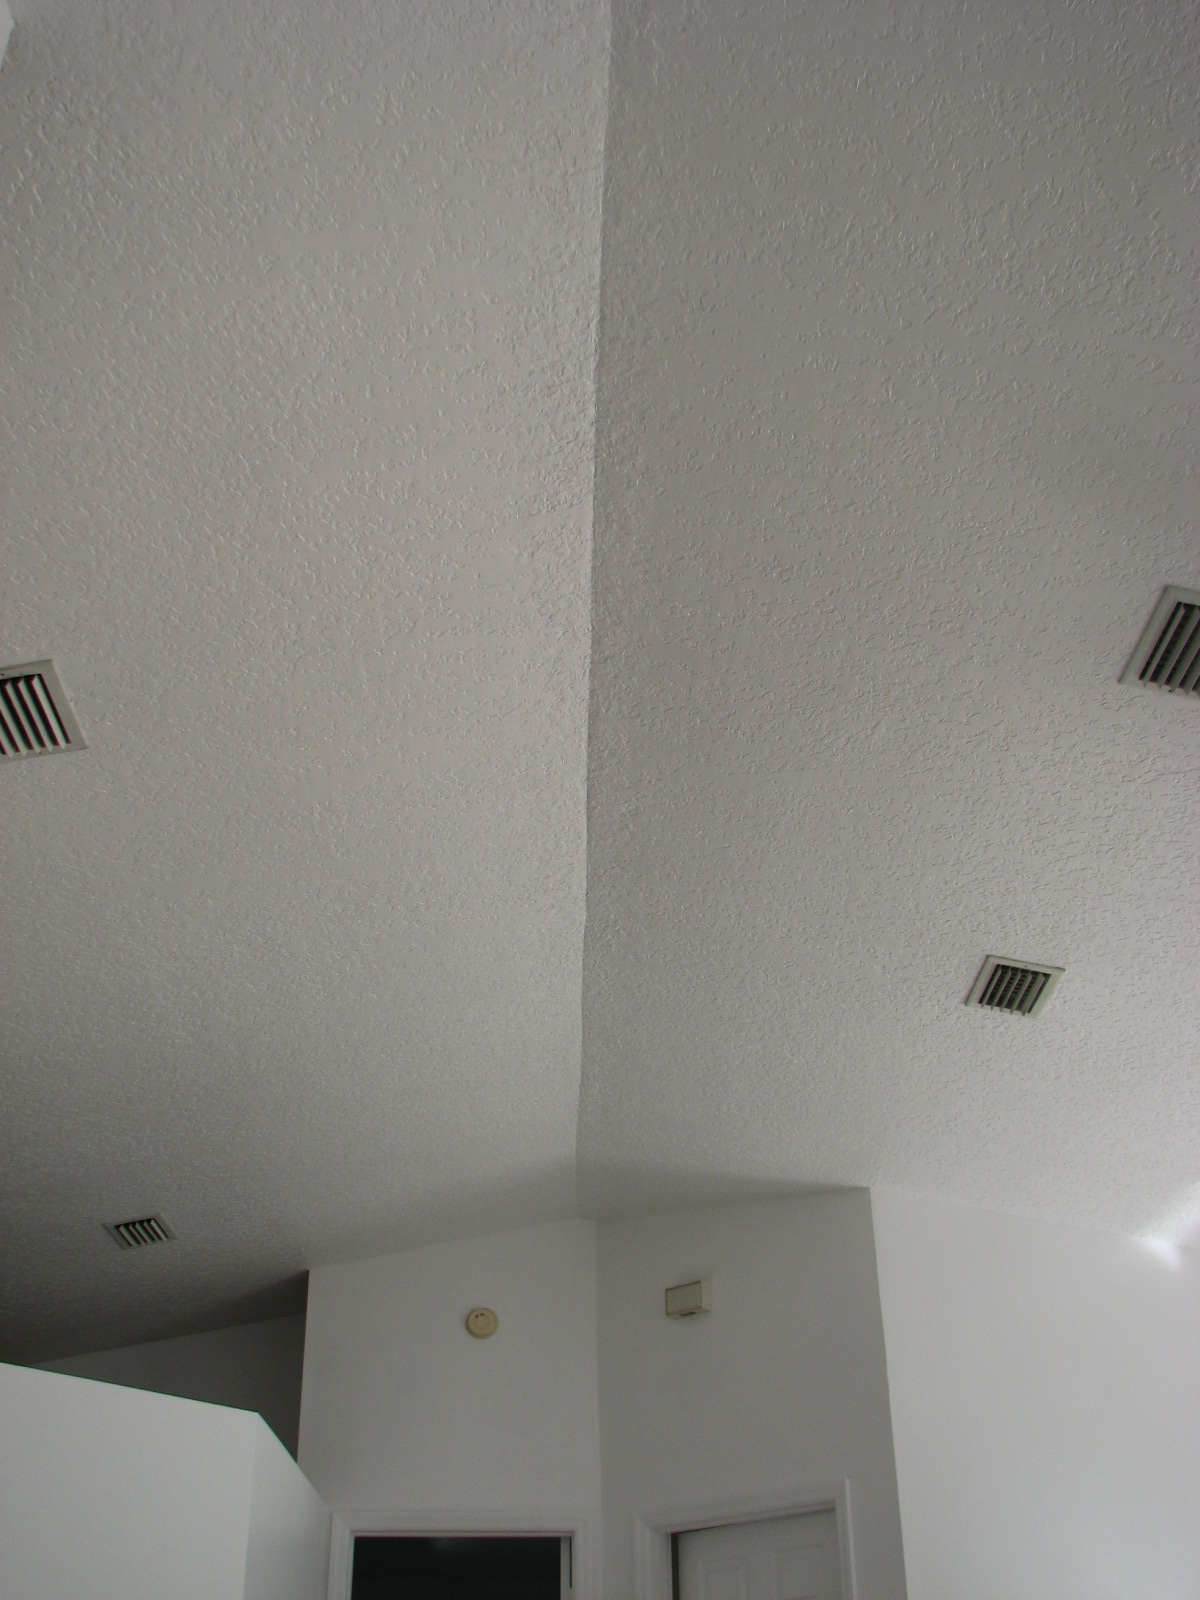
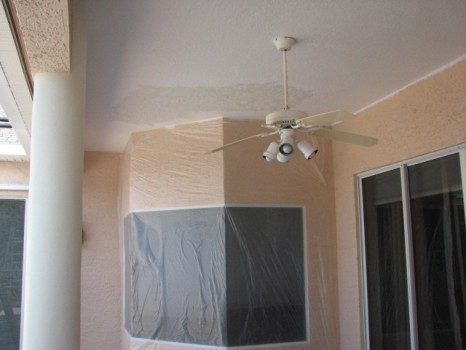
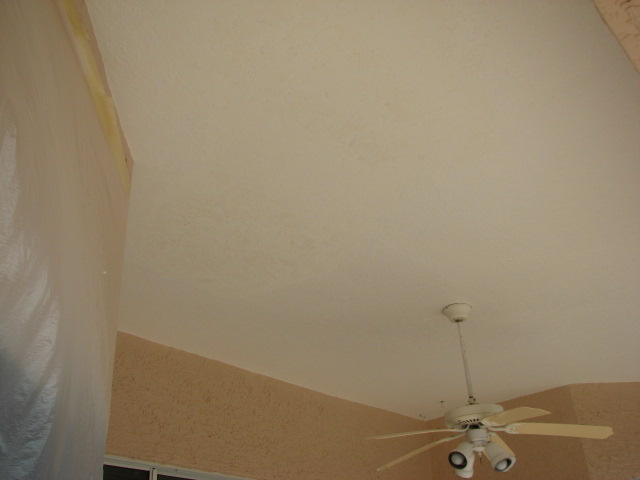
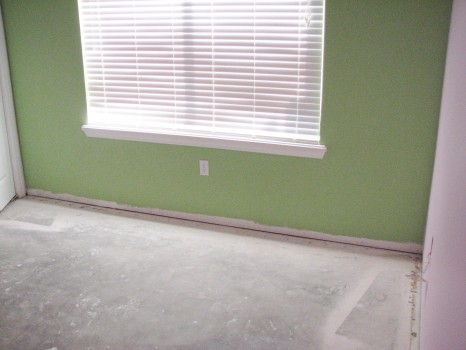
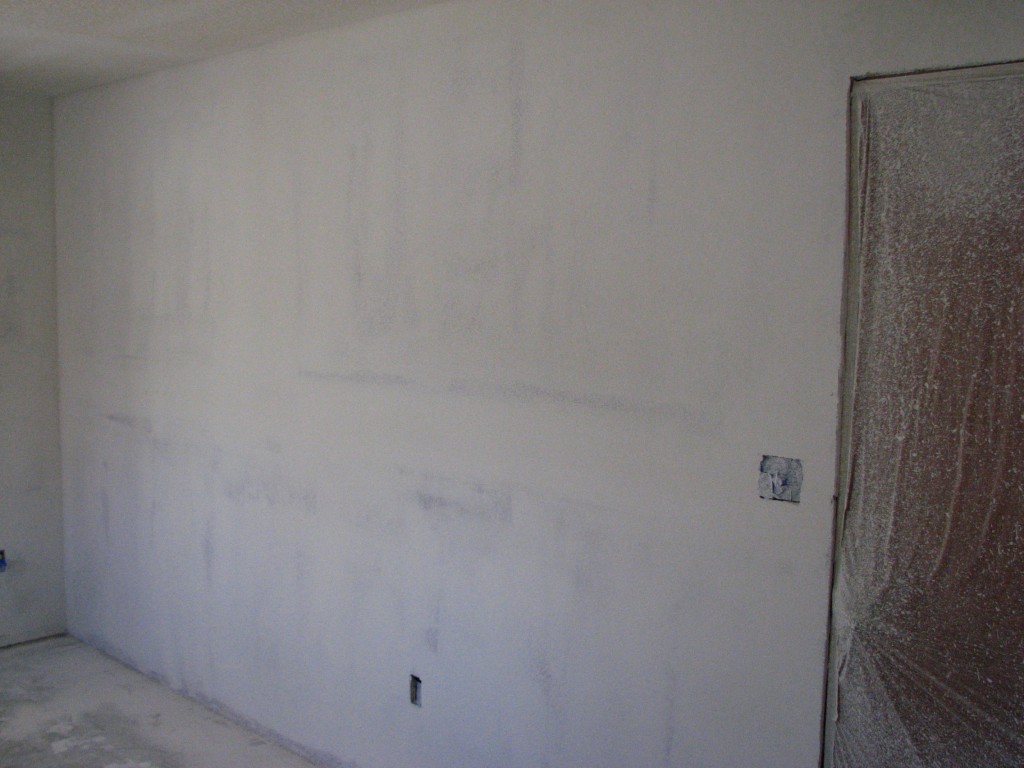
The townhouse is 2200 sq.ft. We painted the entire place: baseboards, casing, crown, stair trim, spindles, all doors, bifolds, ceilings, walls and three accent walls. It was unoccupied and all of the carpeting will be replaced after the painting is completed.
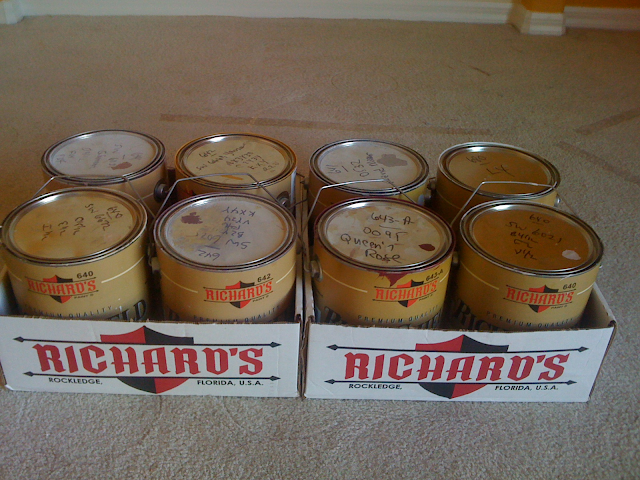
We used a local paint manufacturers paint called Richards Paint. They’re at the top of my the list when it comes to paint quality in my book.
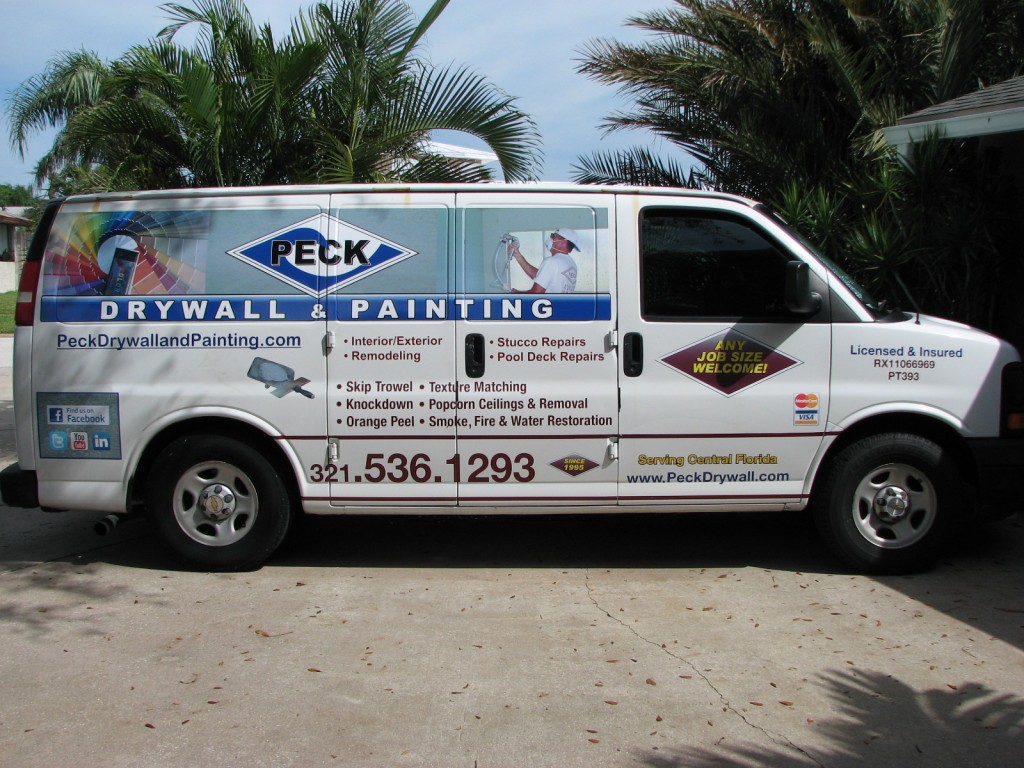
Melbourne, Florida Painting Contractor
What this Homeowner had to say about his interior painting project
By: Peck Painting
Quality Excellent
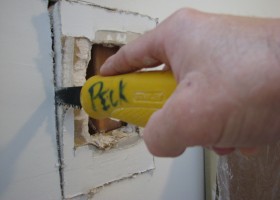
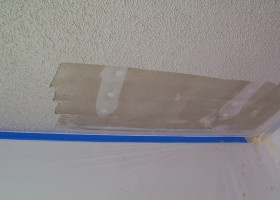
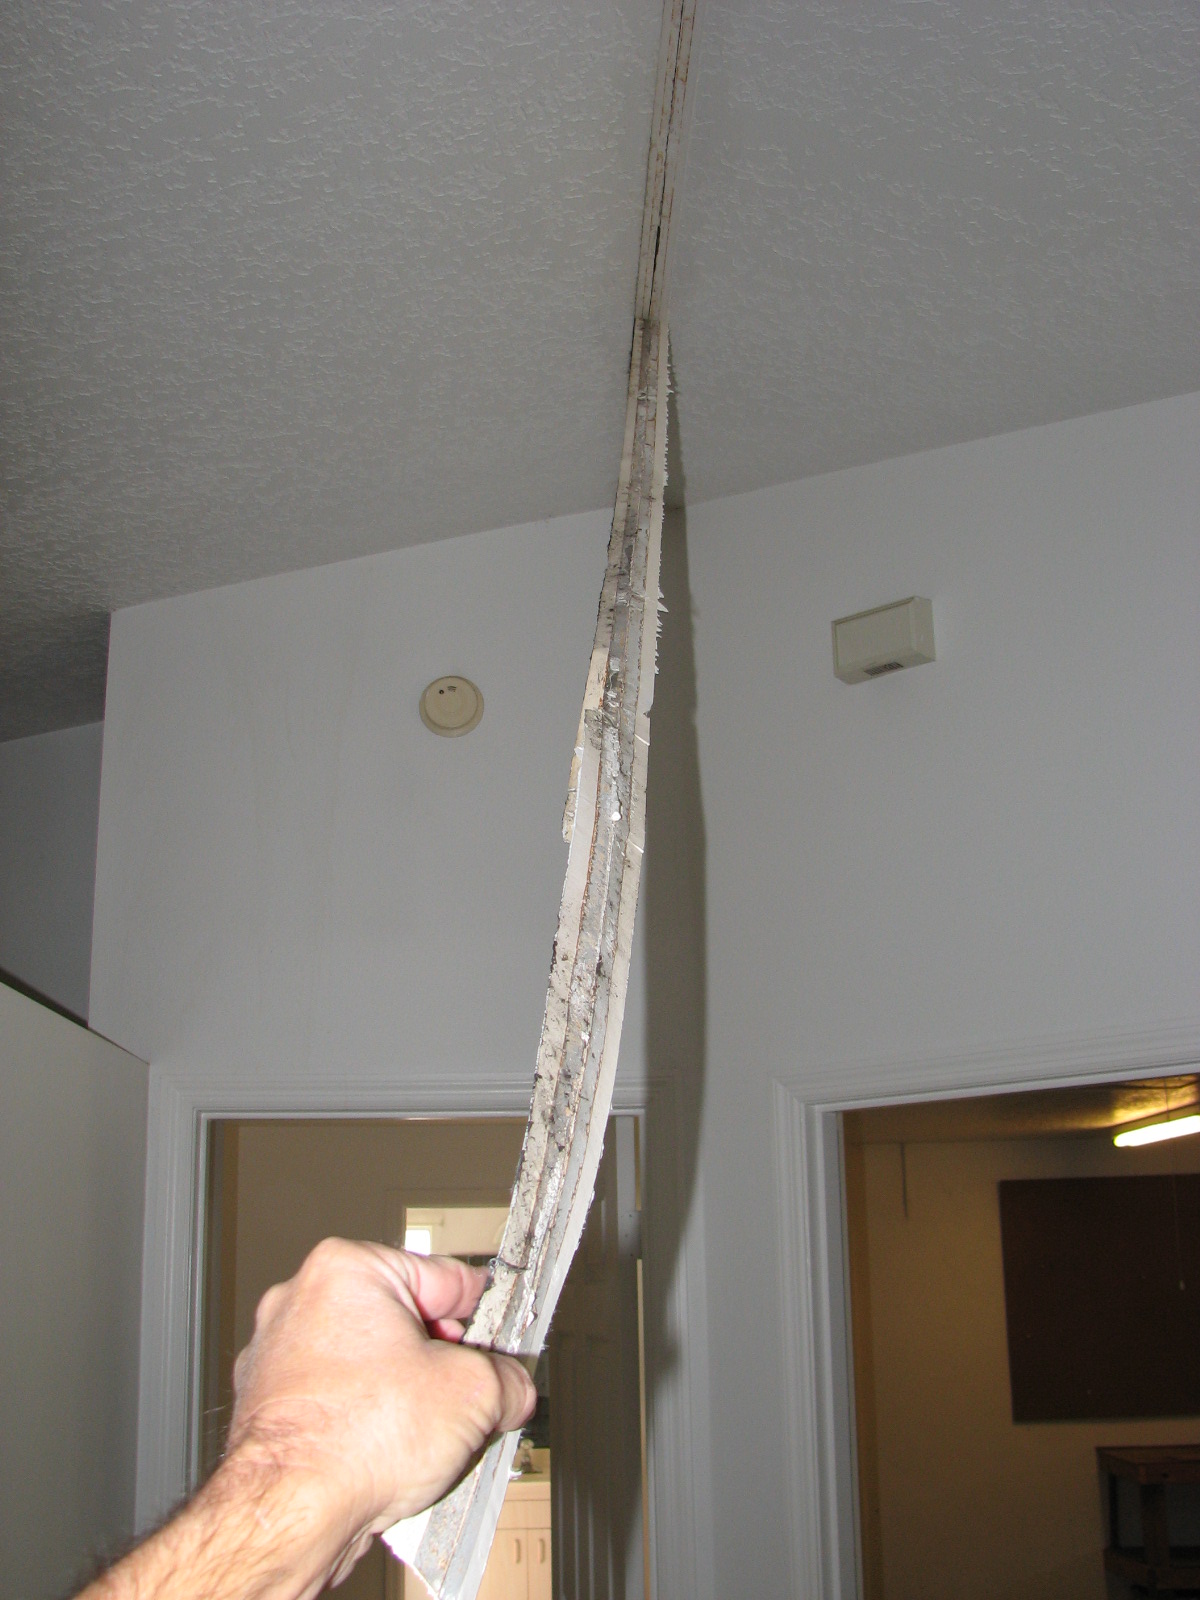
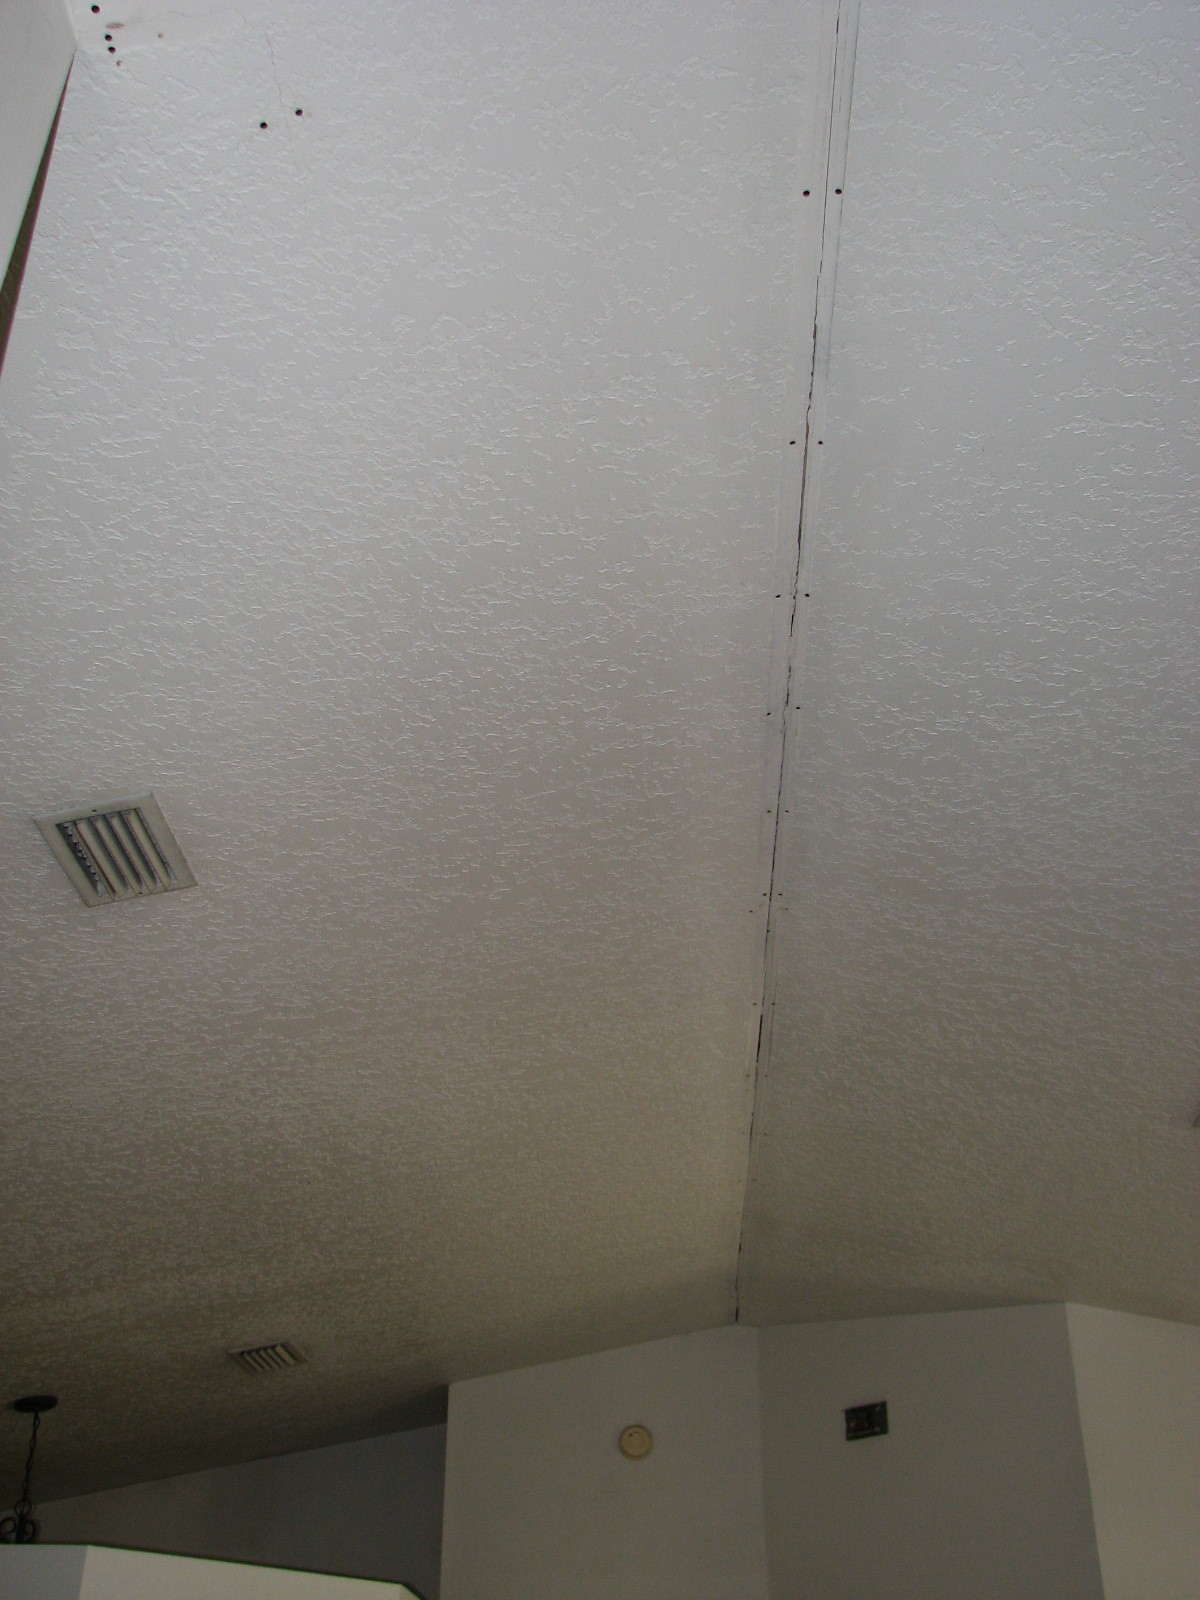
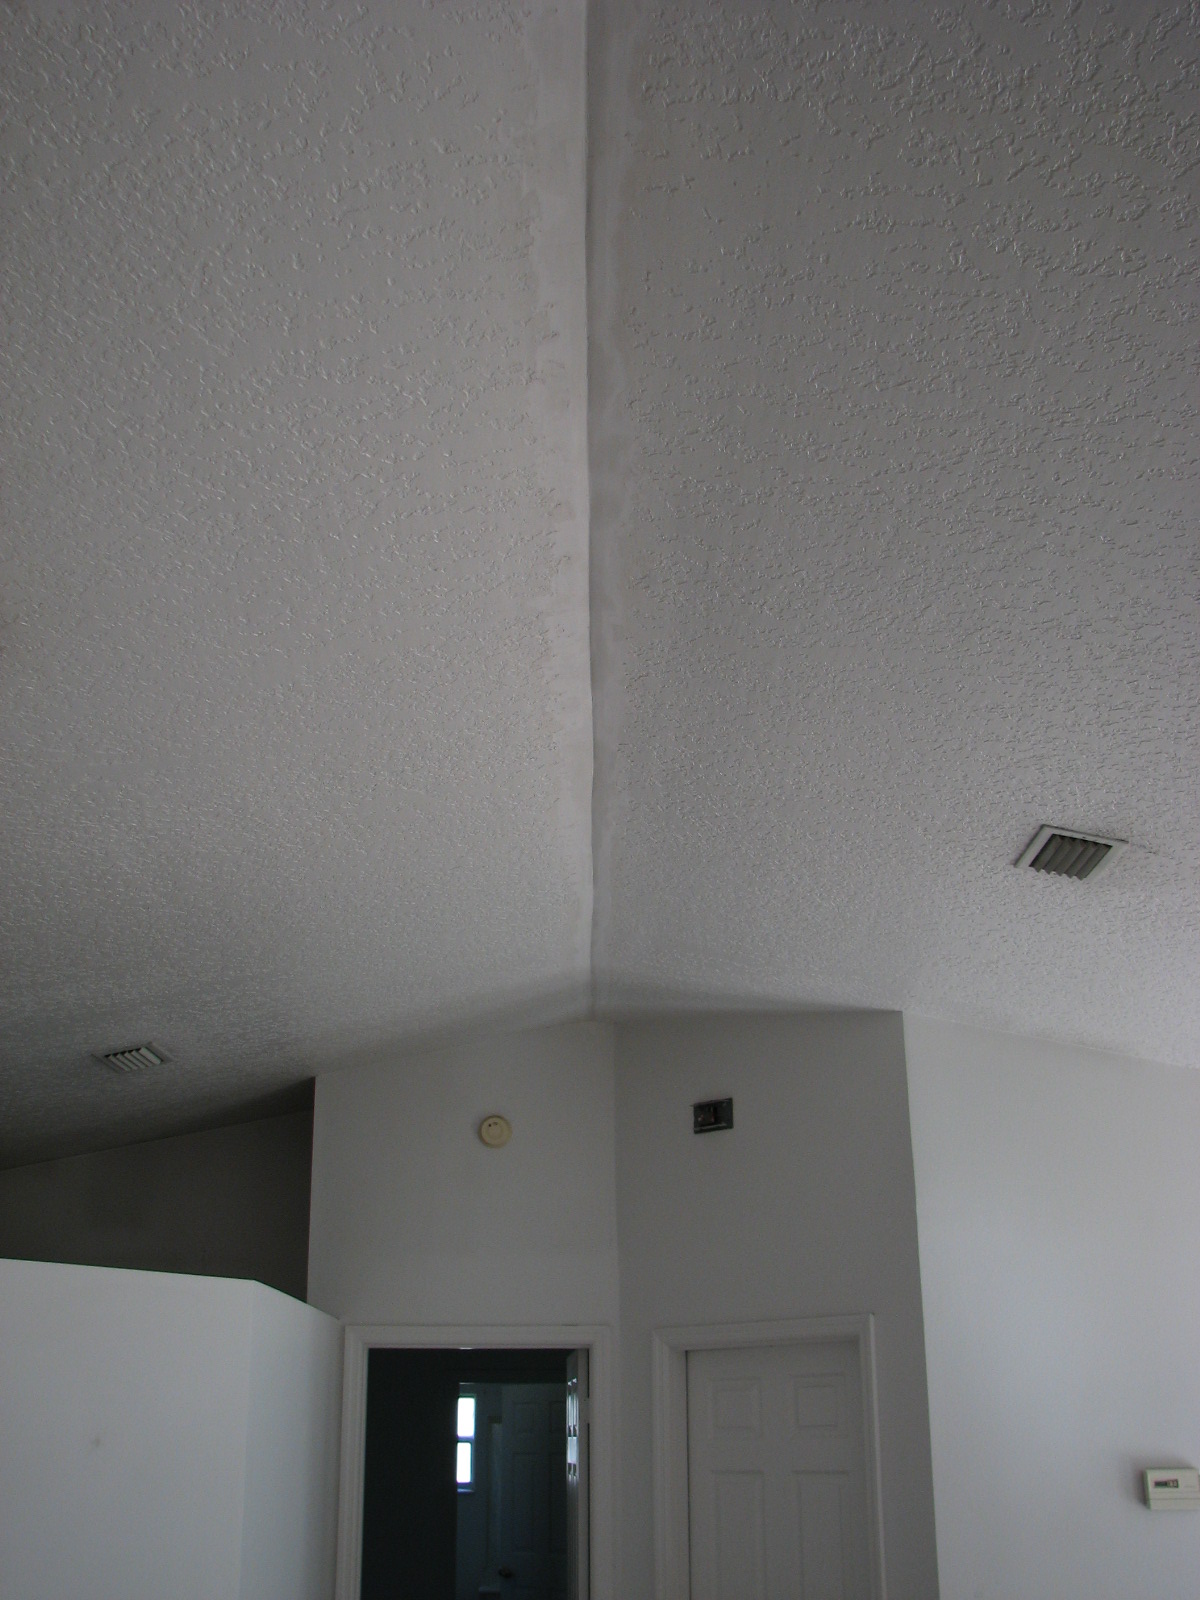
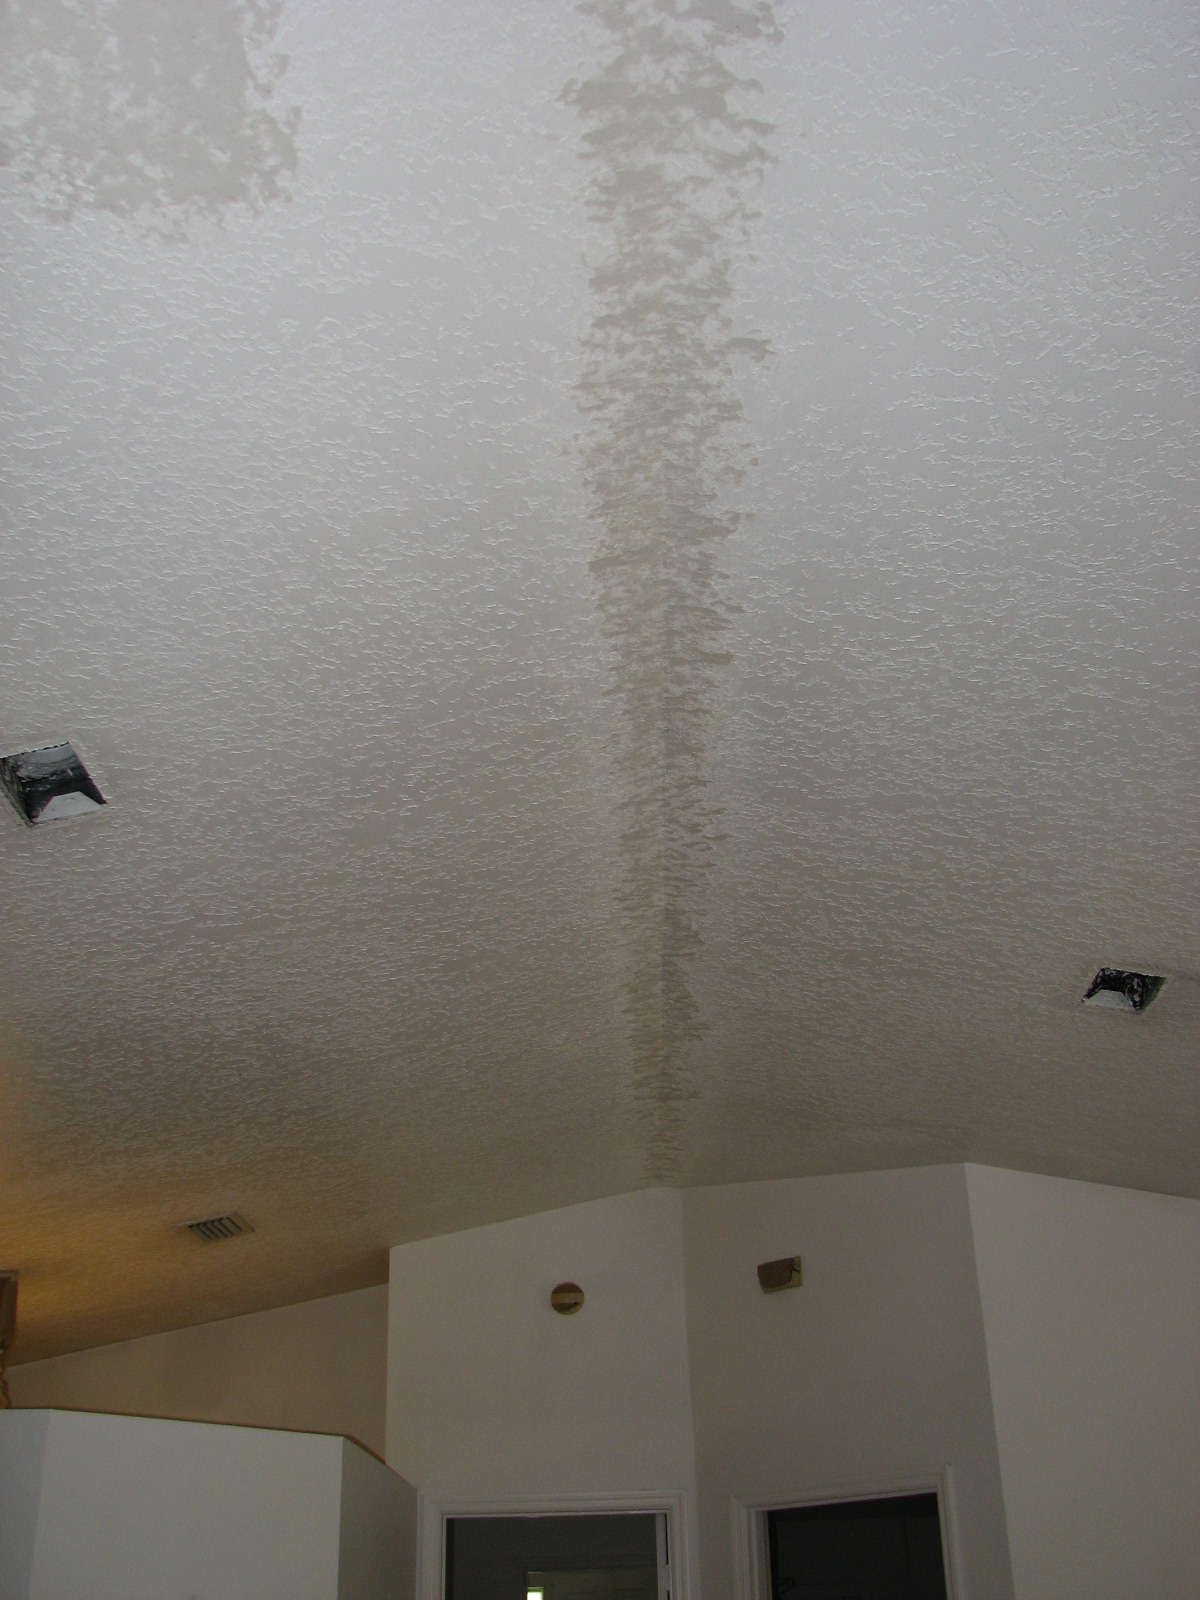
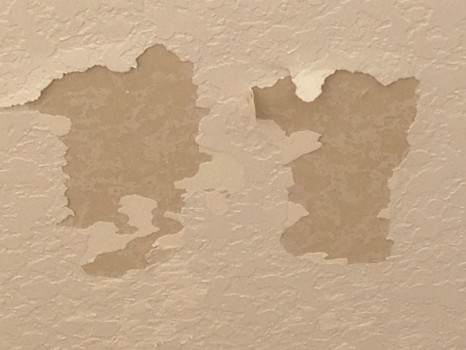
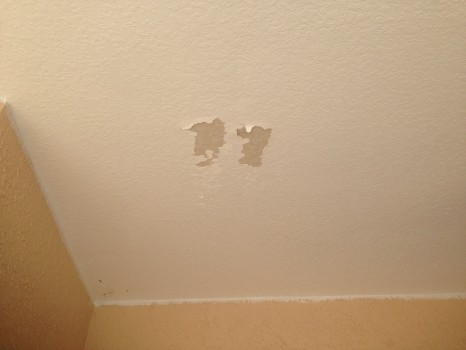
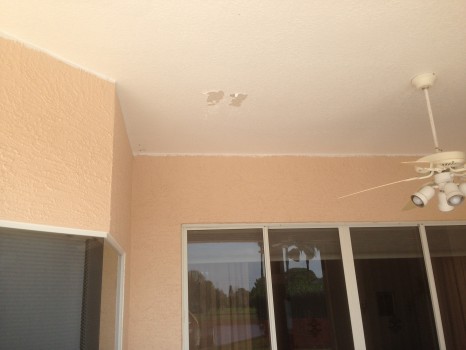
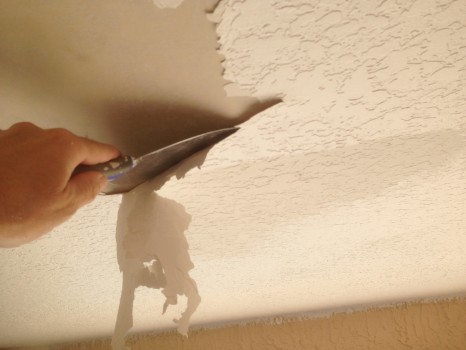
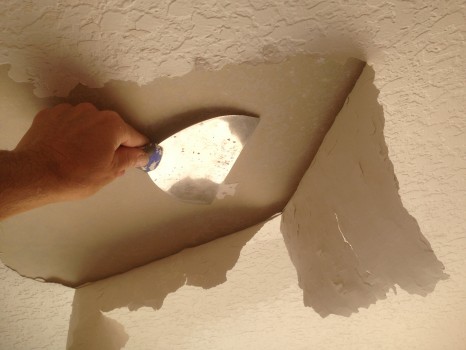
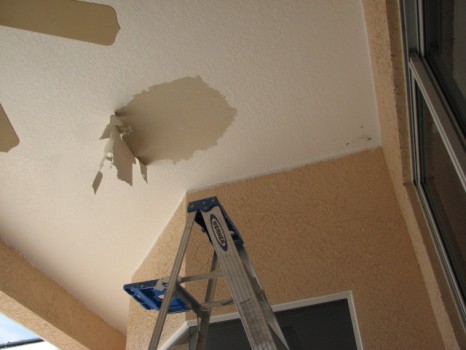
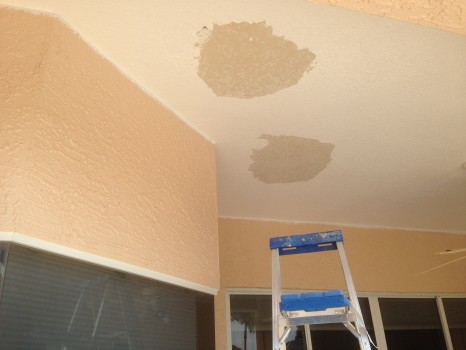
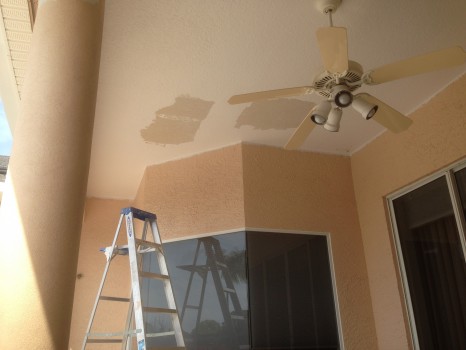
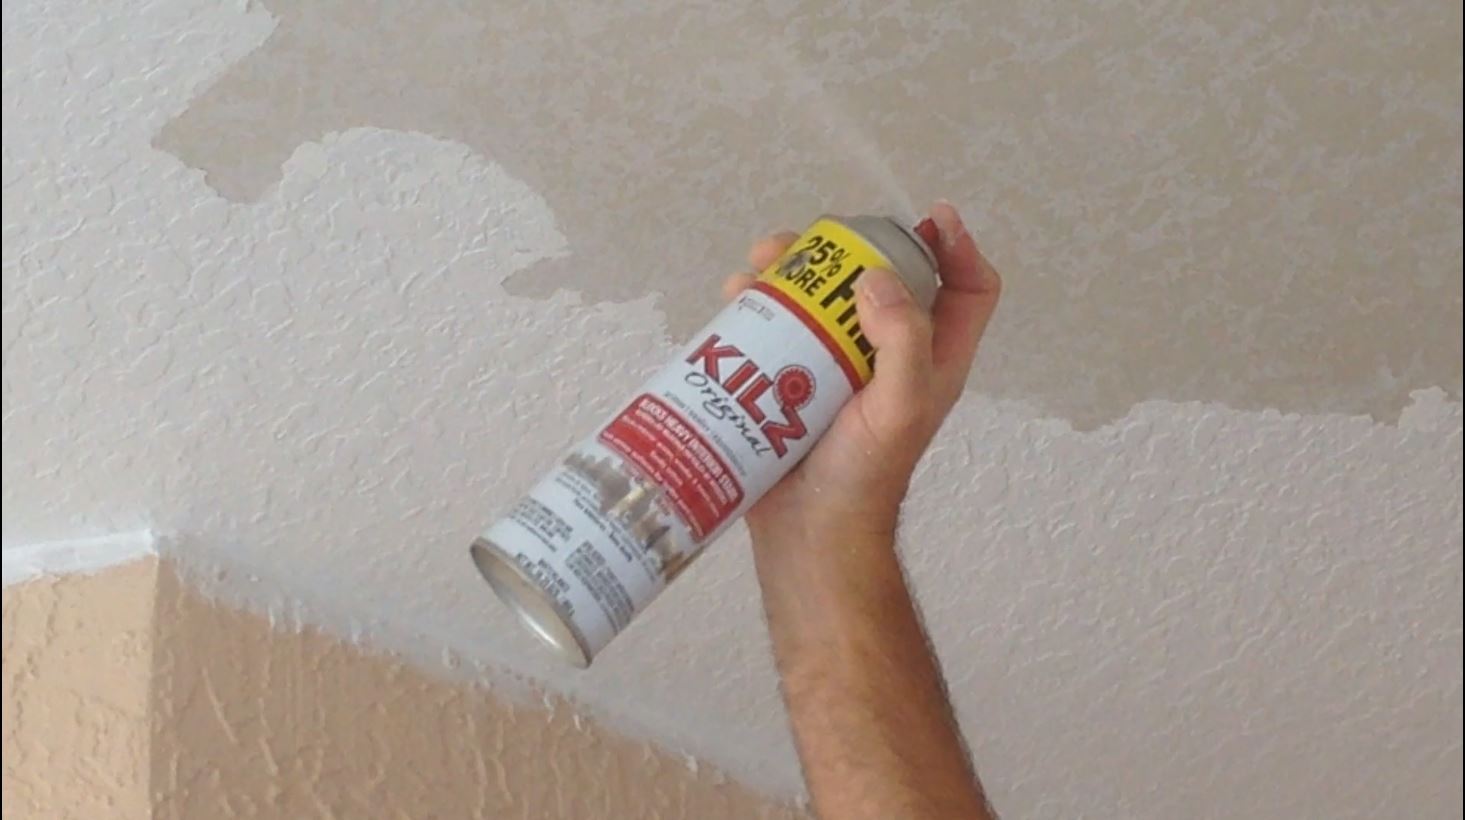
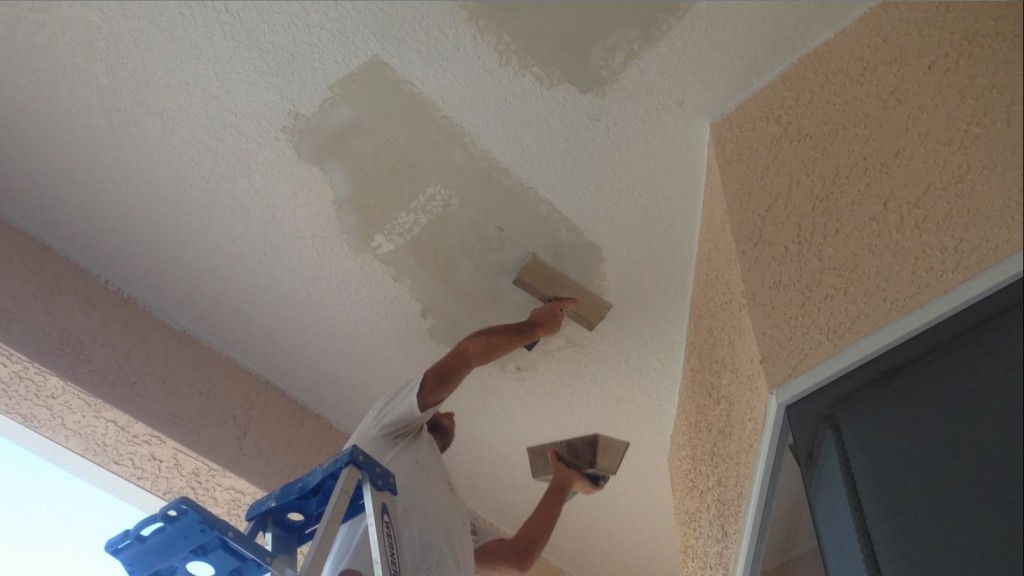
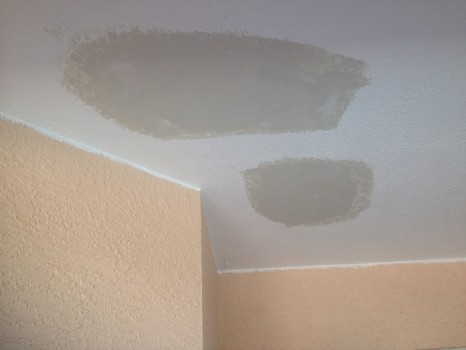
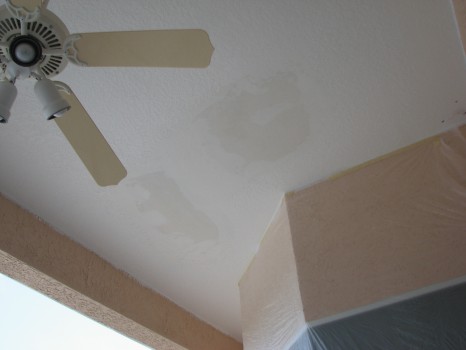
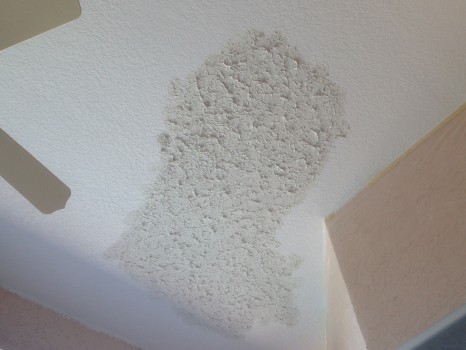
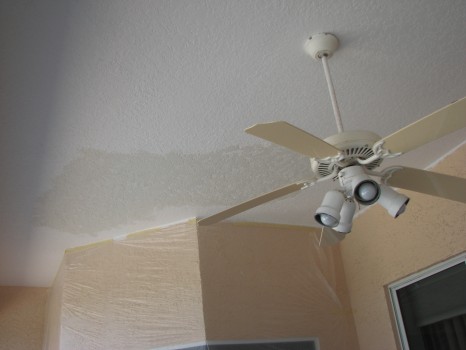
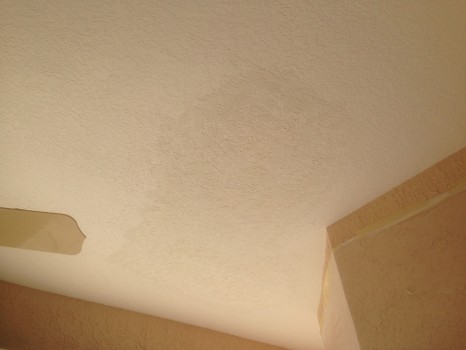
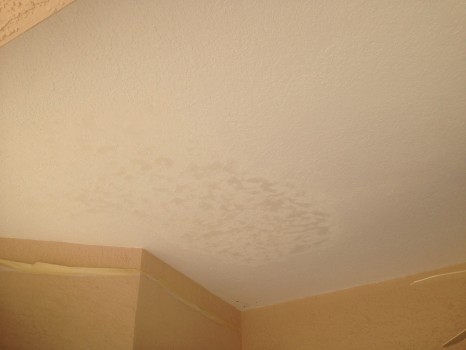
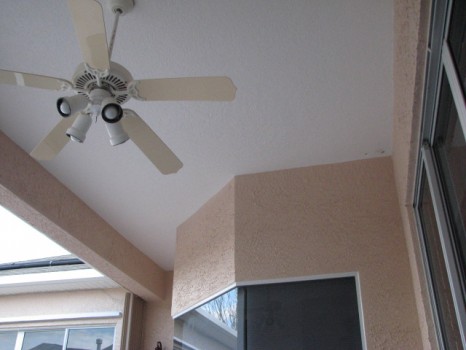
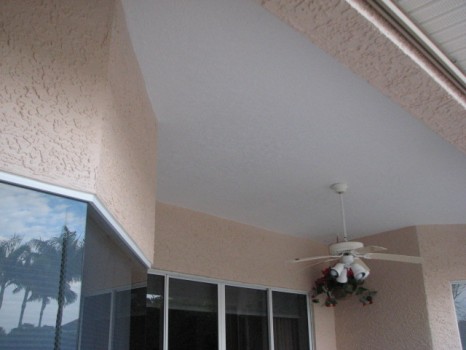
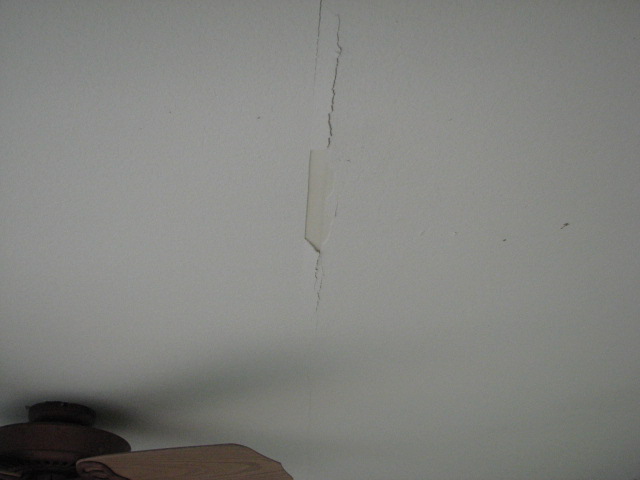
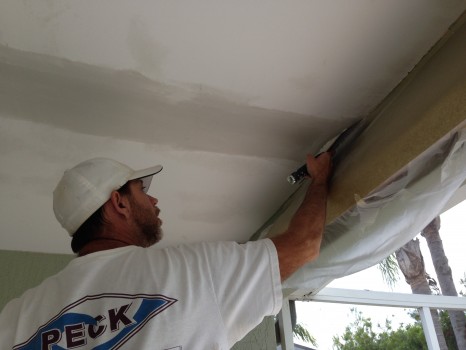
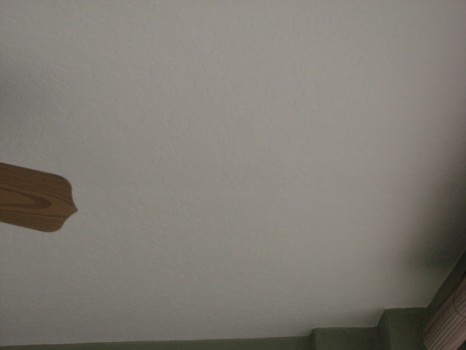
Paul Peck provided an accurate labor estimate then completed a beautiful and professional 100% interior paint job to my recently purchased home. The job required several sheet rock repairs that are now invisible. His attention to detail is obvious. My home has ceilings up to 30′ with nooks and crannies that look just as good as the easily reachable areas. I absolutely recommend Peck Painting.
Randy Becker – Melbourne, Fl
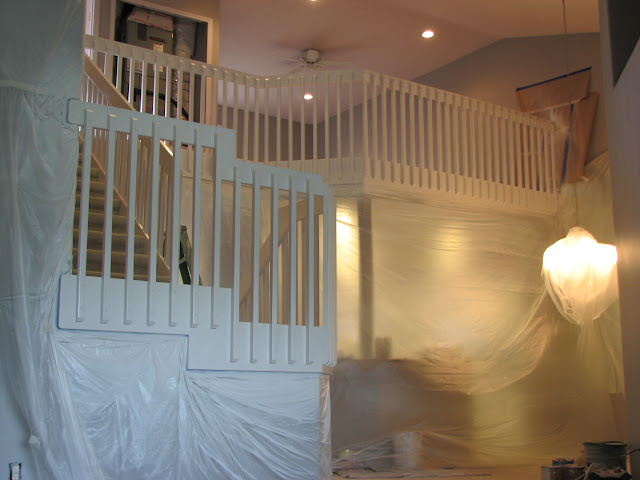
We cut and rolled most everthing. We used the airless sprayer to spray the stair trim, baseboards, bifolds, doors and trim.
Ceilings: Flat Wnite.
Walls and Accent Walls: Satin
Trim, Doors, bathroom’s and Laundry Room: Semi-gloss


Completed interior painting.

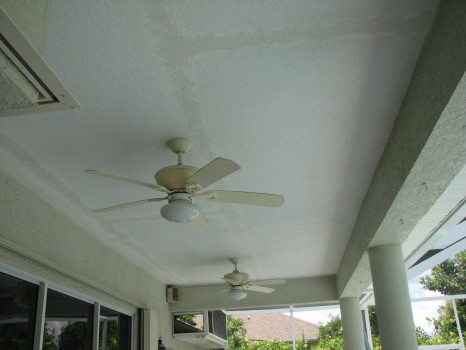
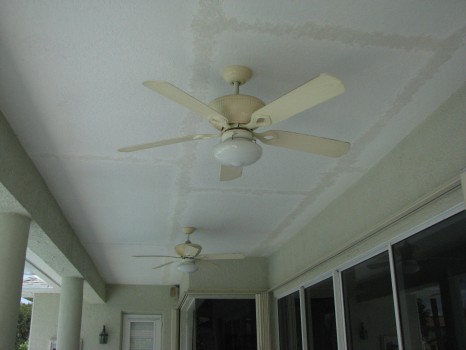
A couple from the GoPro:
Serving the Brevard County area with interior painting since 1995
Return to Peck Drywall and Painting’s–> Home Page
Schedule an interior painting Estimate Here
Feel free to call or Email Us for more information about our interior painting services!
Serving all of Brevard County
South: 321-777-9337
Central: 321-453-6233
North: 321-383-3574
Peck Interior Painting Service Areas Include:
Melbourne-Melbourne Beach-Palm Bay-Indialantic-Indian Harbour Beach-Vero Beach-Satellite Beach-Viera-Suntree-Cocoa Beach-Rockledge-Merrit Island-Cape Canaveral-Port St. John-Cocoa-Titusville


")