Reveal Bead – Tips and Tricks
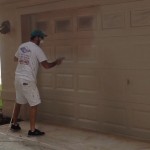
In this Blog video I’ll be demonstrating the rope trick on some inset baseboard using Trim Tex Reveal Bead for a 1/2″ reveal and Super Seal Gasket L Bead Tearaway for where the inset baseboards meet the porcelain tile floor. I’ll be installing the reveal bead by setting it in mud using USG Easy Sand 90 minute setting type joint compound w/ Trim Tex Powdered Mud Max joint compound additive. I’m also bedding in fiberglass mesh drywall tape over of the beads in the special blend of mud.
Reveal Bead Rope Trick on Youtube
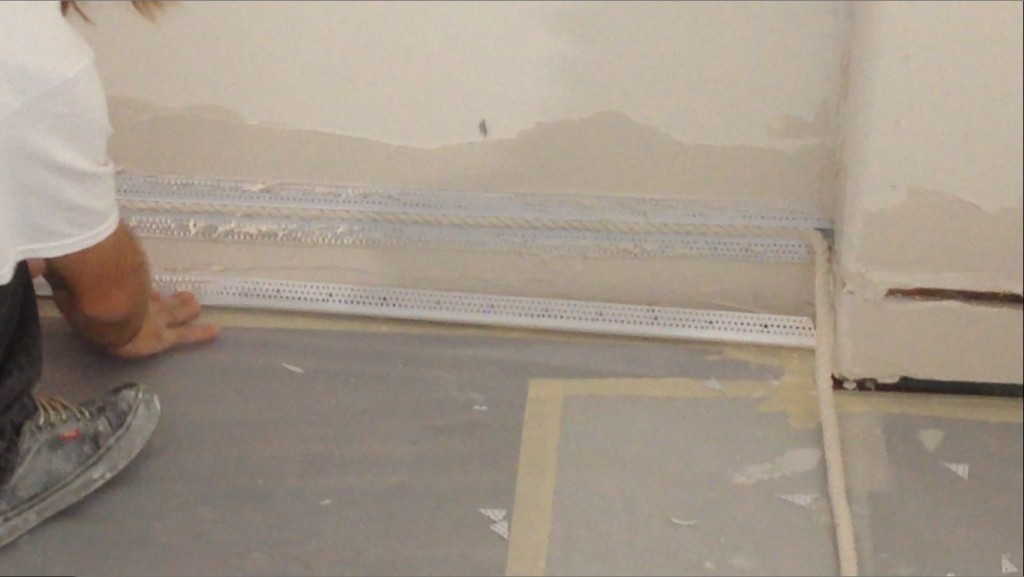
The rope trick is perfect for protecting the reveal from getting joint compound in the reveal of the bead when doing drywall or any type of drywall art wall finishing.
The Rope trick is a must when doing reveal beads!
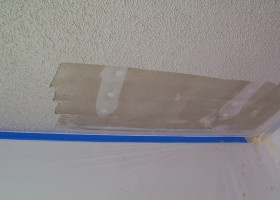
Once the rope is pulled out from the first coat I’ll be doing two more coats of the Mud Max 90 without the rope. Because with the rope trick the mud is very close to being flat along the top and bottom of the architectural reveal bead. I chose to use the architectural reveal bead because it creates the sharpest cleanest aesthetic reveals. The regular reveal bead has has more of a rounded profile along the top and bottom of the reveal. Both of these types of 1/2″ reveal beads or any reveal beads for that matter can utilize the rope trick to keep mud from getting in the reveal while doing the first mud set and taping coat.
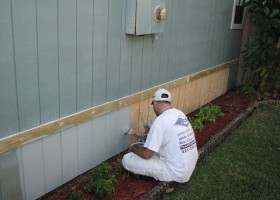
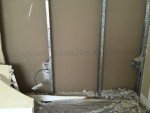
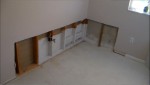
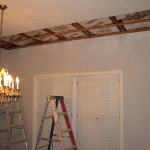
The Rope Trick using Trim-Tex Architectural Reveal Bead on an inset baseboard project
Subscribe to my Youtube Channel
to see the progress of the inset baseboards on this luxury condominium renovation!
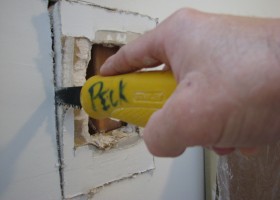
Comments from: Paul Peck- Owner at Peck Drywall and Painting
In Conclusion: I highly recommend this rope trick any drywall or stucco contractors installing any type of reveal bead!
I think the rope trick saved me several hours of work by not having to take the extra time to try and keep as mud mud as possible from getting into the reveal bead and also the time to clean out the reveal after the first coat. Because it would be virtually impossible to keep mud out of the reveal while doing the first coat of Mud max 90.
Tip: Keep a five gallon bucket filled halfway up with water while your pulling the rope out and you can clean it off easily in the bucket wit a rag.
PS: Our record for the most continuous amount of rope pulled was the full 50′ of rope that we had.
Can you beat that Record???


")