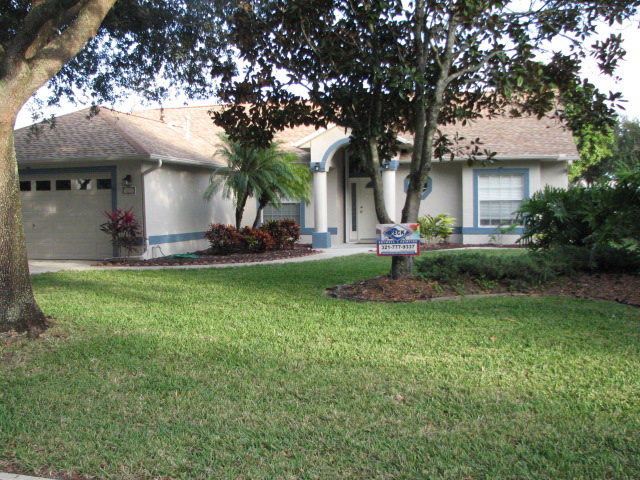
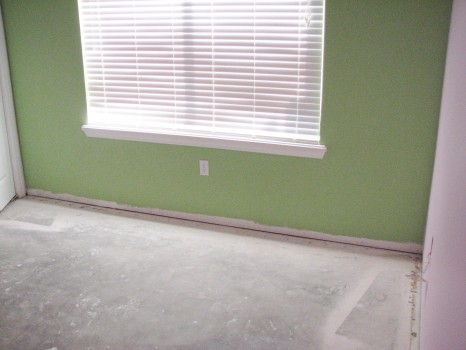
On this master bedroom and bathroom remodeling project in Merritt Island, FL I’ll be adding some sound reduction drywall w/ Green Glue compound and sealant to try and reduce the noise in a master bedroom coming from a home theater entertainment system on the other side of the existing master bedroom wall.
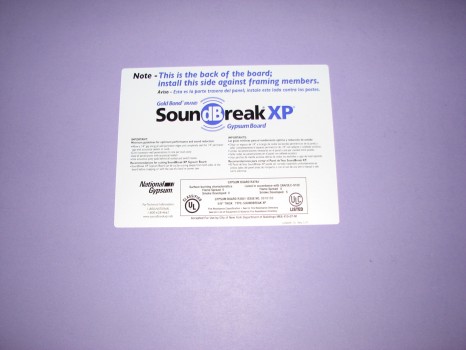
Gold Bond® BRAND 5/8″ SoundBreak® XP® Gypsum Board with Sporgard™
Do you have noisy neighbors or a kickin home theater system and want to reduce some of the noise?
I can help You with some of my state of the art soundproofing techniques and noise reducing products!
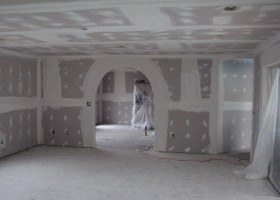
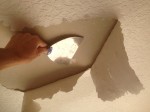
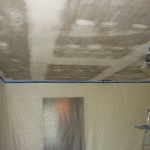
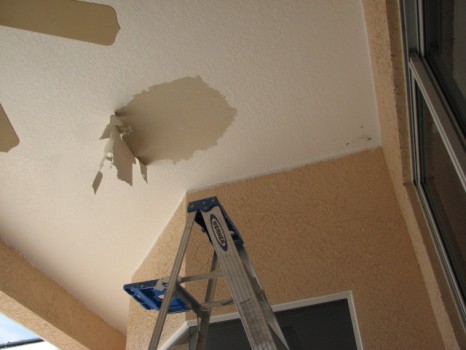
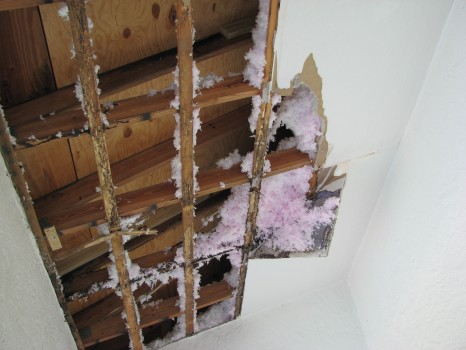
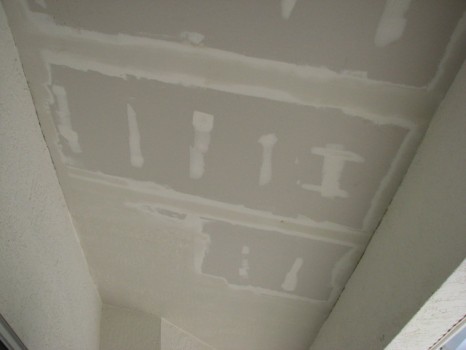
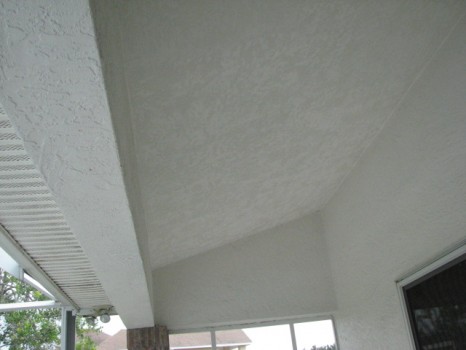
I’ll also be removing all of the popcorn ceiling texture, replacing a sheet of drywall on the master bathroom ceiling, skim coating all of the walls and spraying an orange peel texture to match the texture in the rest of the home.
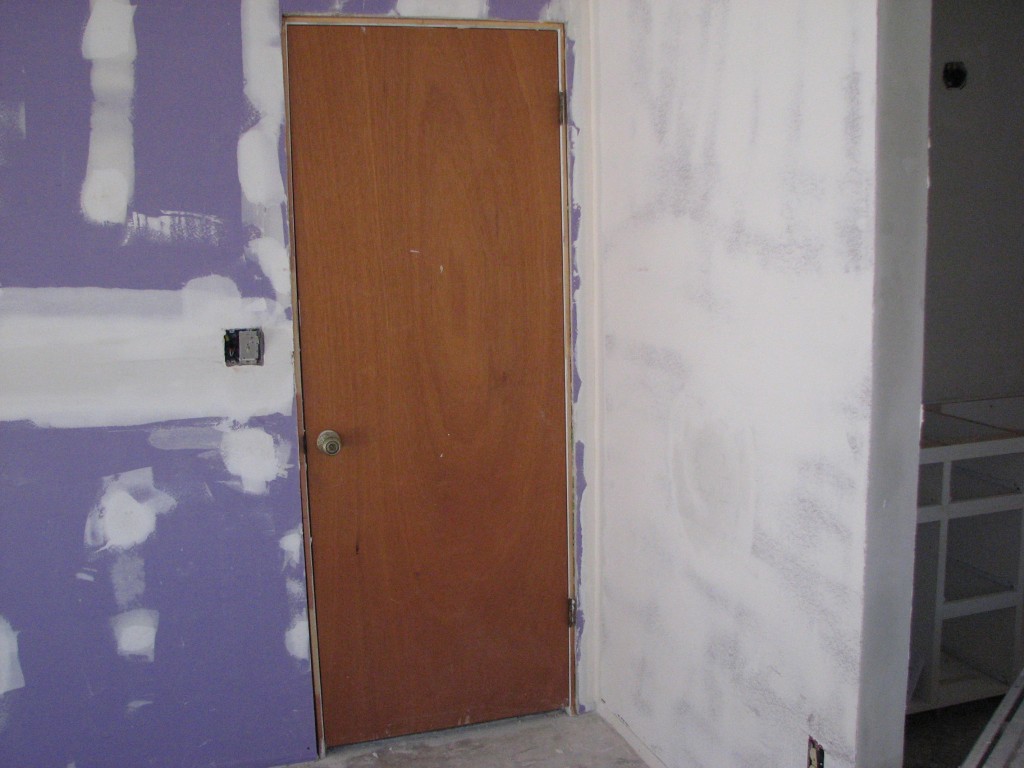
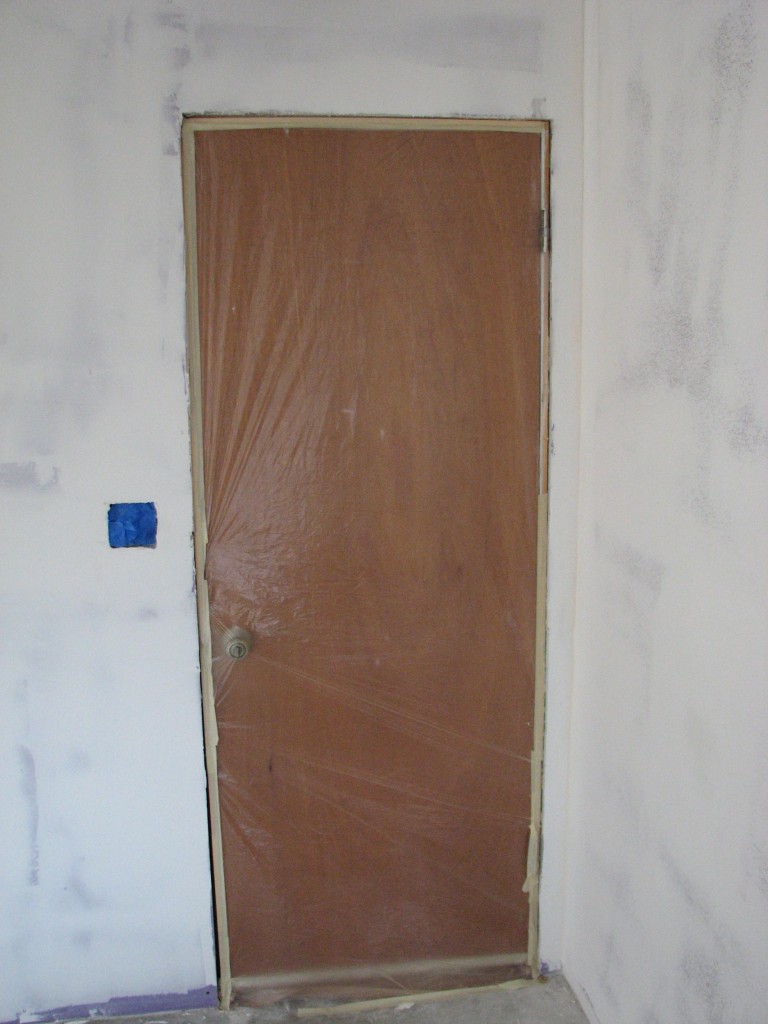
The bedroom entry door and jamb will be replaced with a solid core door and the jamb will have to be custom made because the extra layer of drywall changes the width of the opening. Once the new door jamb is installed, I will apply the acoustical sealant around any gaps for added noise reduction.

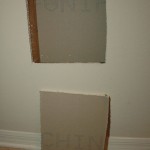
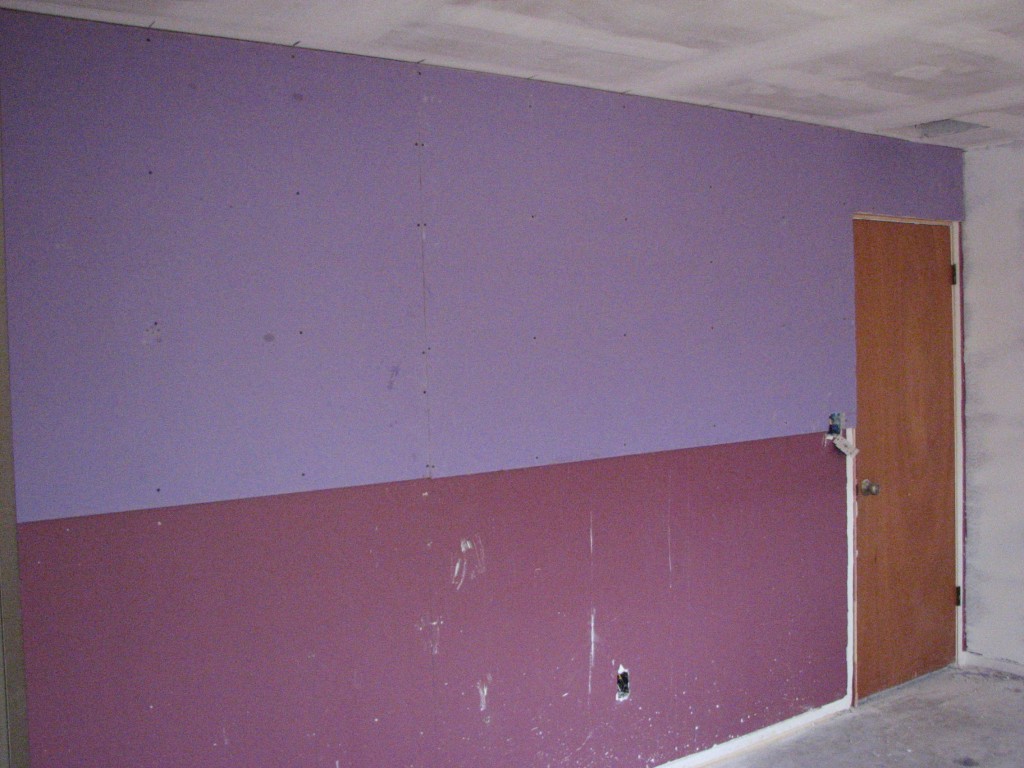
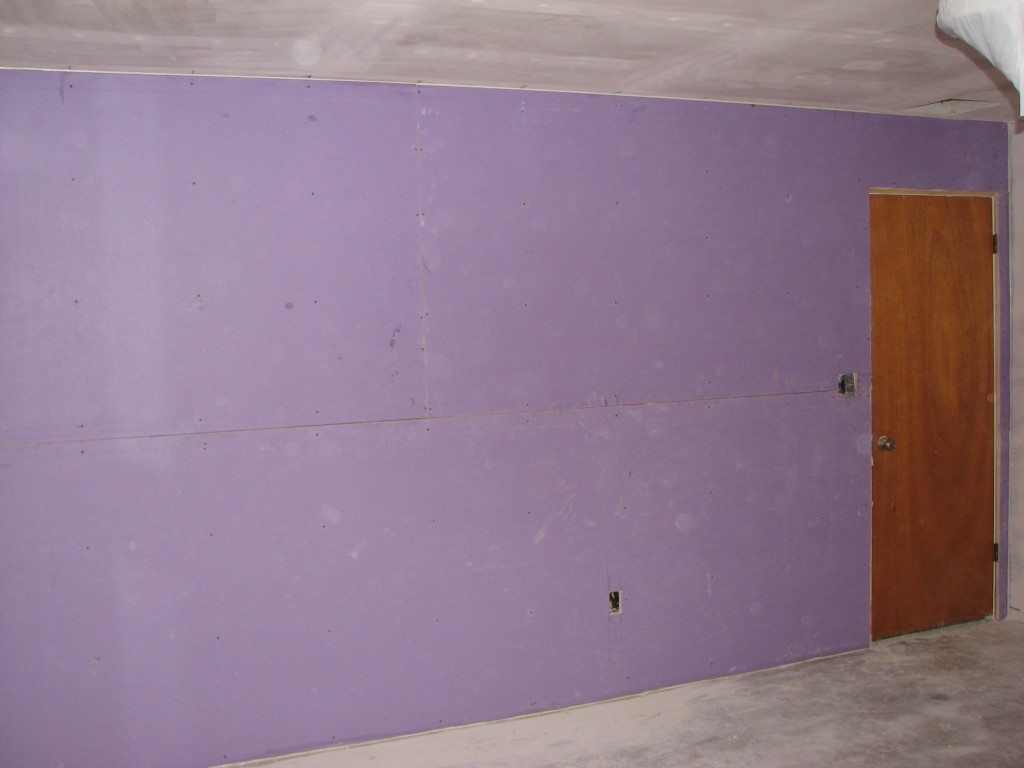
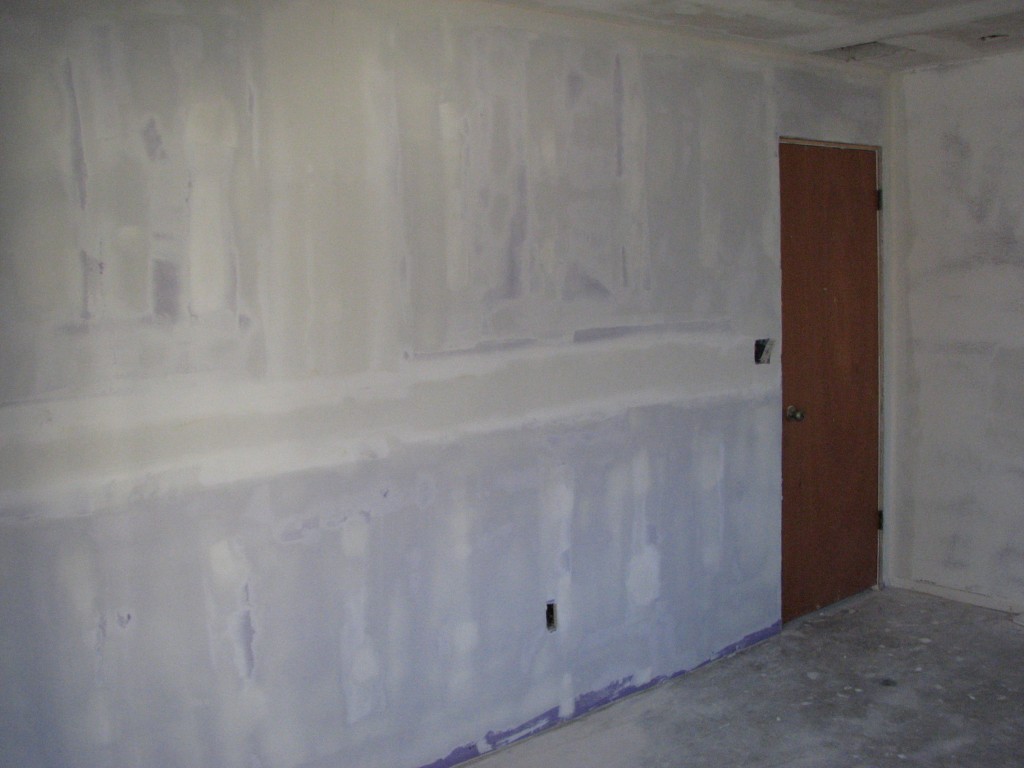
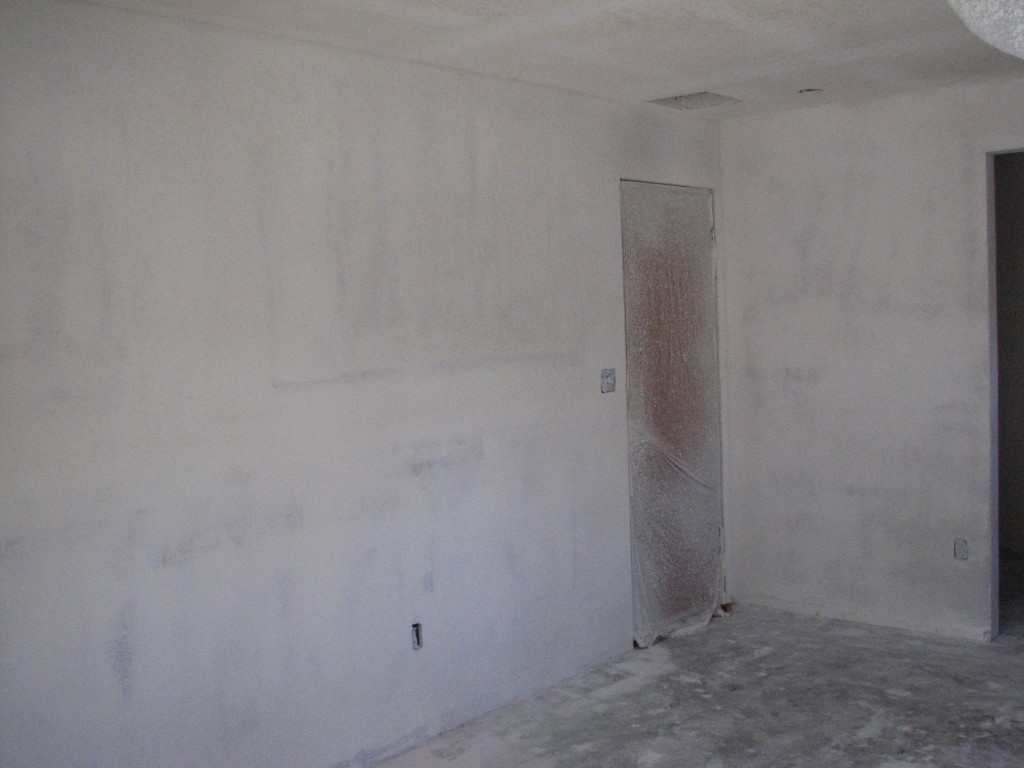
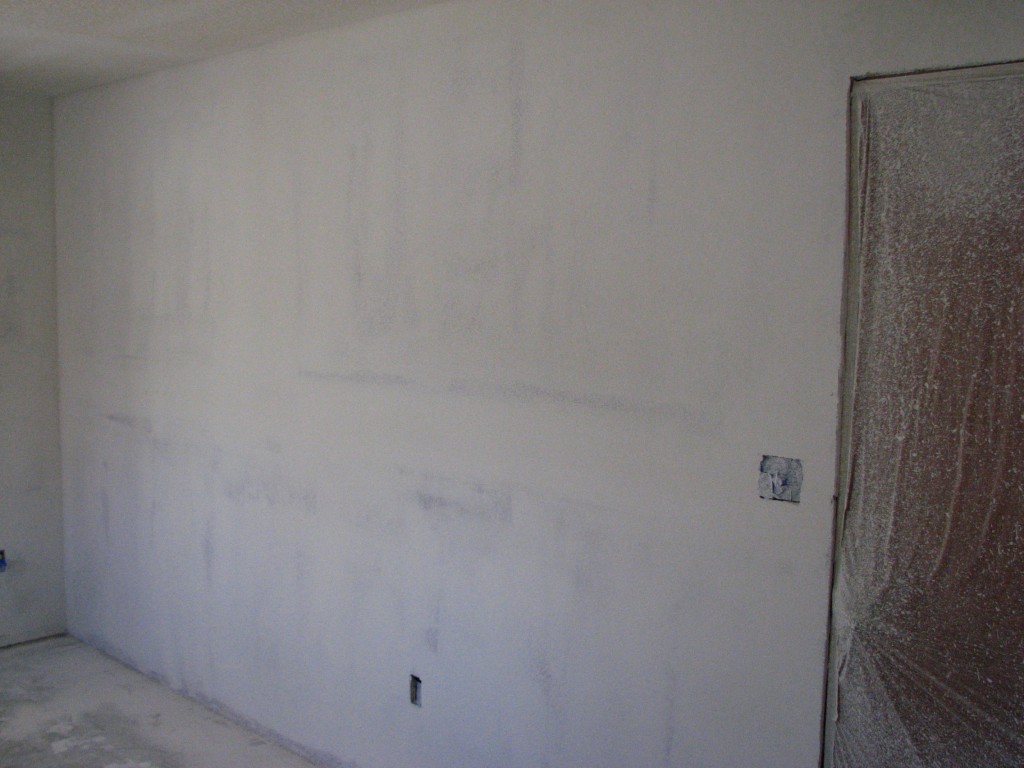
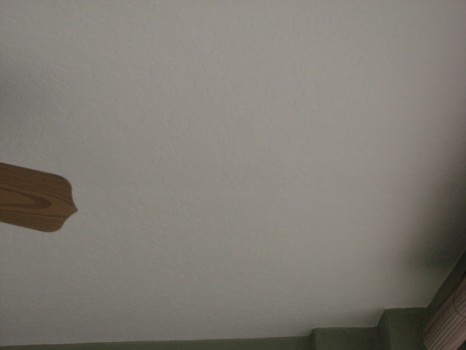
Soundproofing shared wall between living room and master bedroom after I removed the popcorn ceiling texture
Soundproofing Contractor
The plan is to add a second layer of Gold Bond® BRAND 5/8″ SoundBreak® XP® Gypsum Board with Sporgard™ noise reducing drywall to the shared wall that all of the thumping bass and loud voices are being heard from.
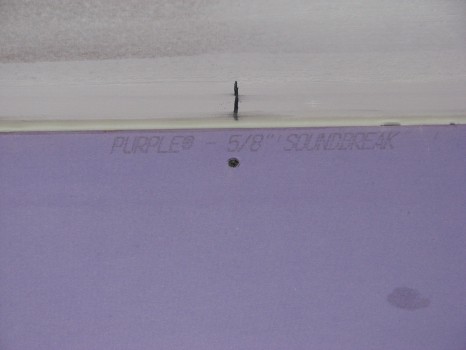
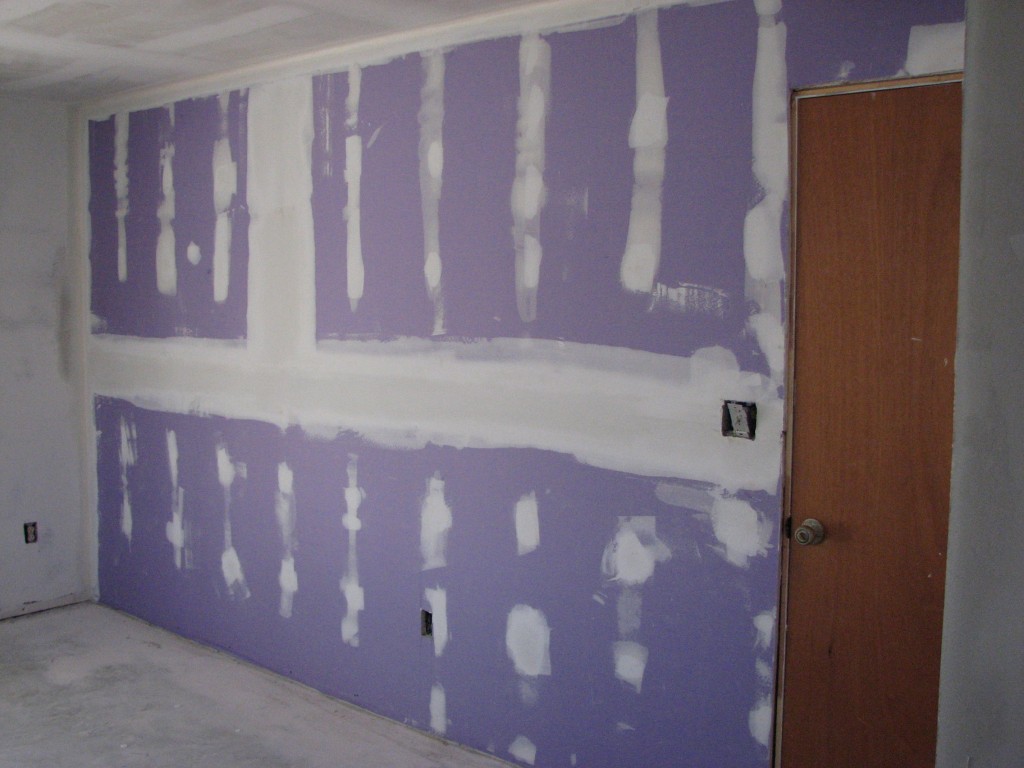
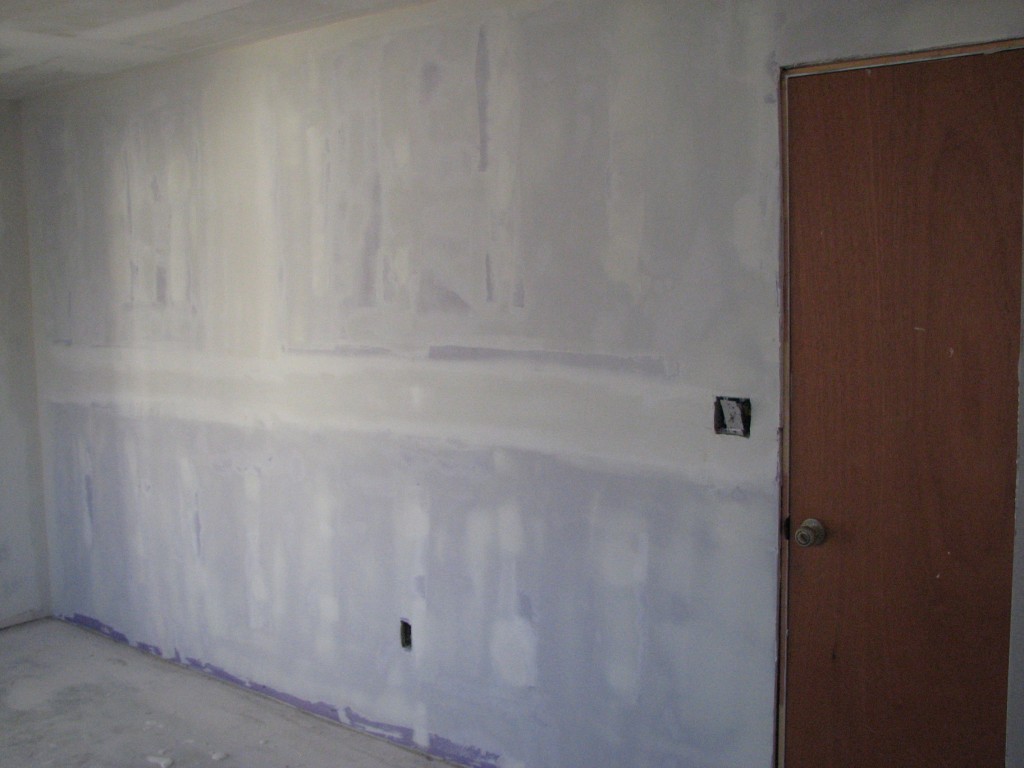
Soundproofing with purple Soundbreak 5/8″ drywall
Perfect where sound transmission between rooms or dwelling units is a concern!
How to Tips for enhancing soundproofing on an existing wall:
1) The first step is to locate and mark all of the wood studs that we will be attaching the soundproof drywall to.
2) Add the appropriate mud ring extenders for the existing outlet and switch boxes.
3) Layout the wall for the least amount of drywall seams while staggering the drywall seams as well.
4) Cut the Soundbreak drywall to fit, keeping in mind that a 1/4″ gap around the whole perimeter of the wall will be needed in order to be able to apply the acoustical sealant.
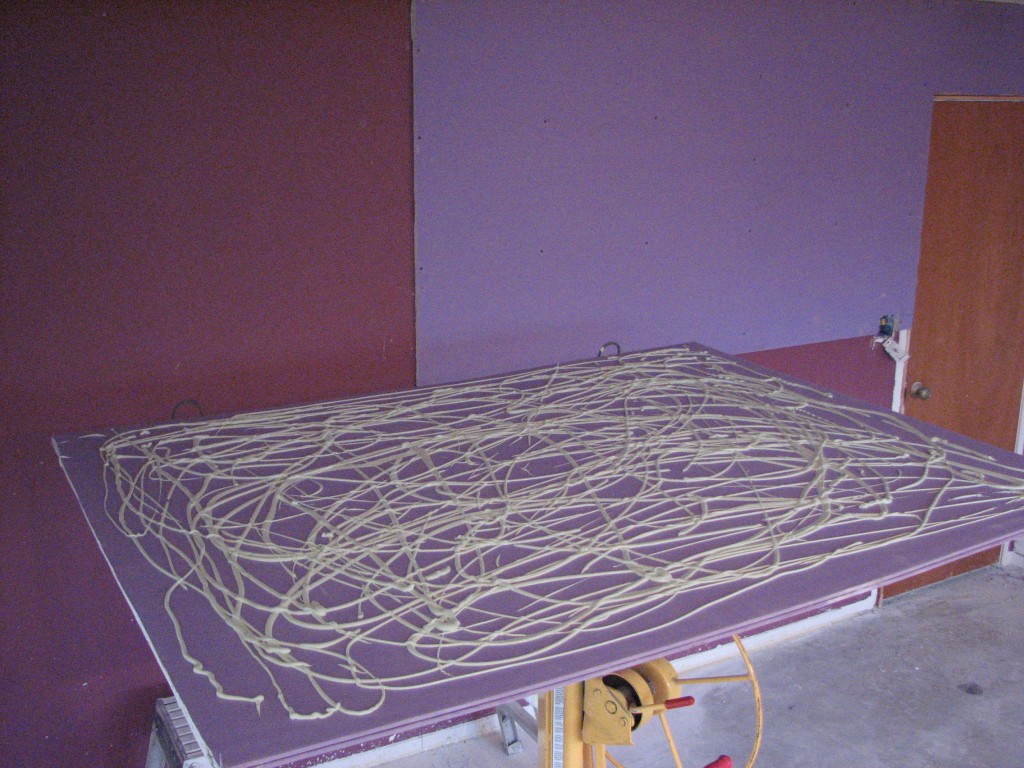
5) Lay the drywall flat and apply the Green Glue compound- 2 tubes for a 4″x8′ sheet of drywall or 3 tubes for a 4’x12′ sheet of drywall.
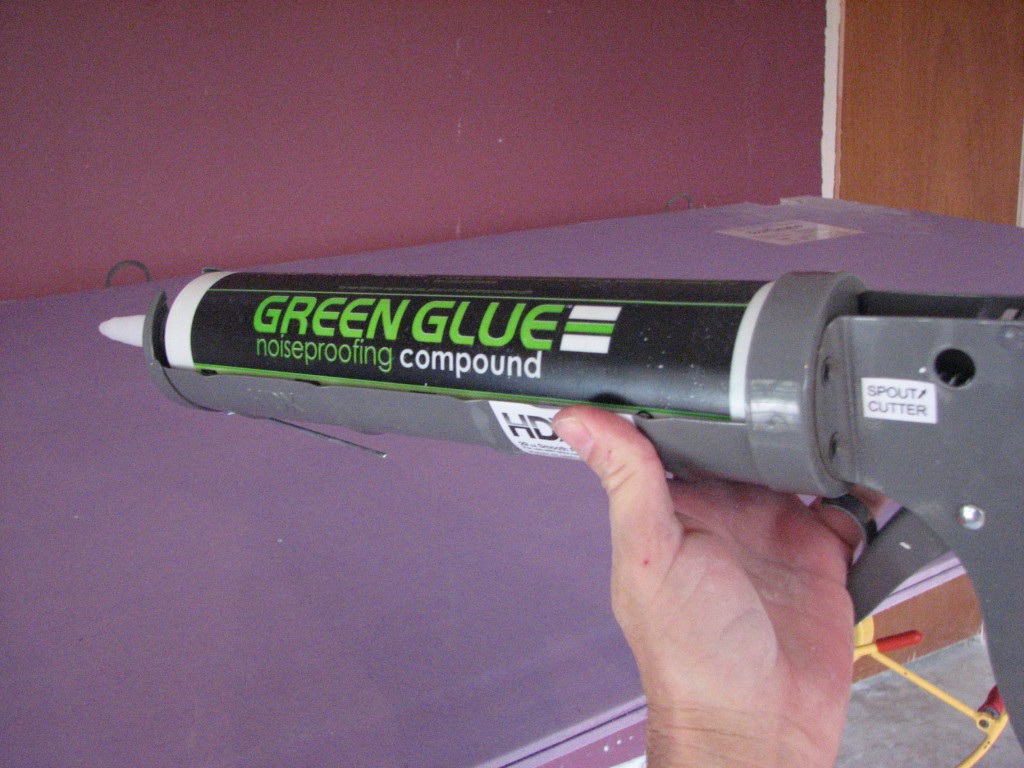
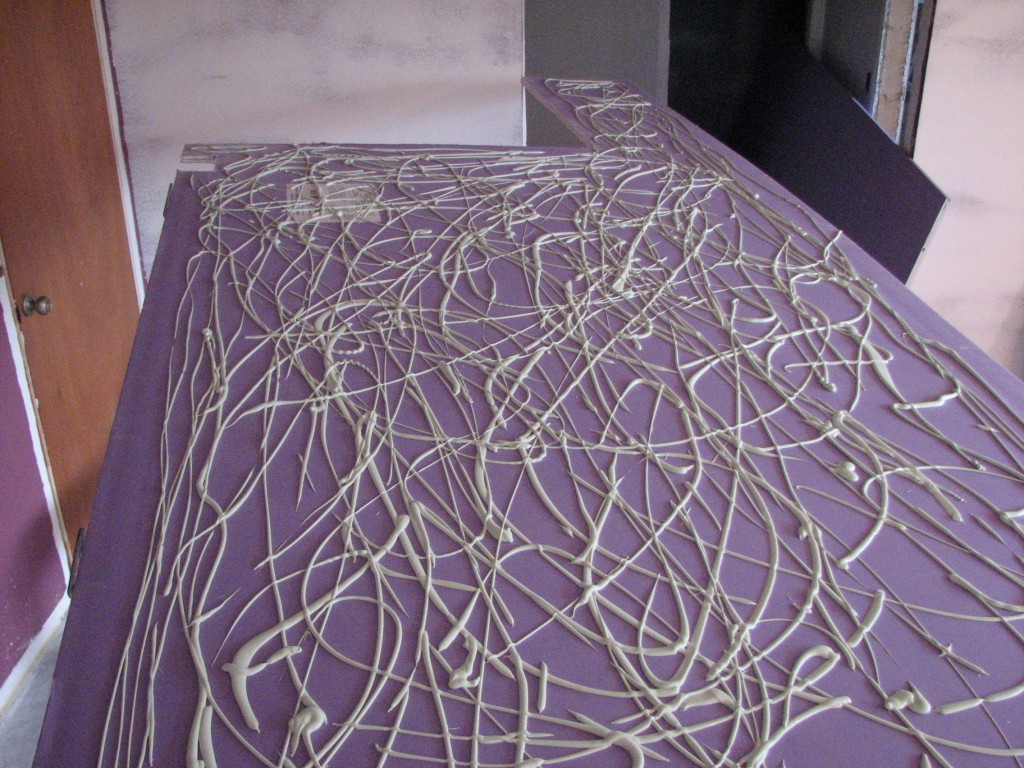
Applying Green Glue Noiseproofing Compound
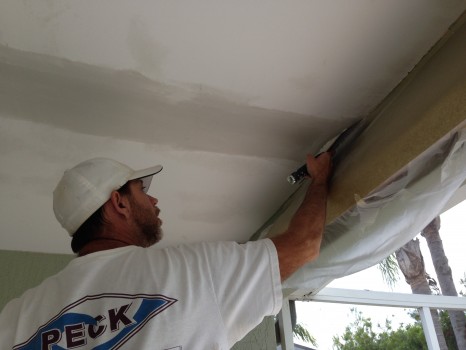
6) Next, I installed the soundproofing drywall with 1 5/8″ drywall screws with screw spacing in accordance with my local building codes. Repeat steps until all drywall is installed.
Installing Soundbreak XP drywall with Green Glue noise reducing compound
Sound board installed
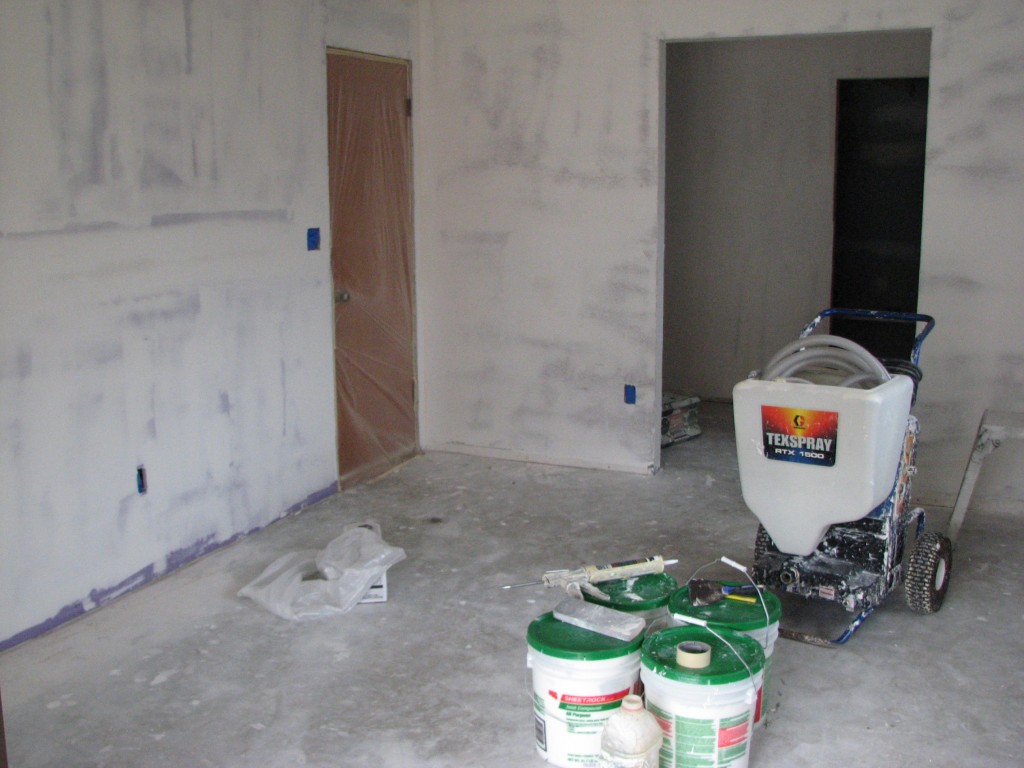
Checkout——>My Amazon Top 100 Drywall Tool Picks
7) Once all of the soundproof drywall has been installed, fill the 1/4′ gap around the perimeter with the Green Glue sealant. Allow 48 hours for the sealant to dry completely before finishing the drywall with joint compound and paper or fiberglass mesh tape. Just like you would finish regular drywall.
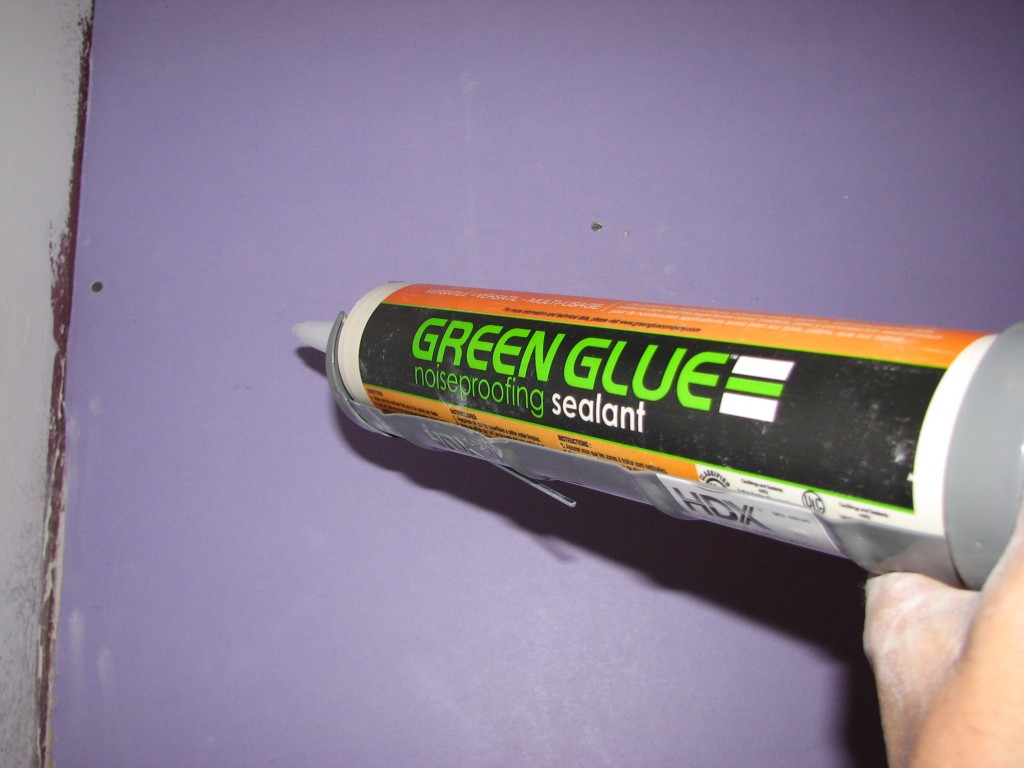
Green Glue Noiseproofing Sealant
8) Finish the new soundbreak drywall just like regular drywall using joint compound and drywall tape.

Soundbreak drywall finishing- Level 3
Sound dampening drywall finishing
Soundproofing- Mud work
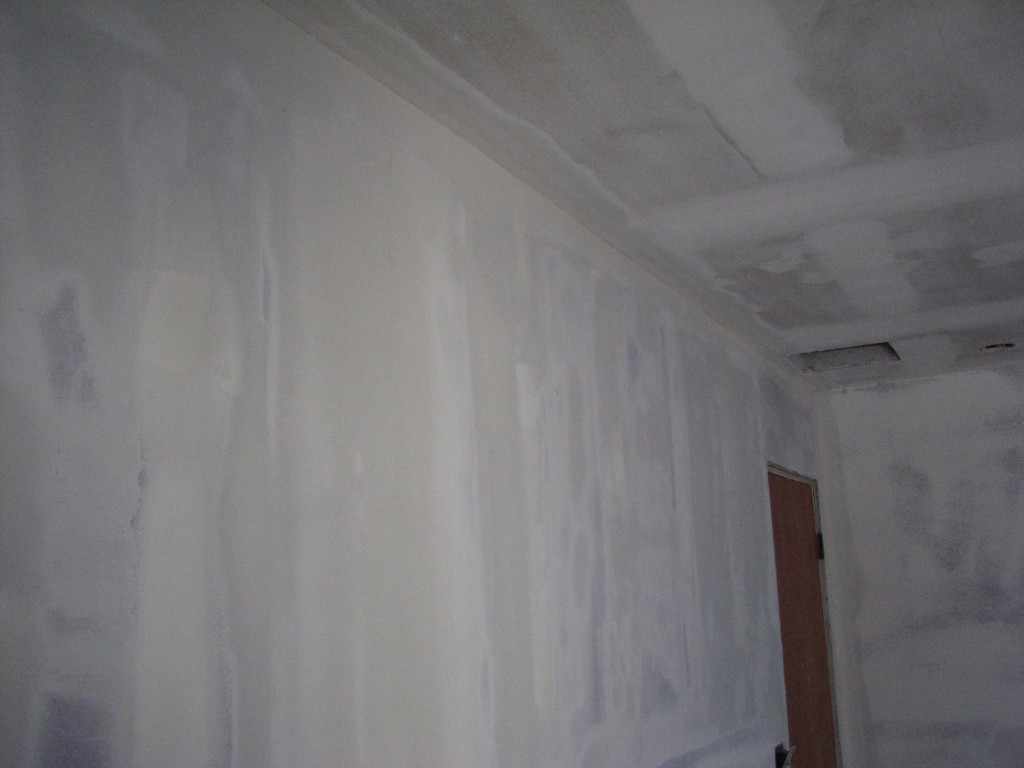
9) 8) Wall skim coated to a level 4 finish
soundproofing drywall skim coated
soundproofing drywall skim coated-2
soundproofing drywall skim coated-3
sound dampening drywall- level four finish
soundbreak xp drywall- level-four finish
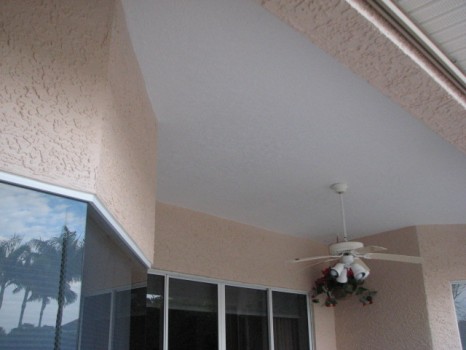
10) Lastly, I applied an orange peel texture to match the existing textured walls of the home.
master bedroom remodel- soundproofing- orange peel texture-1
master bedroom remodel- soundproofing- orange peel texture-2
Soundproofing products used on this remodeling project:
Gold Bond® BRAND 5/8″ SoundBreak® XP® Gypsum Board with Sporgard™– Has an acoustically enhanced, high density fire resistant Type X gypsum core encased in a heavy, abrasion and mold/mildew/moisture resistant, 100% recycled, National Gypsum PURPLE® paper on both sides. Used in the construction of high rated STC (Sound Transmission Class) wall assemblies, this 5/8″ thick gypsum board consists of a layer of viscoelastic damping polymer sandwiched between two pieces of high density mold resistant gypsum board, providing constrained layer damping.
5/8″SoundBreak XP panels may be used where Type X gypsum panels are specified in some fire-rated wall and floor-ceiling assemblies
Green Glue Noiseproofing Compound– Independent lab tests prove that using Green Glue Noiseproofing Compound dissipates up to 90 percent of noise. Green Glue is ideal for dissipating low frequency noise common with home entertainment and theater systems.
Green Glue Noiseproofing Sealant– Seals the cracks and gaps to prevent unwanted noise from entering a room. It is non-hazardous, has practically no odor, and it resists drying out or cracking with age.
Adding Green Glue Noiseproofing Sealant to your soundproofing project can reduce noise transmission by 100 times or more. Green Glue Noiseproofing Sealant exceeds LEED green building requirements and has been independently tested by Underwriters Laboratories for fire safety and environmental impact.
Painting Contractor License # PT393
Drywall Contractor License # RX11066969
Feel free to call or Email us for more information about soundproofing and noise dampening services!
Please give us a call for a prompt and accurate quote!
Melbourne/Viera: 321-777-9337
Merritt Island/Cocoa Beach: 321-453-6233
Titusville: 321-383-3574
Soundproofing Specialists here in Brevard County:

Soundproofing Company serving the Space Coast since 1995
Proudly servicing these areas of the Space Coast: Melbourne-Melbourne Beach-Palm Bay-Indialantic-Indian Harbour Beach-Satellite Beach-Viera-Cocoa Beach-Rockledge-Merritt Island-Cape Canaveral-Suntree-Port St. John-Cocoa-Titusville


")