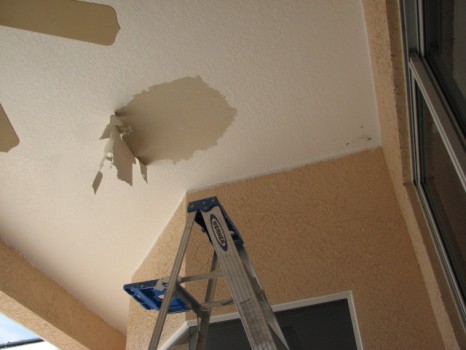
Exterior ceiling repair-paper tape cracking and falling down
This type of problem is very common on interior and exterior drywall ceilings
.
Over time the paper drywall tape begins to crack and fall down due to the heat and humidity from our harsh Florida climate.
The extreme weather changes cause the wood framing to expand and contract on a daily basis in turn causing just enough movement of your ceiling to crack and pop the paper tape joints. Especially if the ceiling was nailed or not enough screws were added during the drywall installation process when your home was built. Due to the drywall crew trying to move to fast!
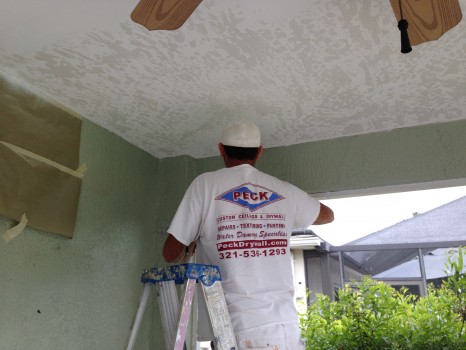
That’s why I always re-secure the drywall joints with screws and check the entire ceiling to make sure it was secured properly during the construction phase. A lot of times the ceiling needs to be completely re-screwed.
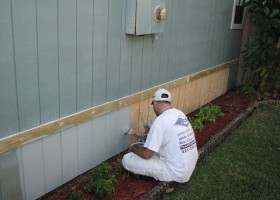
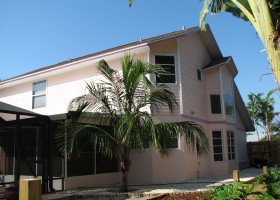
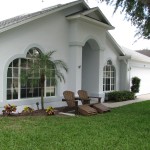
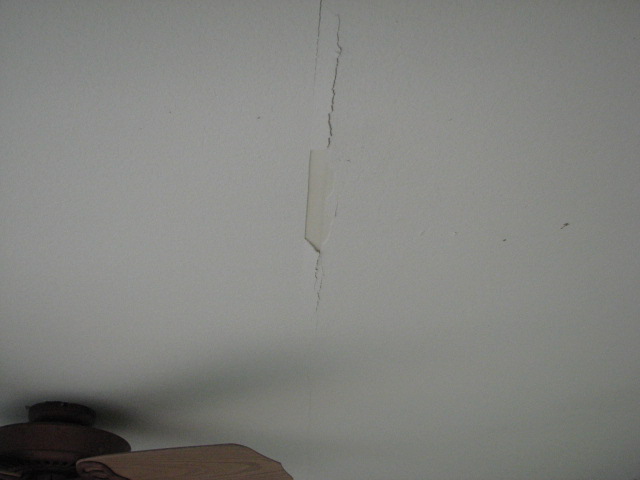
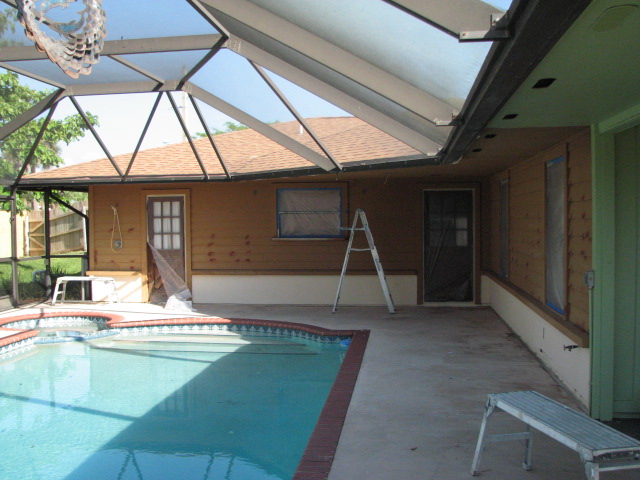
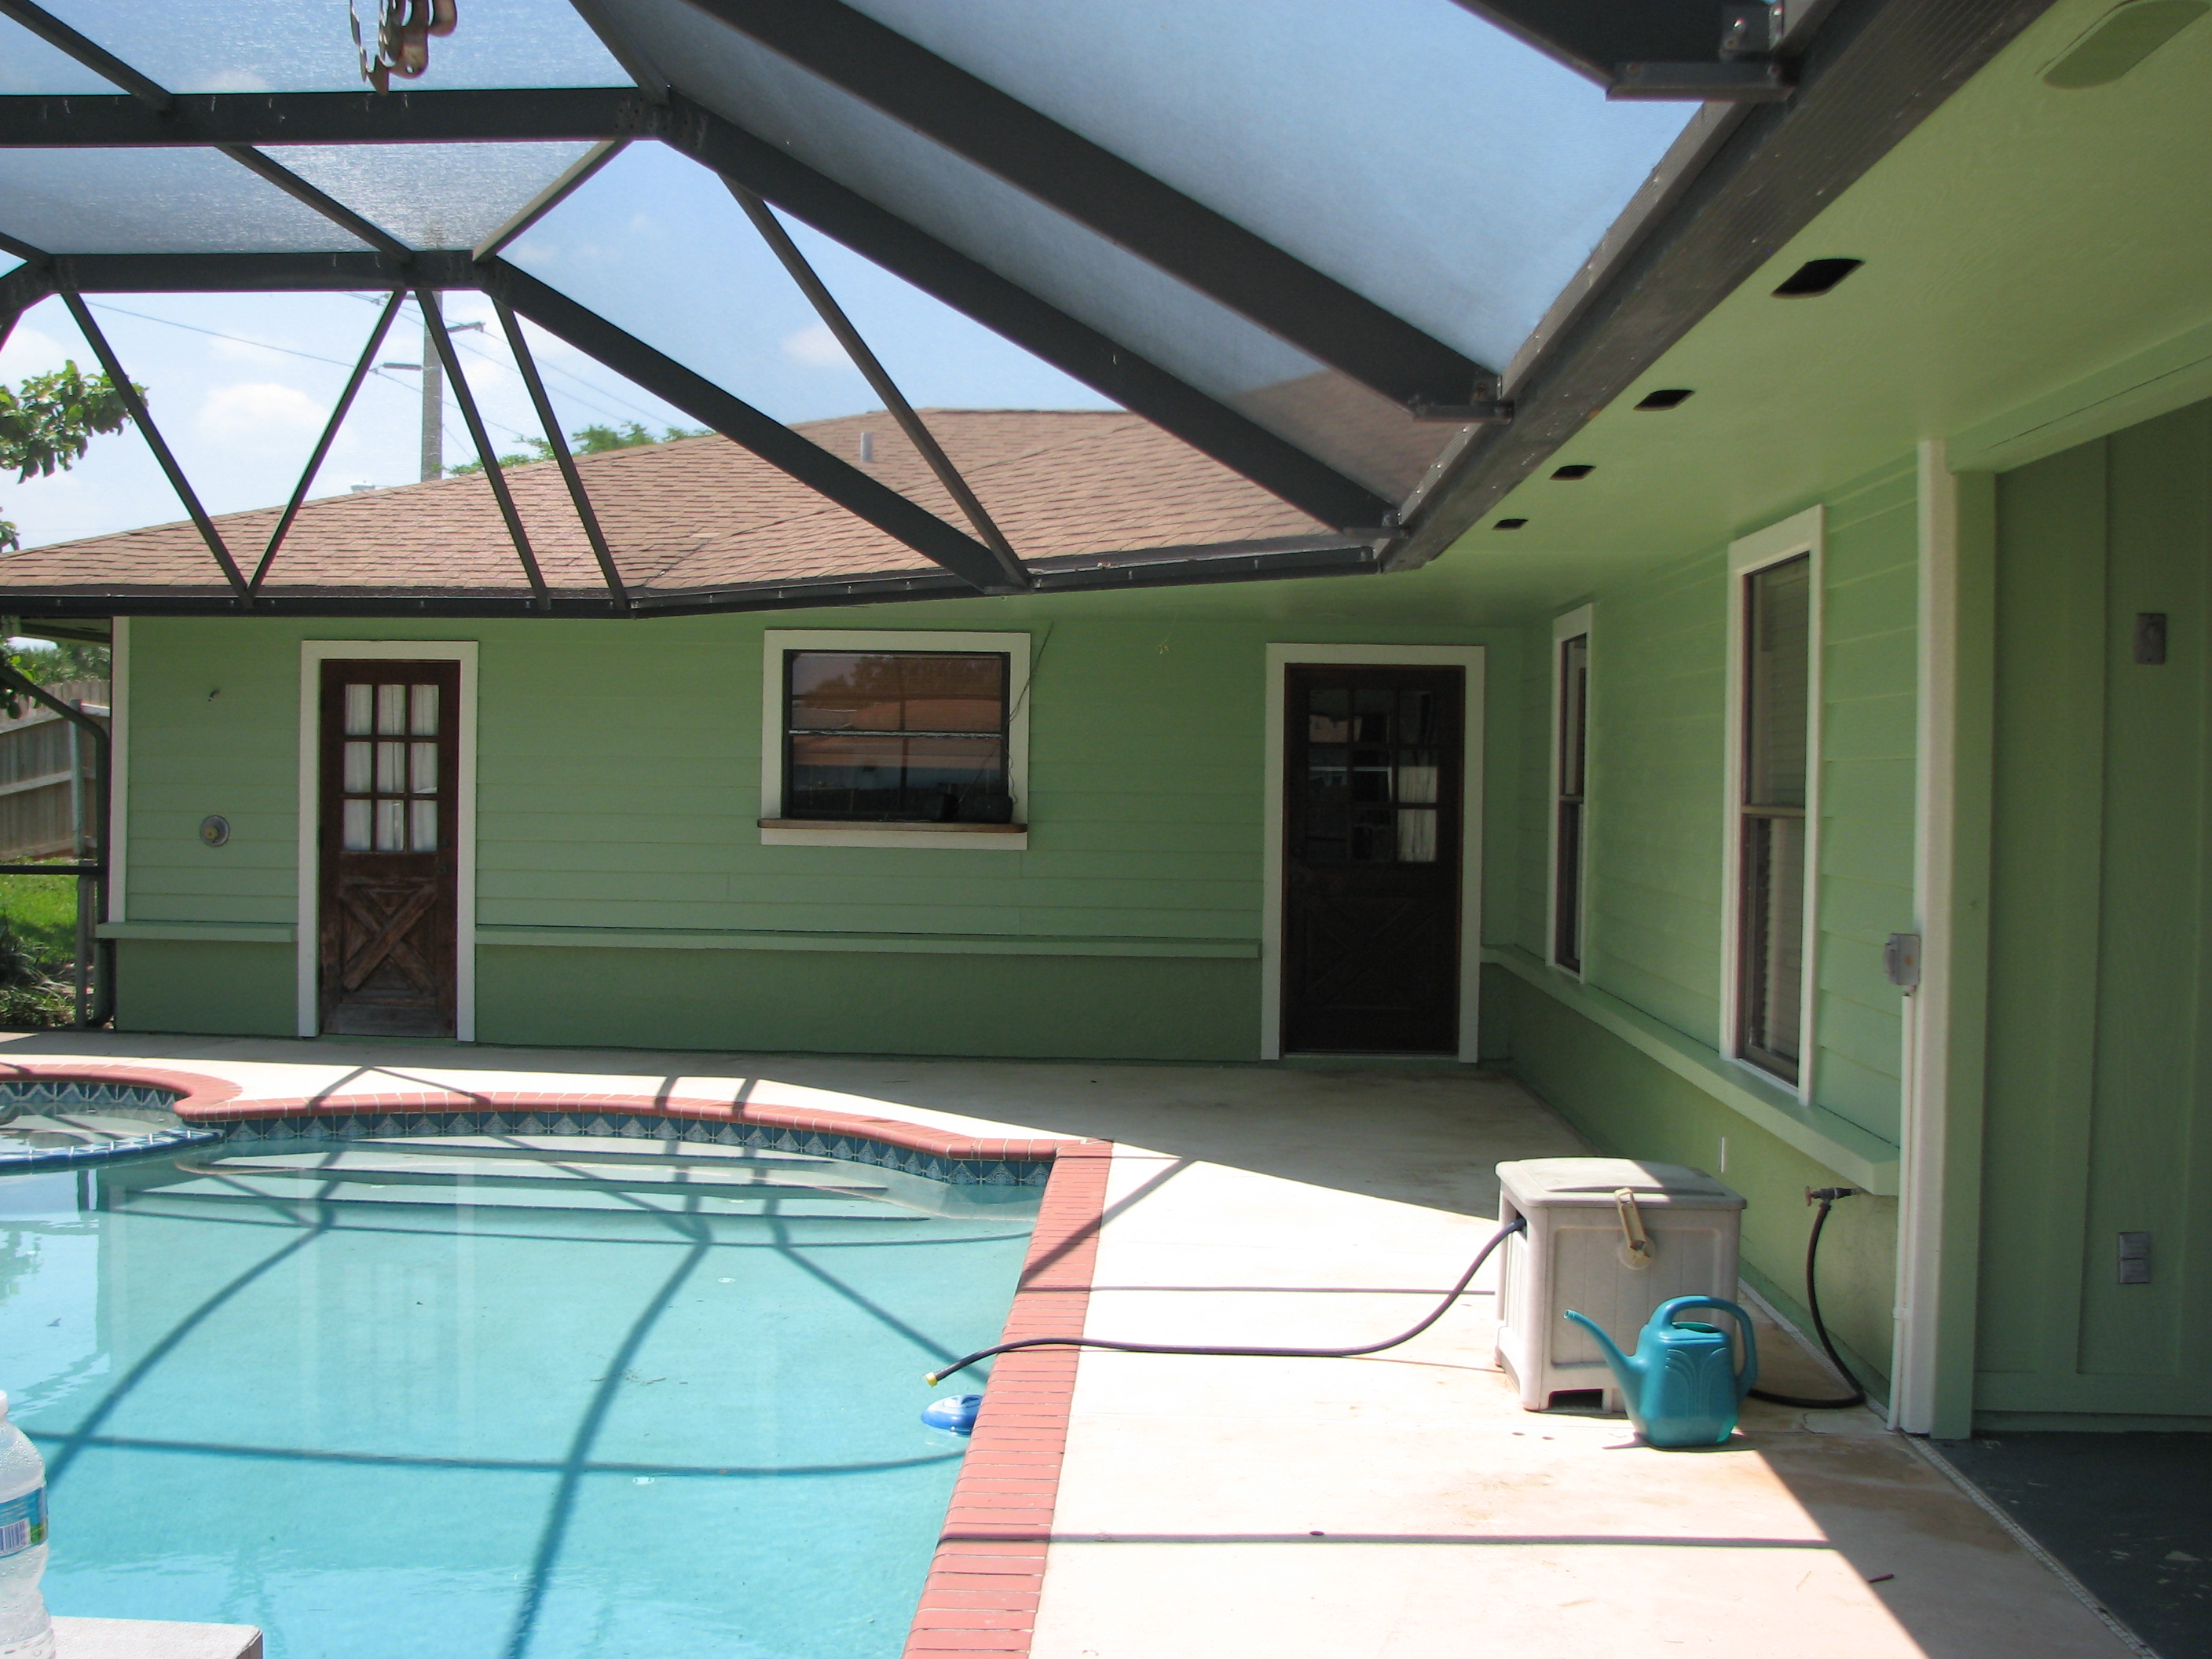
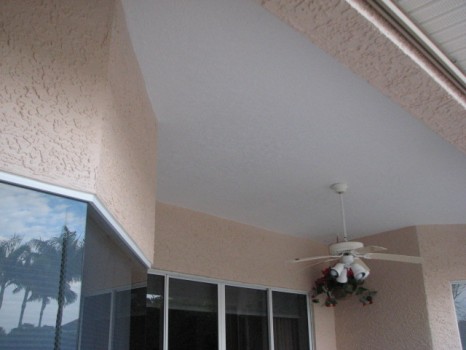
The paper tape joints were cracking and starting to fall down on this pool patios drywall ceiling in Viera.
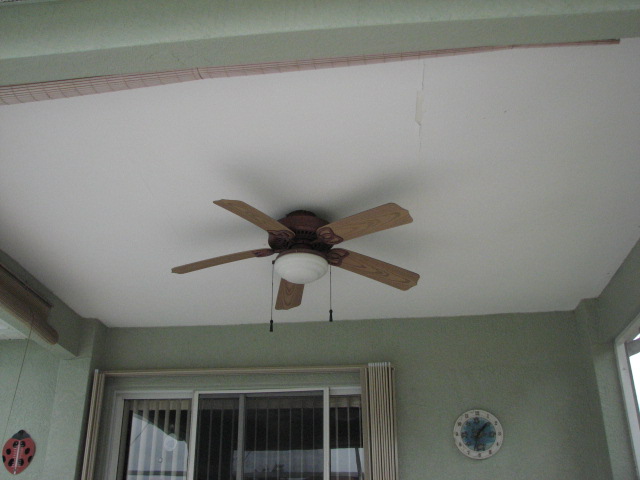
Exterior ceiling repair in Viera
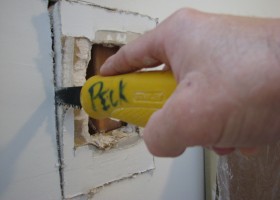
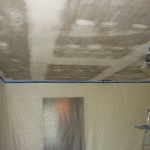
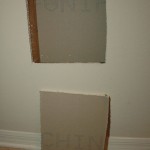
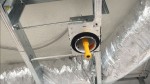
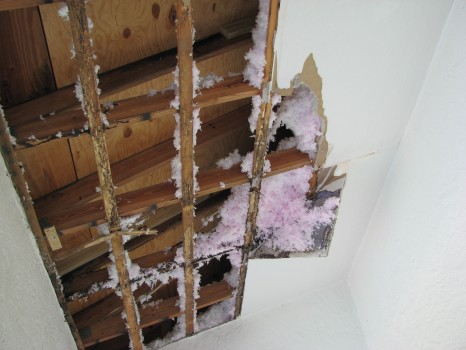
After I removed the tape and while securing the ceiling and joints with screws. I figured out that one section of a drywall seam was sagging in an area where there was no wood framing member to attach the drywall to and had popped the paper tape from movement.
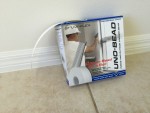
Paper tape joints removed
So I cut out a small 4″x6″ section of the ceiling and added a furring strip to span over both sides of the sagging drywall tape joint. Which I attached to the backside of the ceiling by screwing four screws into the furring strip from the finished side of the ceiling.
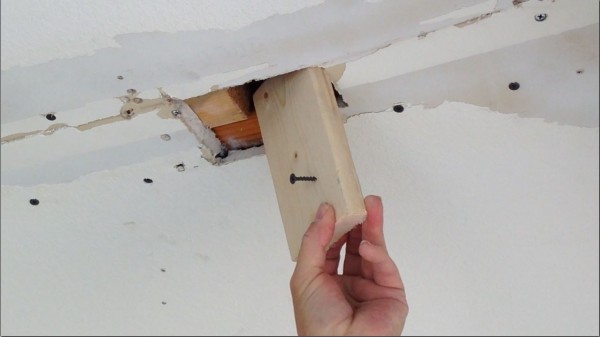
Adding a furring strip
Checkout——>My Amazon Top 100 Drywall Repair Tools
Then, I re-attached the same piece of drywall that I had cut out for a perfect fit.
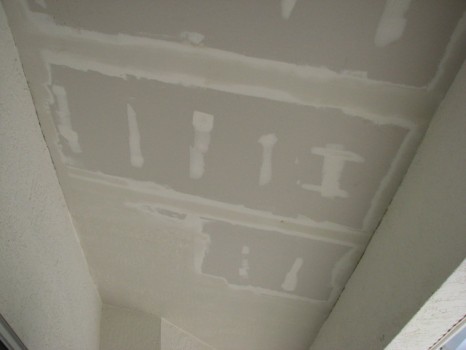
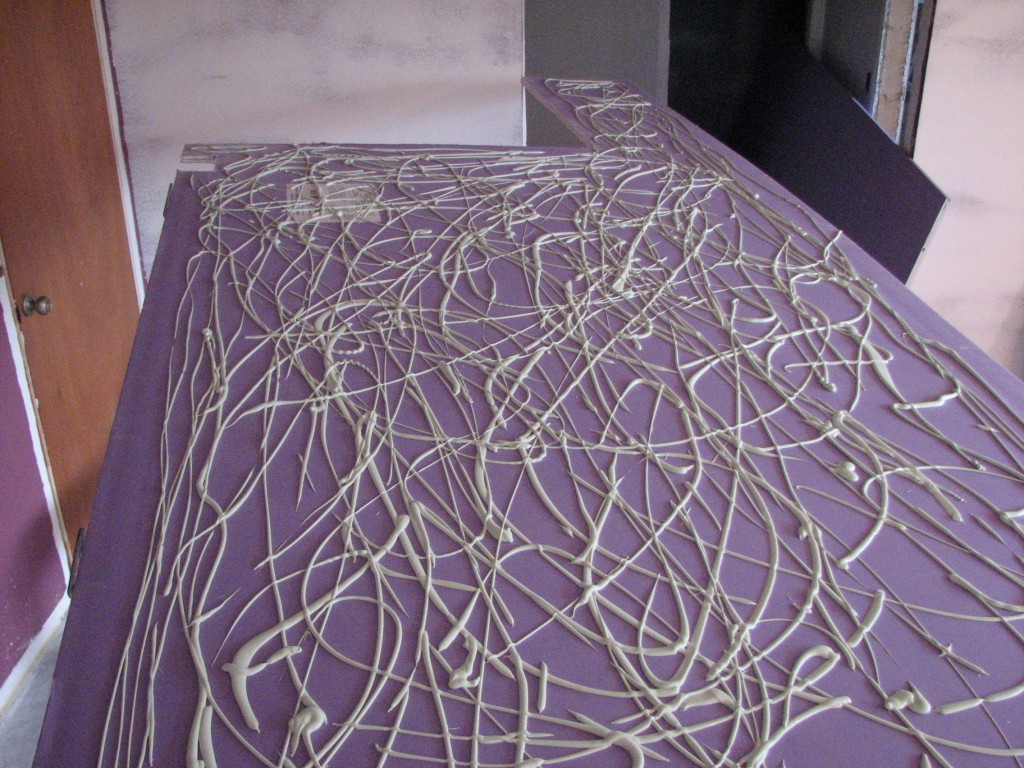
Next, I installed the self adhesive fiberglass mesh tape and applied three coats of 20 minute Easy Sand quick setting joint compound to the exposed seam and completed the drywall finishing by skim coating the entire ceiling with USG Sheetrock all purpose joint compound (green lid).
This way when I do the skip trowel texture, it will all be one consistent texture. Instead of trying to blend the new texture from a repair into the old texture. Which sometimes can still be noticeable depending on several different factors. Such as painted surfaces absorb differently even after priming.
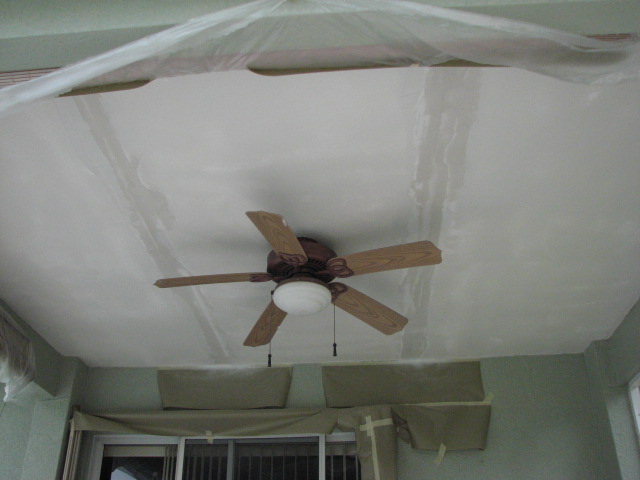
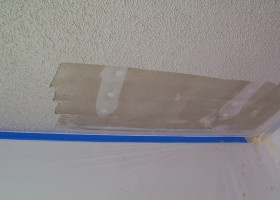
Tape joints second coated and remainder skim coated
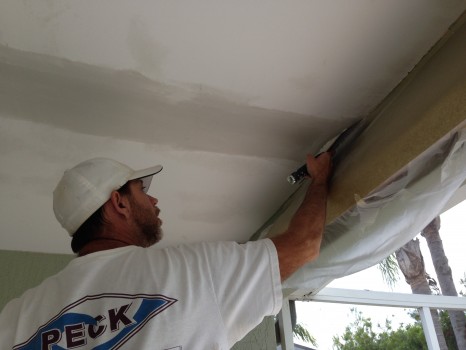
Applying the final skim coat to one of the repaired tape joints
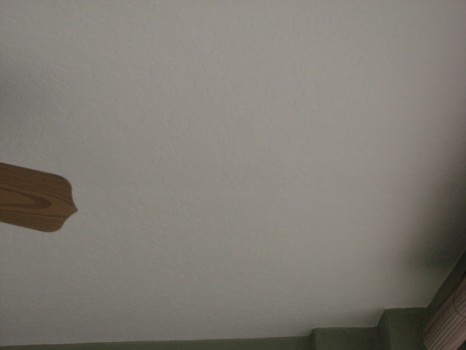
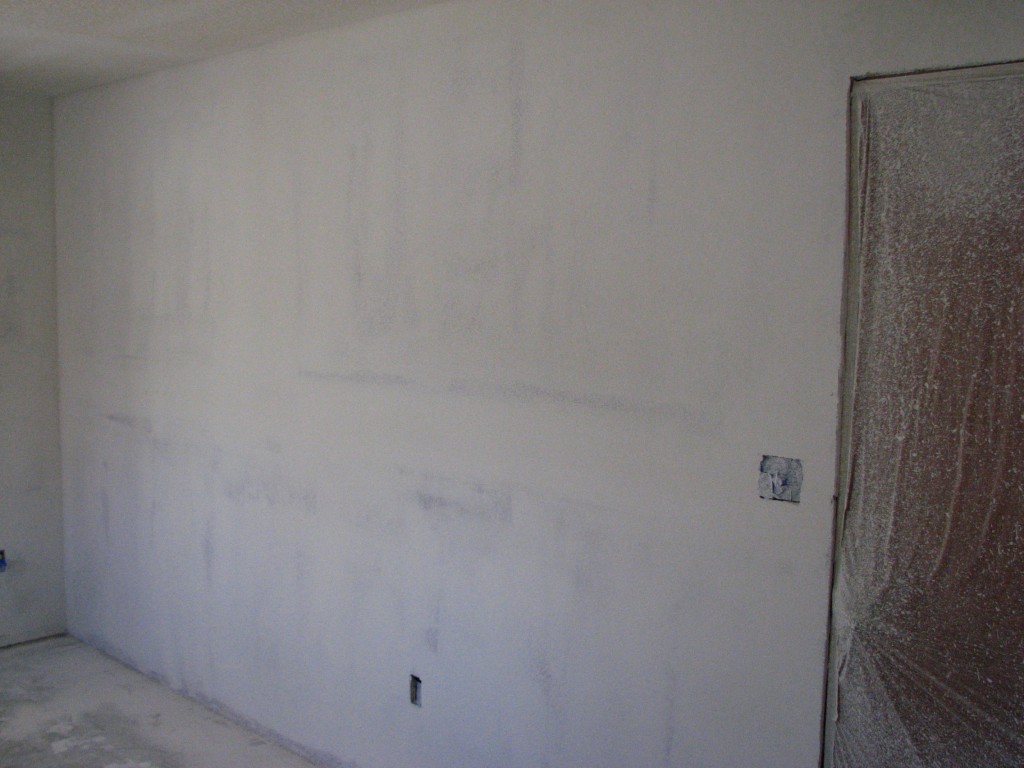
Skim coated ceiling dry and ready for texture
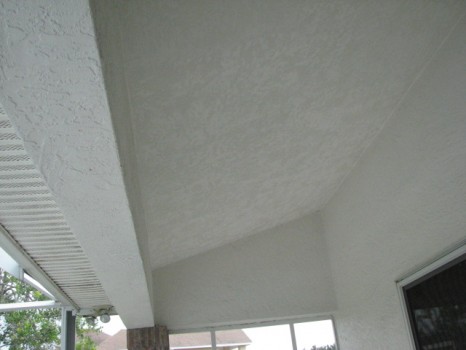
I then applied a skip trowel texture to the entire ceiling and let it dry for 24 hours.
Applying skip trowel texture to the ceiling
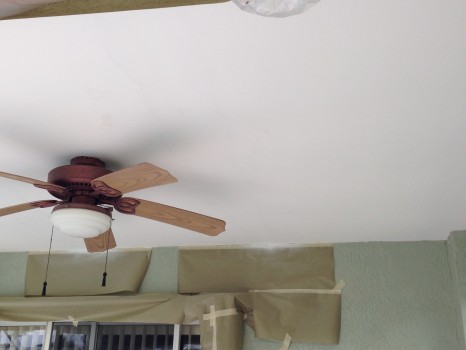
Lastly. I primed the entire ceiling with quality exterior water based primer and top coated the newly skip troweled ceiling with two coats of a quality flat white water based exterior paint.
Close up of the new skip trowel ceiling
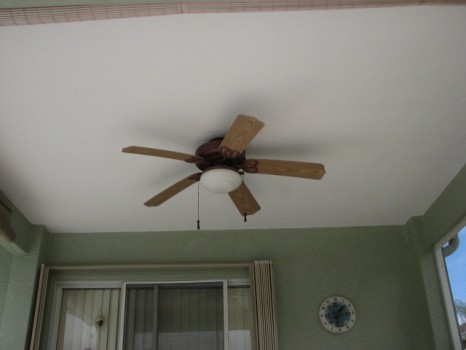
Primed and Painted
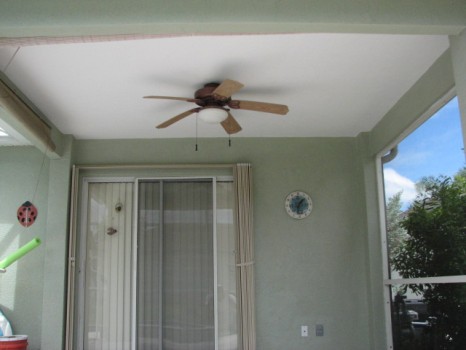
Completed ceiling renovation
Here’s a Speed Video of the entire process:
Drywall Tape Joint Ceiling Repair, Skip Trowel Texture, Prime and Paint:
They repaired several drywall cracks and were able to match our drywall texture. They arrived promptly, worked steadily and with very little disturbance to the surrounding areas. I would recommend them and would hire them again in the future.05/12/2013
 Mel B.- Merritt Island, Fl
[ebs_seo_cp_map_only]
Click Here for more information about our drywall ceiling tape joint repair services
Schedule Your Ceiling Repair Estimate Here
Serving all of Brevard County
Please give us a call for a prompt and accurate quote!
Melbourne/Viera: 321-777-9337
Cocoa Beach/Merritt Island: 321-453-6233

Brevard County Drywall Contractor and Painting Contractor since 1995
Get Your Expert Ceiling Repair and Skip Trowel Texture Quote:


")