Your garage door is a HUGE part of the overall appearance of your home.
Has your homes garage door lost it’s luster?
Is my garage door paintable?
It’s a common question among homeowners that have a weathered, rusted, chalky, faded or dusty garage door that’s in need of a facelift or even just a color change that can give your home a different vibe and better curb appeal .
Whether you’re thinking about just repainting it or looking to paint the entire exterior of your home. I would recommend hiring a professional painting contractor.
But painting a garage door is doable for the advanced DIY’er.
I give this project a difficulty rating of 7 out of 10.
You can get by with just using a brush and roller to paint most garage doors. But with these you will be left with some sort of stippling (a light texture or brush strokes). That’s why I prefer to use an airless sprayer to apply the primers and paint. It it will leave your garage door with a beautiful factory finish like it had when it was brand new.
I’ve painted hundreds of garage doors here in the Brevard County, Fl area. Which means I have been perfecting the most efficient techniques and the tried and true best primers that ensure proper adhesion and the right exterior paints to use on metal and wood garage doors for over 20 years.
Here’s some of the basic bullet points for properly painting your garage door.
Materials and tools needed to prep, prime and paint your garage door:
- Masking paper- 12″ to 16″
- 3M paper machine (optional)
- Masking tape 1.5″ and 3/4″ for paper machine
- .31 mil light plastic (optional)
- 5 in 1 tool or putty knife
- Drop cloths
- Rags
- Paintable caulk
- 1.5 gallons Acrylic Latex Multi surface sealer/primer
- 2 gallons of a high quality (satin or semi gloss) Acrylic Latex exterior paint
- Roller frame with a 3/8″ nap and at least a 3′ paint pole
- 1 Purdy or Wooster 4″ to 6″ brush
- Or if you can get your hands on a paint sprayer? I use a Graco 695 paint sprayer .311 Spray tip for paint gun
Steps for applying primer/sealer and paint
Step 1) Pressure wash all of the exterior surfaces of the garage door to be painted.
*Tip-Trick- You’re going need to use a good environmentally friendly cleaner or detergent like Simple Green or a similar product. But bleach and water will do as well.
Step 2) Prep the surface and area around the garage door to be painted. Cover anything you don’t want painted.
*Tip-Trick- Raise the garage door halfway up and put masking tape on the bottom rubber seal of the door, Next place drop cloths half in and half out of where the garage door sits on the ground when in the closed position.
Step 3) After the garage door is completely dry, check it for any rusted areas.
Tip-Trick- If you have some rust, take 80 grit sandpaper and sand down any rust spots and and after sanding the surface wipe with a damp cloth.
Purchase a can of rust inhibitor which primes the area and actually turns rust back into metal.
Step 4) I prefer to use my airless paint sprayer to prime the garage door with a – Multi Surface tinted Primer/Sealer (a brush or roller will work as well).
Tip-Trick- After priming and after each coat of paint take your 5 in one tool or putty knife and carefully slide it under one of the three rubber seals on both sides and at the top of the garage door and go around the perimeter of the garage door keeping the tool under the rubber seals. This keeps paint from building up and bonding the three rubber seals to the garage door.
Step 5) After the primer dries, I will then caulk any wood trim joints that are cracking or opened up around the garage door before painting the first coat
Tip-Trick- Try and keep the hole small when cutting the tub of caulk And cut it at a slight angle.
Have a wet sponge or rag handy while caulking to keep your finger clean.
Step 6) Lastly, I spray two coats of a high quality (satin or semi gloss) exterior paint for a long lasting and durable finish.
Tips-Tricks- Spray the first coat going horizontally (side to side) and apply the second coat of paint vertically (up and down). This keeps the the paint from building up in the same areas and also makes for better adhesion of the garage door paint.
Check this out:
I just finished up an exterior house repaint where we also painted the metal garage door because the paint was chalky and chipping. Most homes exteriors have been painted a few times over the years. But a lot of times the garage door is left out of the painting process. I’m sure you know the ones in your neighborhood…
Here some photo’s and video clips of the garage door painting process:
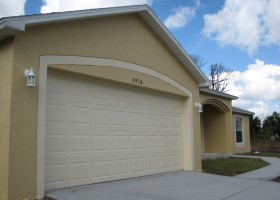
Before Photo:
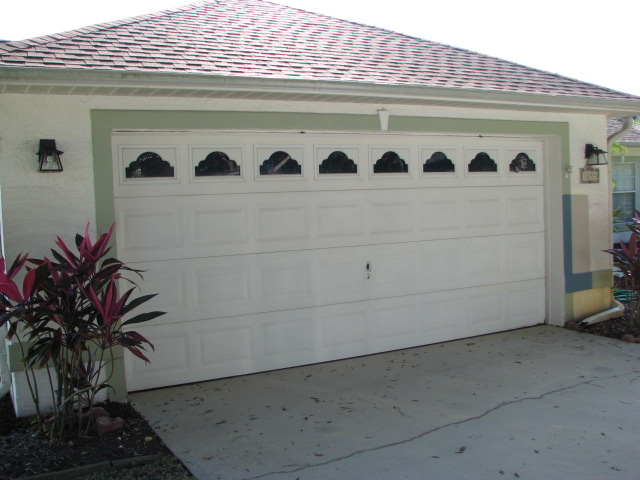
Garage Door Painting- Before Photo
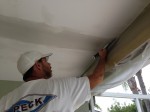
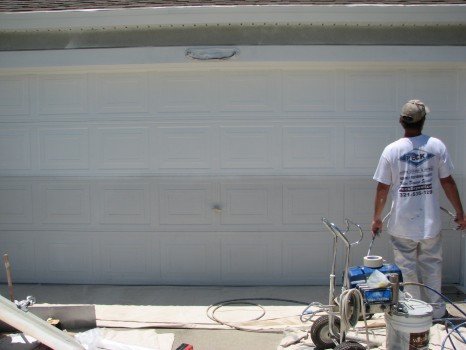
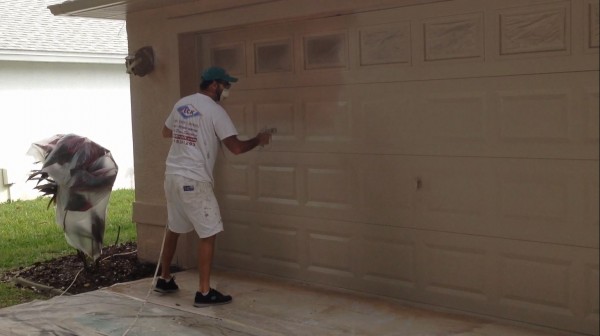
After pressure washing it was time to Spray on Primer/Sealer:

Garage Door Spraying Primer/Sealer
Here’s a video of the primer/sealer being applied with an airless:
In this video clip you will see my technique on using a paint sprayer to to seal/prime a garage door, vinyl soffits, gutters and stucco. First thing is clean all surfaces to be painted (I used a pressure washer on this project) Next you’ll need to cover everything that you don’t want to get painted with either drop clothes, lightweight plastic or masking paper and tape.:
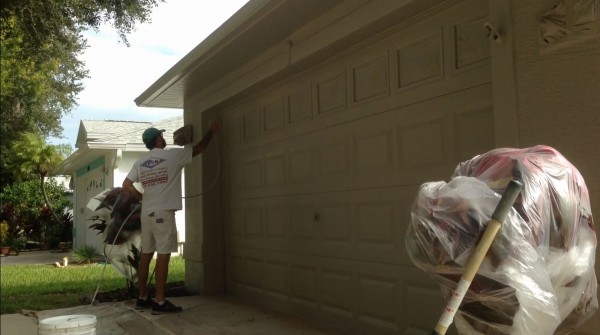
Applying the first coat of paint:
Garage Door Painting-First Coat
In this clip I’ll show you how to apply the first coat of a tinted high quality exterior satin paint with an airless sprayer to the garage door and stucco walls:
Applying the second coat of paint:
Garage Door Painting- Second Coat
In this last video clip, I will show you how to apply the second and final coat of exterior satin paint going in vertical motions this time with my airless sprayer:
Garage door transformed back to a beautiful factory finish!
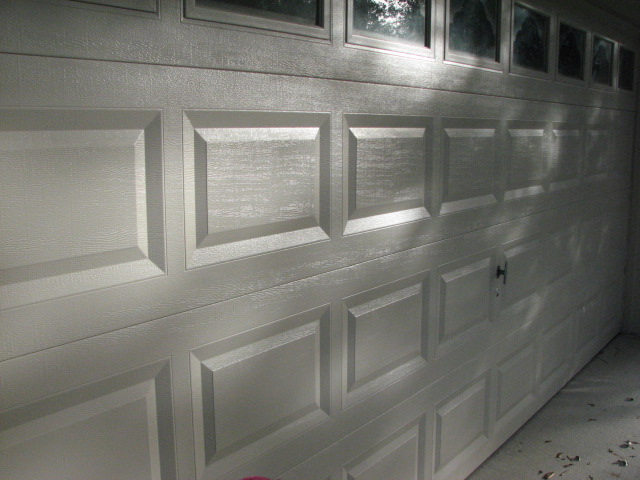
Garage Door Painted-Two Coats
In conclusion. If your garage door happens to sit at the front of your home, then painting it should be at the top of your honey-do list. As you can see that are a lot of steps that go into a painting project like this. I would recommend getting a local professional painting contractor in your area who knows the best paint products suited for your climate. But, if you’re an advanced DIY’er or handyman and you’re up for a challenge. Then have fun with it and Happy Painting!
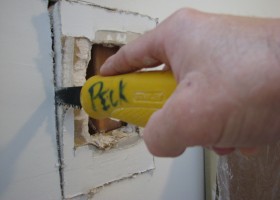
By: Paul Peck


")