In this short video clip I’m demonstrating how to spray a can of Homax’s oil base orange peel texture on a drywall repair.
I was spraying the orange peel texture on an kitchen remodeling project in the video.
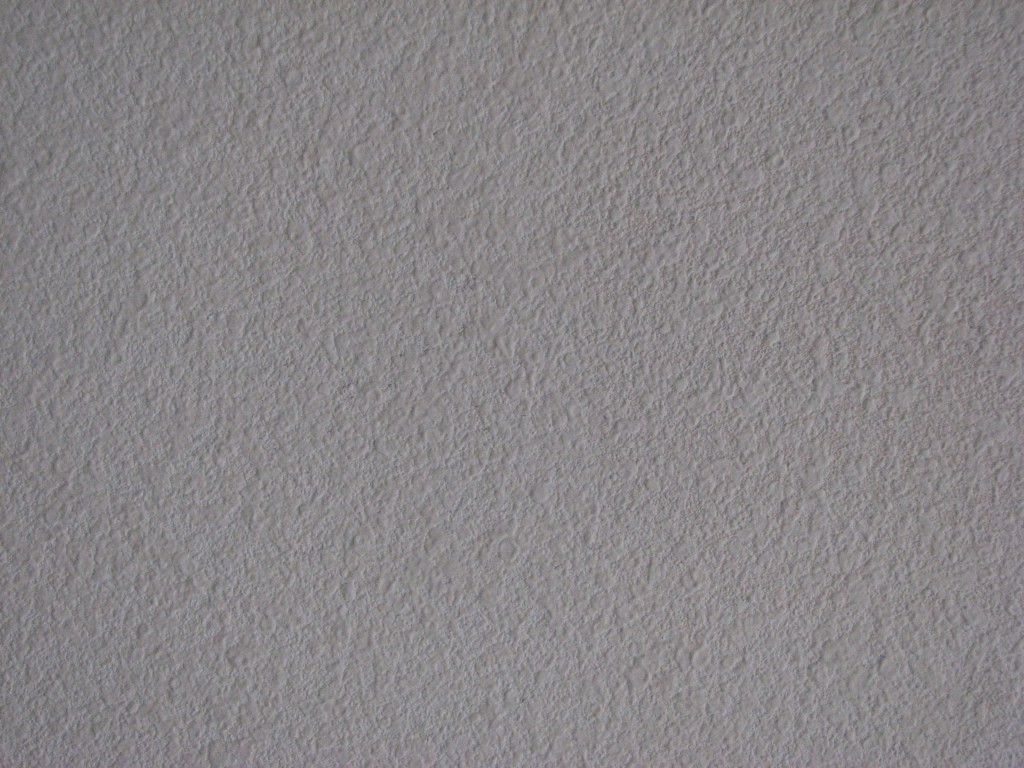
The area that had the drywall repaired needed the orange peel sprayed is on a soffit between the kitchen and dining room that has a heavy orange peel that I need to match. The drywall repair was where a the homeowner had tried to do a DIY drywall repair and it just didn’t hold up because none of there were a few steps that had been skipped during the wall repair process. Once the tape joint and corner bead were repaired it was time to prep the area to spray the orange peel texture.
☆Tips and Tricks for spraying orange peel texture from an aerosol can☆
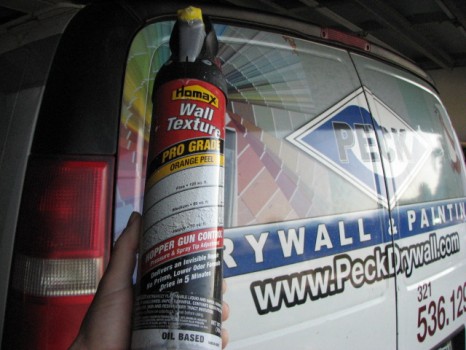
Homax orange peel oil base texture can with the new hopper gun control featuring
Dual pressure and spray tip adjustments.
Here’s my latest orange peel texture matching video:
How to match orange peel texture- Using a can of Homax orange peel texture on a drywall repair
Step 1) Remove anything you can in the area that you will be applying the orange peel texture in. Ventilate well and protect the surrounding areas.
Step 2) Cover and protect any flooring, furniture or anything else that you don’t want any texture on. Use a drop cloth, heavy mil plastic or rosin paper to cover the floor and light plastic to cover everything else.
Important **Be sure to shake the can vigorously for at least one minute before trying to spray the orange peel texture!
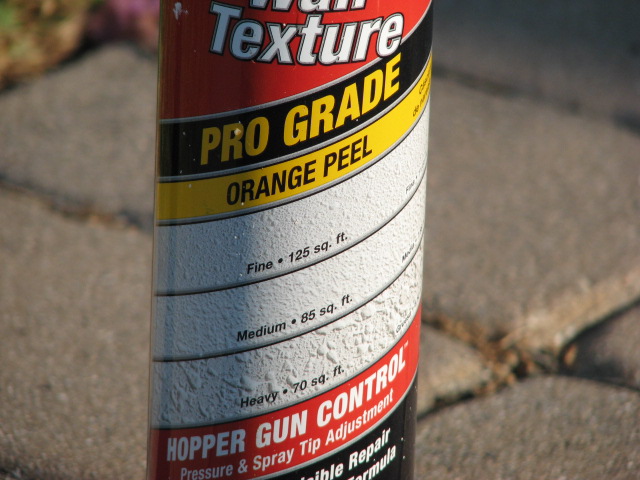
Homax orange peel texture Fine, Medium or Heavy spray can
Step 3) Determine whether your wall or ceiling have a Fine, Medium or Heavy orange peel texture. I recommend practicing on a scrap piece of drywall or cardboard to try and achieve the desired orange peel texture you’re trying to match.
Step 4) Now start by finding a inconspicuous area of the wall or ceiling in the room you will be texturing (if possible). Spray from a distance of 18″ to 24″ away from the wall going in circular motions and random patterns. Shake can occasionally throughout use.
Step 5) When you’re finished spraying the orange peel texture, Hold the can upside and turn the dial to the highest pressure setting. Then spray until all texture is cleared.
Drying Time
Oil base texture= Allow 5 to 30 minutes
Water-Base texture= Allow 2 to 4 hours (Be sure to let the orange peel dry completely before you prime and paint).
Clean up:
Oil base texture= Acetone, lacquer thinner or isopropyl alcohol (water will not work)
Water-Base texture= Soap and water
Heavy Orange Peel Texture
Step 6)
Using a 1/2″to 3/4″ paint nap apply your favorite top grade primer and two coats of a quality paint to your masterpiece. Pick up all of drop cloths and plastic.
Step 7) Kick back and admire your beautiful new orange peel texture that you did all by yourself. Good luck!
Materials needed to prep for spraying the orange peel texture
- Masking paper- 12″ to 16″
- 3M paper machine (optional)
- Masking tape 1.5″ and 3/4″ if using a paper machine
- .31 mil light plastic (optional)
- 5 in 1 tool or putty knife
- Drop cloths
- Safety glasses
- Respirator (breathing protection)
***Check Out my Featured Orange Peel Texture Video Playlist!
Click Here–> youtube/playlist/orange-peel-texture
In this Video Playlist I have video footage from everything how to apply orange peel tips and tricks, some finished remodel project videos and even some video footage of when I wear a GoPro to get a very unique and interesting perspective of the orange peel texturing process.
By: Paul Peck

If you liked this post, you might like –> How to Apply a Skip Trowel Texture
Or
Checkout my: How to apply a skip trowel texture video


