Chances are if you’re looking at this page, you probably have some type of knockdown texture issue with your walls or ceilings. Hopefully I can help you with some of my video tips and tricks on using My exclusive knockdown texture sponge to match knockdown texture after doing a small drywall or ceiling repair.
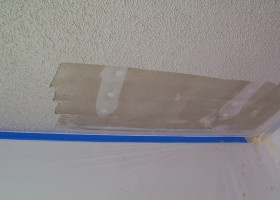
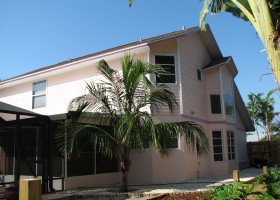
So while I was on an complete exterior repaint in Brevard County, Fl. we were painting the ceiling when the knockdown texture on the drywall pool patio ceiling started to come off onto our roller while we were rolling the first coat of paint on to the pool patio ceiling.
I can show you how to match knockdown texture with my knockdown texture sponge
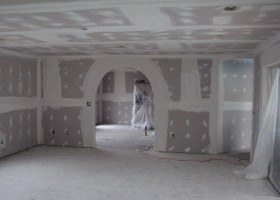
In this video clip I’m using my knockdown texture sponge to apply joint compound to the areas where the original paper drywall tape had failed on a vaulted ceiling. After I repaired the vaulted 30’+ ceiling tape joint I used the Knockdown Texture Sponge to perfectly match the existing knockdown texture on this home’s open floor plan ceiling
Tips and tricks on how to match knockdown texture with a knockdown texture sponge. This knockdown sponge technique works on ceiling repairs and wall repairs too.
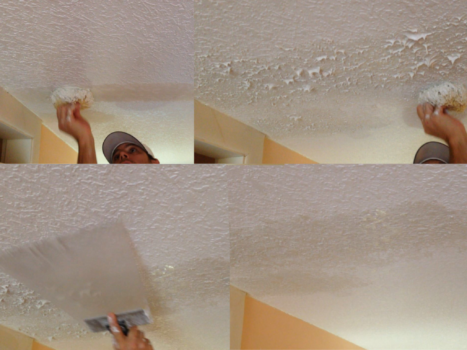
Start matching knockdown texture like a Pro!
After scraping the problem areas of the ceiling:
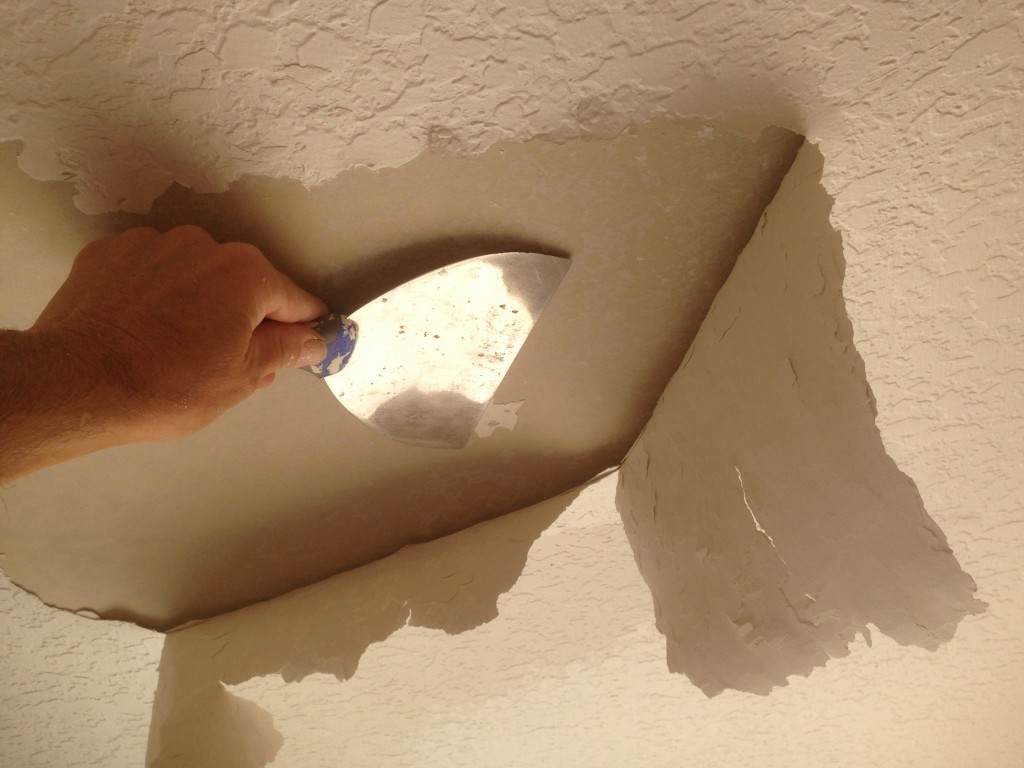
Remove all loose texture and paint
1) Spot prime the areas with a spray can of Kilz primer that will seal in any dust or water stains that could be on the area to be muded. If you skip this step you could end up with adhesion problems
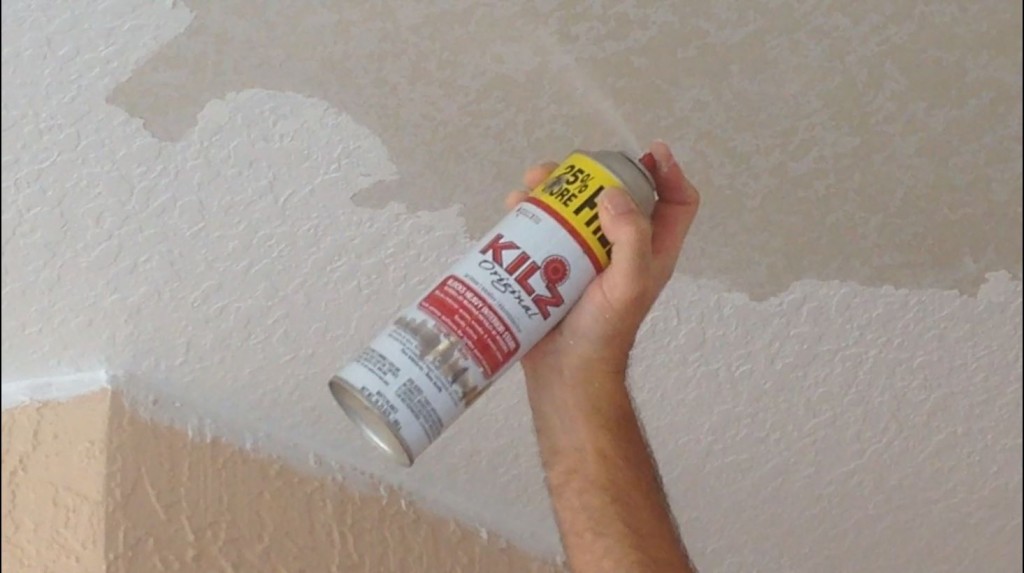
Kilz Original- Oil base primer spray can
2) Skim coat the areas with USG all purpose joint compound or for faster drying use 20 minute SHEETROCK® Brand Easy Sand™ setting type joint compound like I used in the video
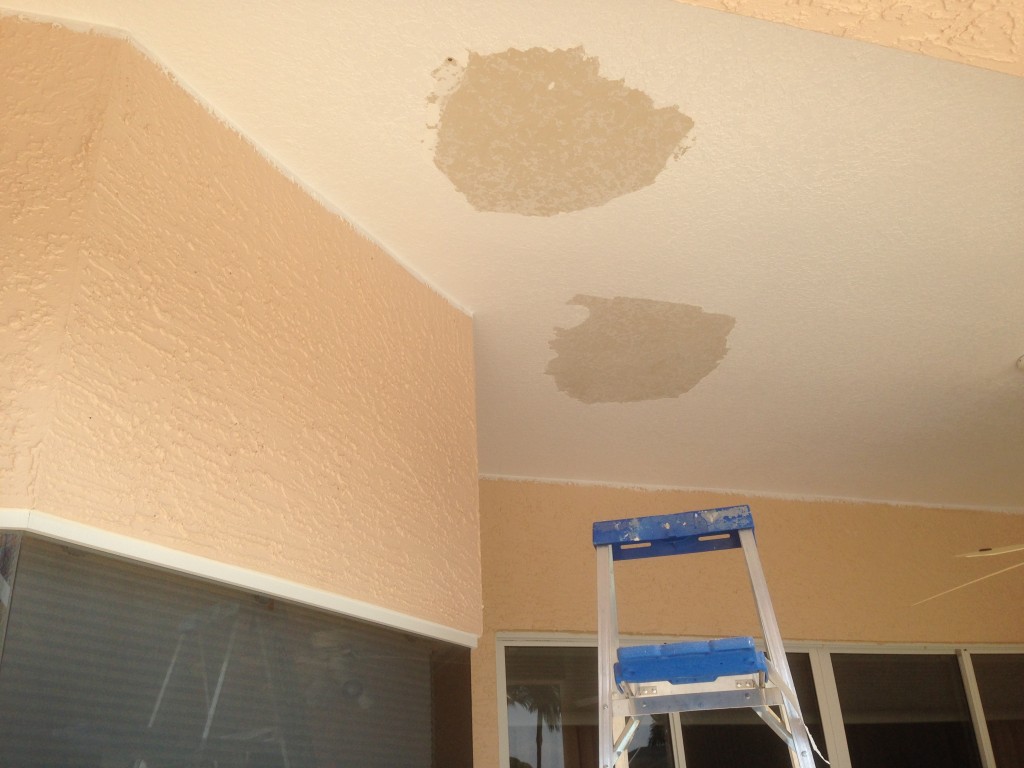
Two areas scraped and ready for skim coat
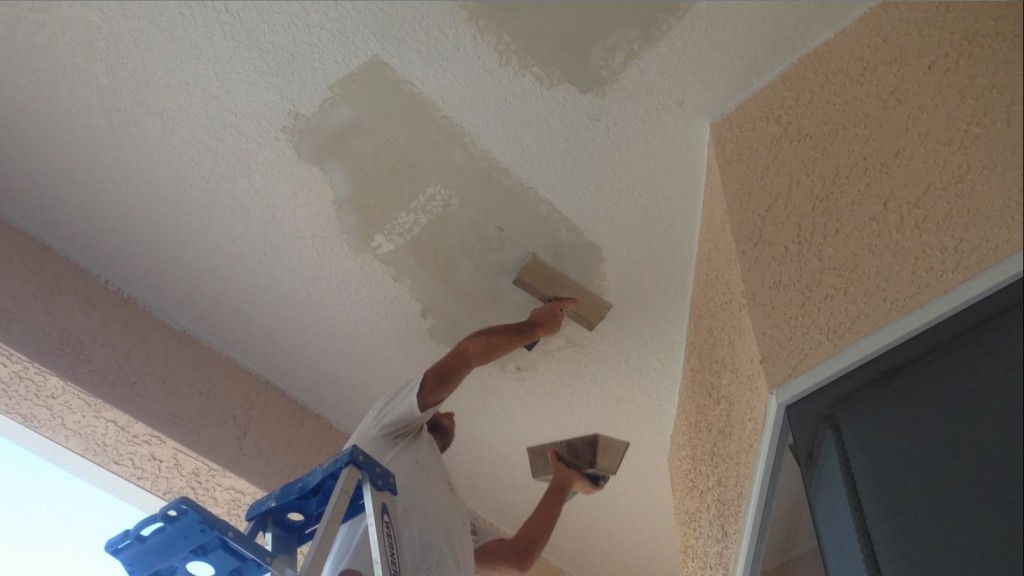
Skim coating ceiling repair with 20 minute hot mud
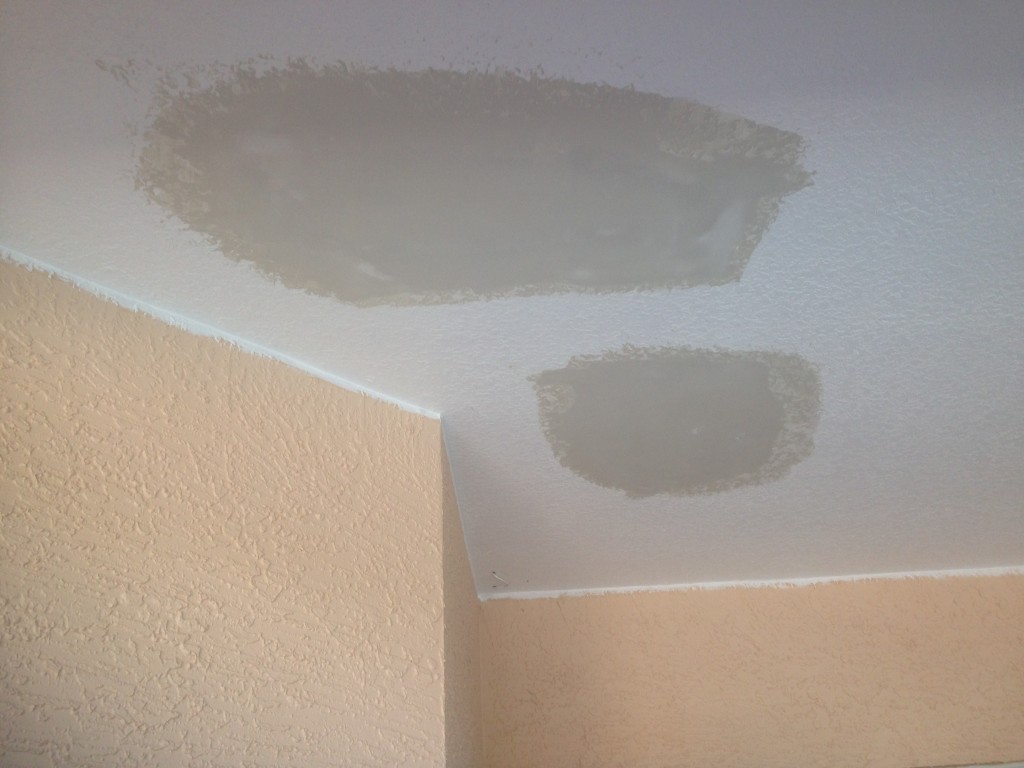
Skim coated
3) Scrape any high spots left behind from your trowel or knife on the first two coats. Then after the third coat lightly sand the main patch and wet sand the edges with a sanding sponge. (This helps to blend the knockdown texture into the existing ceiling texture)
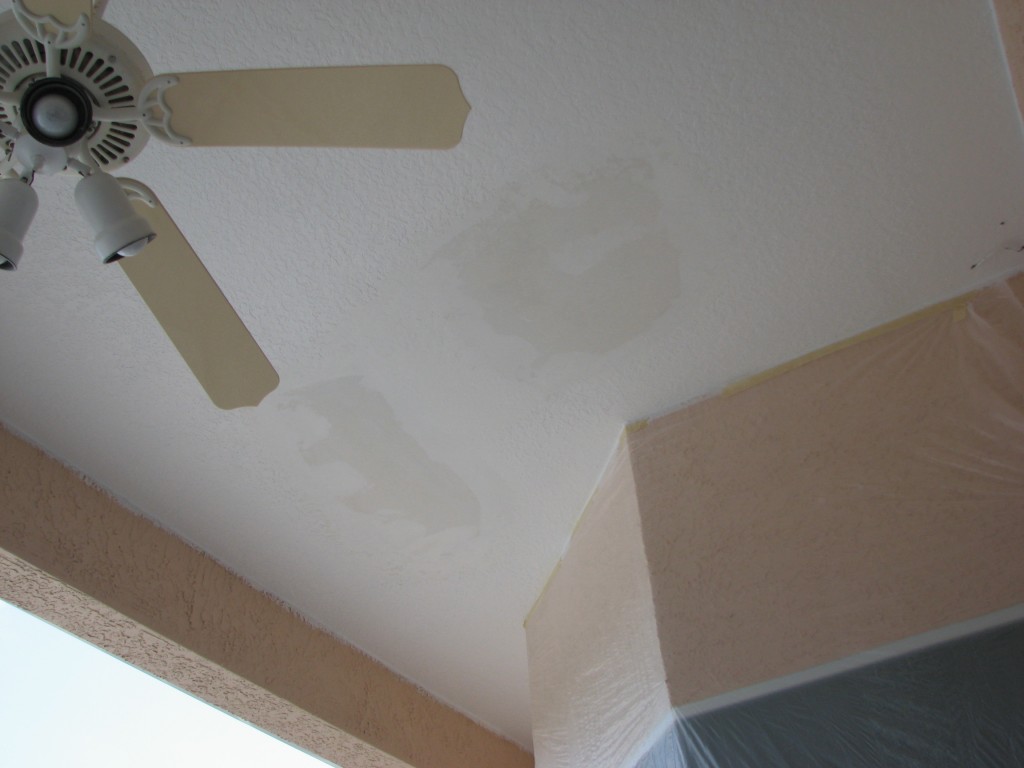
Wet sanded
4) With the and all purpose joint compound apply a liberal amount of compound, pulling down leaving dime to nickel size blobs (depending how big or small the knockdown is you’re trying to match) feathering into the existing ceiling texture.
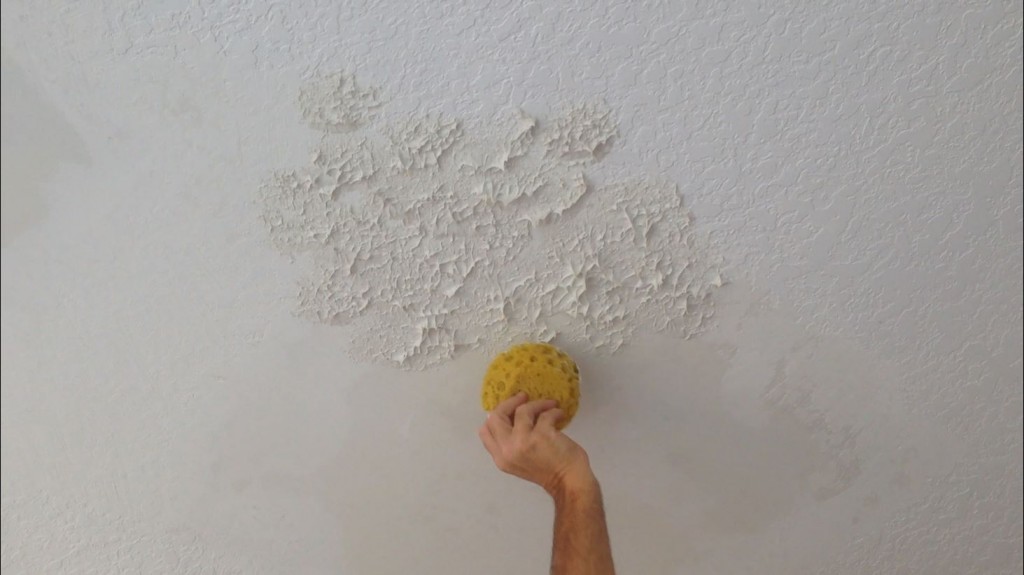
Applying joint compound with a texture sponge
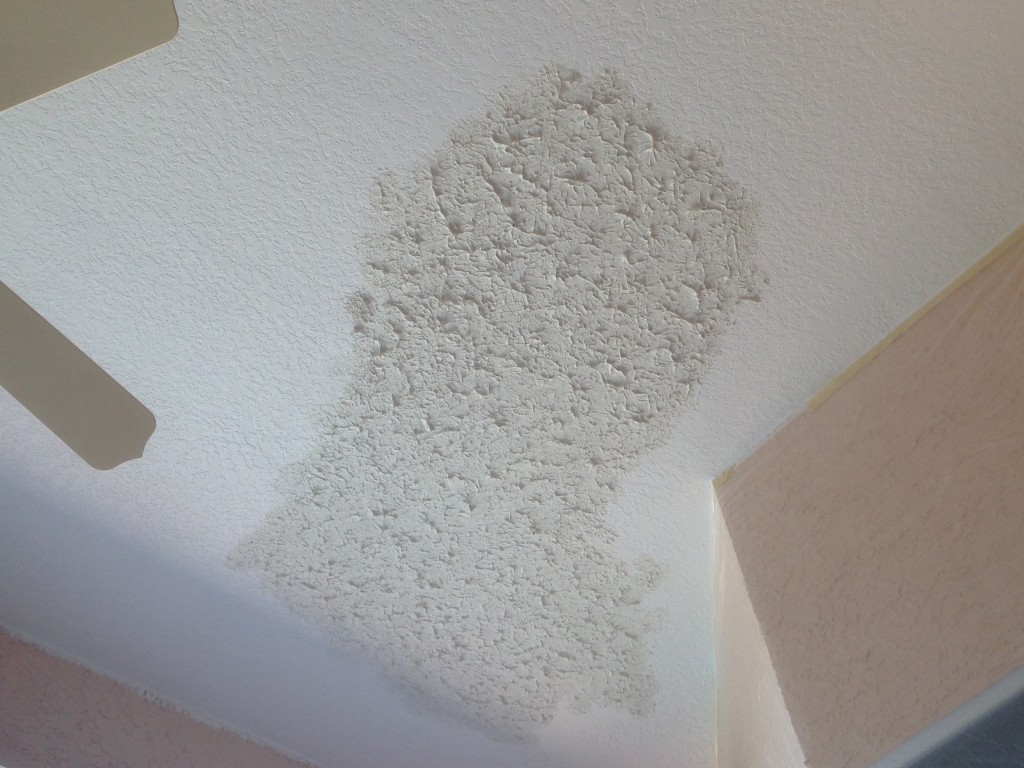
Ready to be knocked down
5) Let the sponged on texture set up for 15 to 20 minutes before knocking down with a drywall knife or trowel.The sooner you knock the texture down the more smushed out it will be.The longer you wait the thicker the knockdown will be.

Knocking down the sponged on texture with a 24″ plexiglass paddle
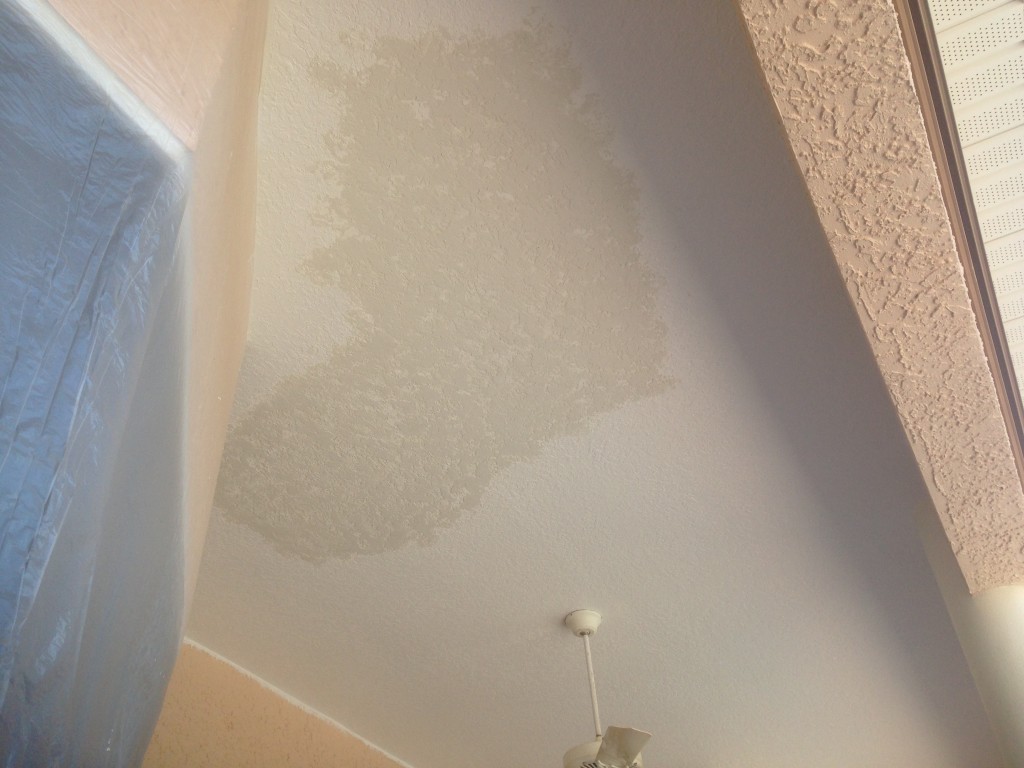
Feather out the new texture into the existing ceiling texture
6) Allow 24 hours for the knockdown texture to completely dry. Drying times will vary depending on temperatures, humidity and air circulation. Note: If you’re texturing over a painted surface, it will take longer before you can knock it down.
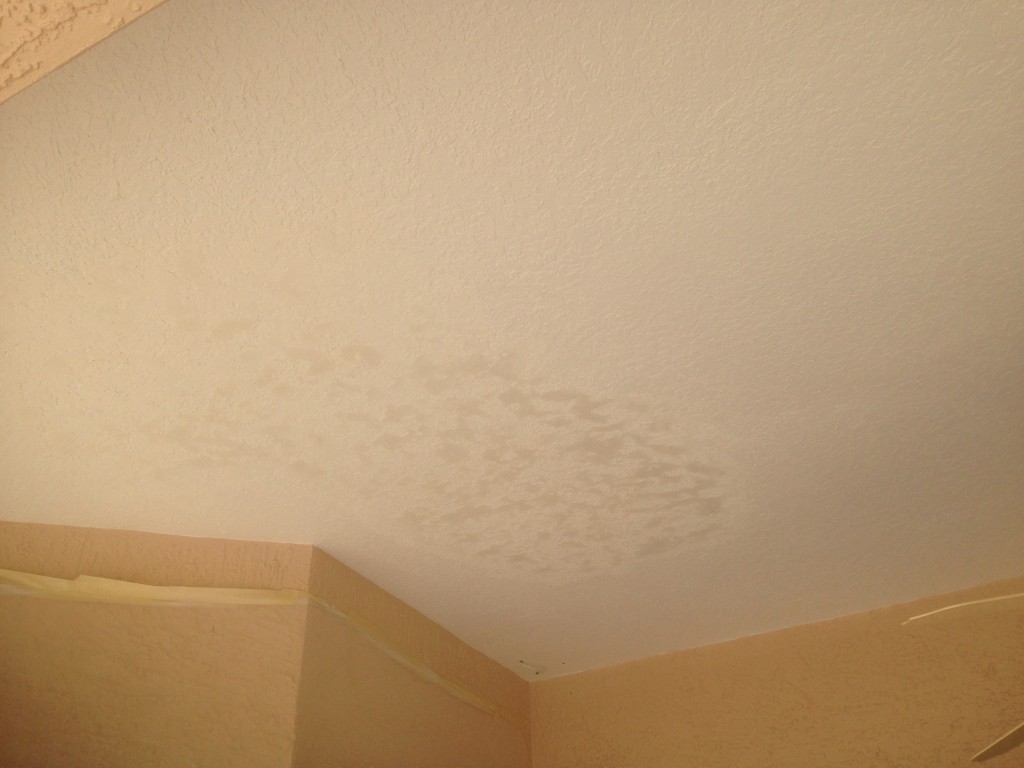
Texture is drying
7) Spot prime with a quality latex primer like Zinnser 123 or Kilz water base
8) Spot paint areas with your favorite latex paint. Keep in mind that flat hides imperfections and repairs the best. The more sheen the more visible the repair can be.
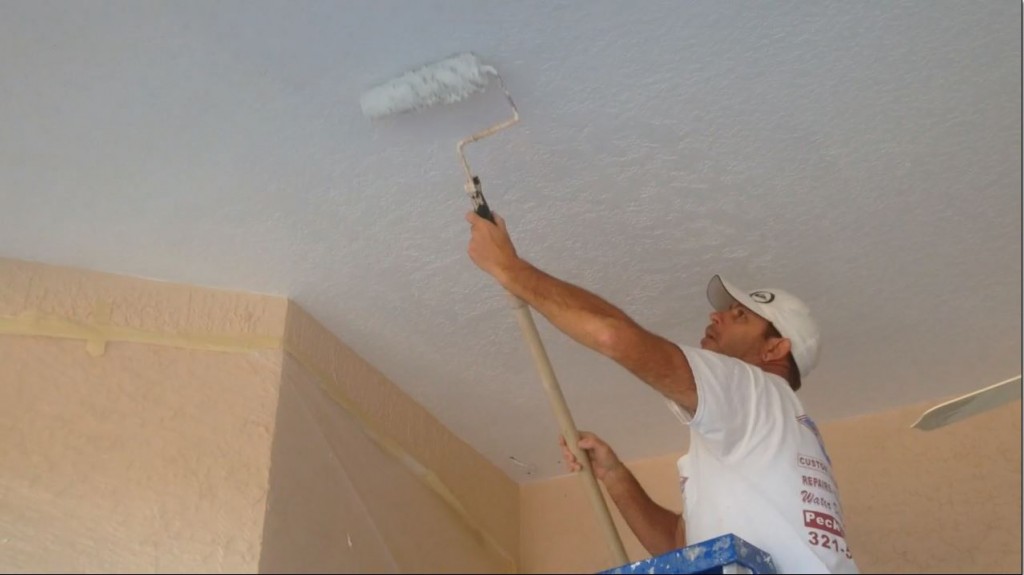
Priming ceiling repair with a 3/4″ roller nap
9) Repaint the entire lanai ceiling to ensure your ceiling repair will blend right in to your beautifully repaired ceiling
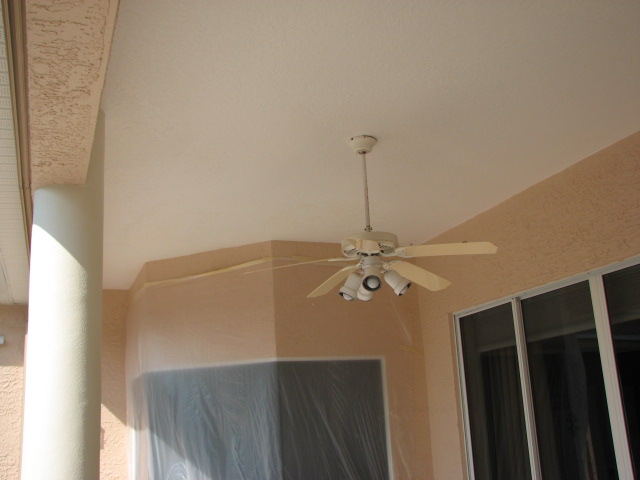
Ceiling and knockdown repairs primed and painted
The knockdown texture sponge is perfect for matching knockdown texture on wall or ceiling repairs and can be purchased from The Texture Master
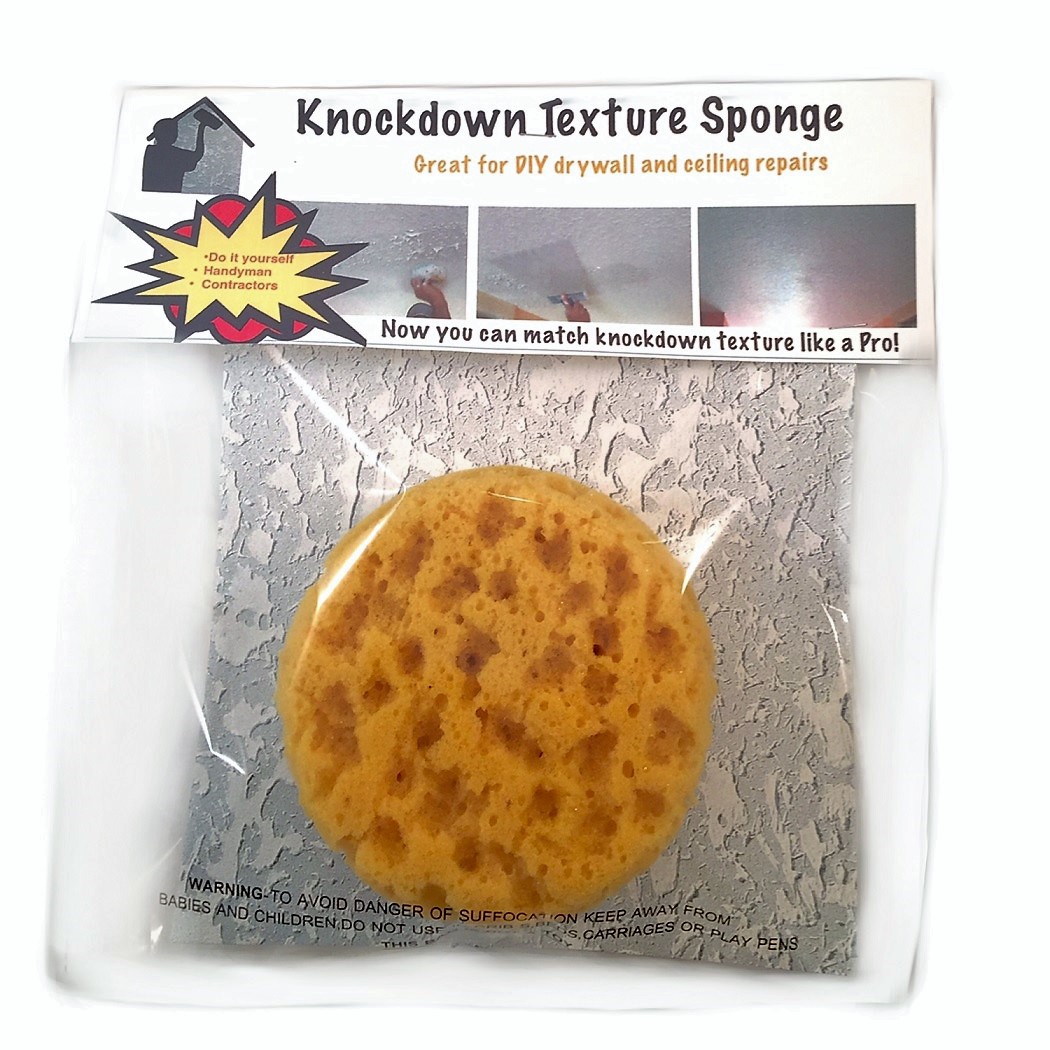
Buy One Now! @
www.texturemaster.com/knockdown-texture-sponge/
Start matching knockdown texture like a Pro!
What is Knockdown Texture?
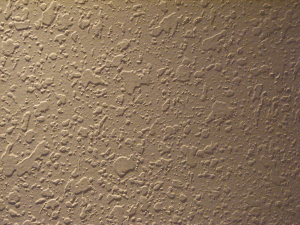
Knockdown Wall Texture- Medium size
This photo is an example of one of my many variations of knockdown texture.
When I say “variation” there are several factors that determine how the knockdown will look. One of the factors is the “surface” that is going to be textured.
New drywall, primed drywall or a previously painted surfaces. Another texture variable would be the consistency of how thick or thin the knockdown mix that is going to be sprayed on is. Also, The type of machine used to apply the knockdown texture. These are just a few of the factors that determine how the texture will knockdown and look once the new knockdown texture on your ceilings or walls has been painted.
Knockdown texture can be applied in a light, medium or even a heavy consistency, depending on the look you’re going for.
Got a question?
Just ask me in the comments section of the video on Youtube and I’ll try and help you.
Good luck with your project!

Here’s some photos and the link to another ceiling repair project where I used my knockdown texture sponge to blend and match knockdown texture–> Tape joint repair and match knockdown texture with a sponge
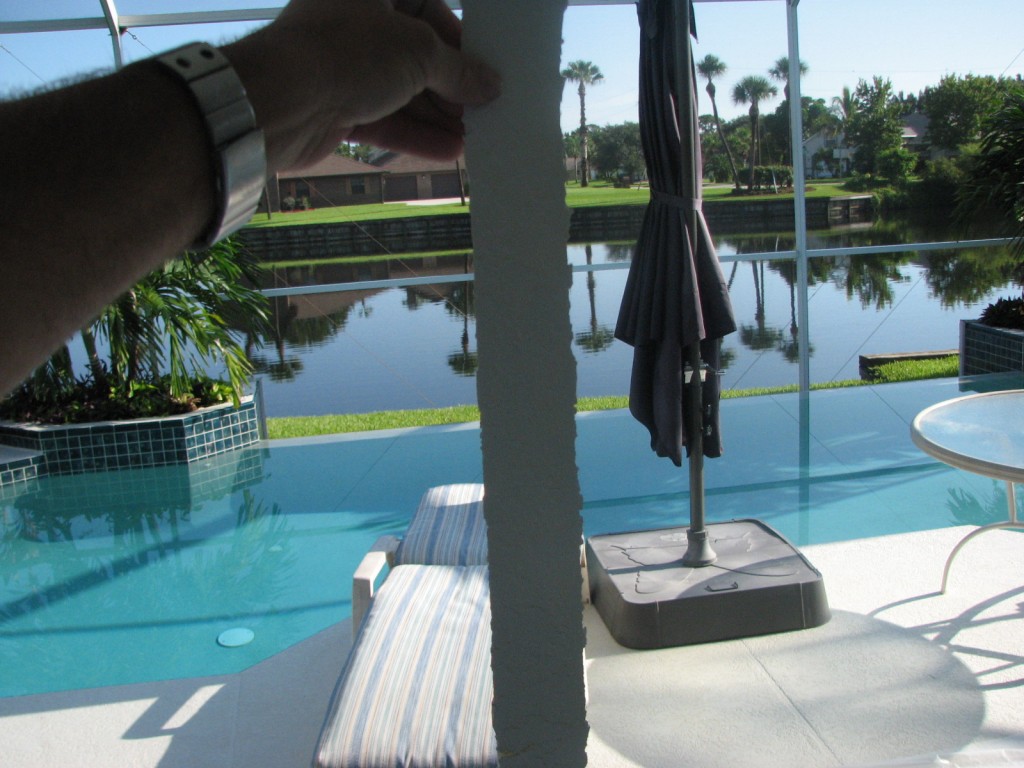
Failing ceiling paper joint tape
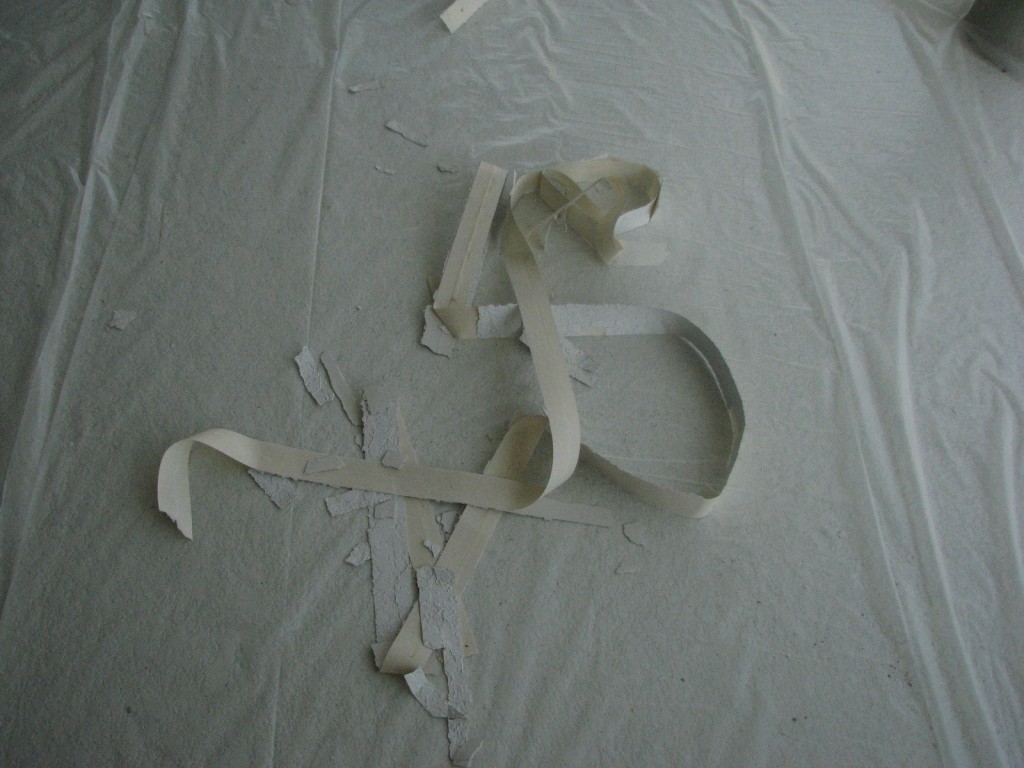
Ceiling tape joint repair – All tape joints removed
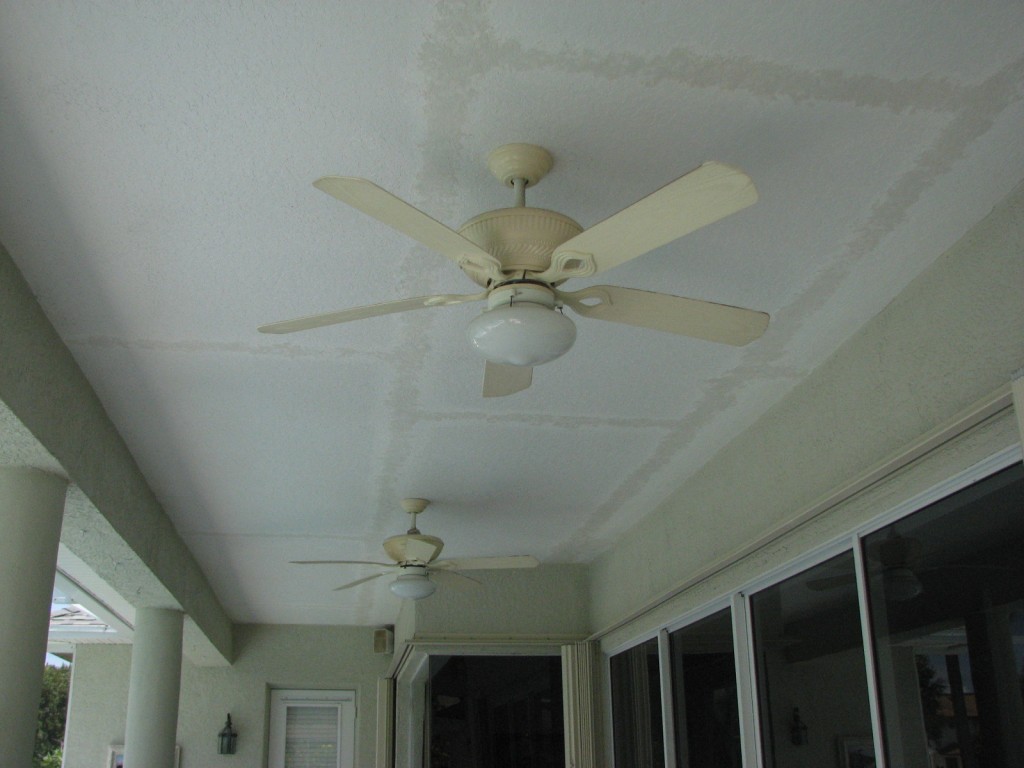
Ceiling Repaired – Knockdown texture blended
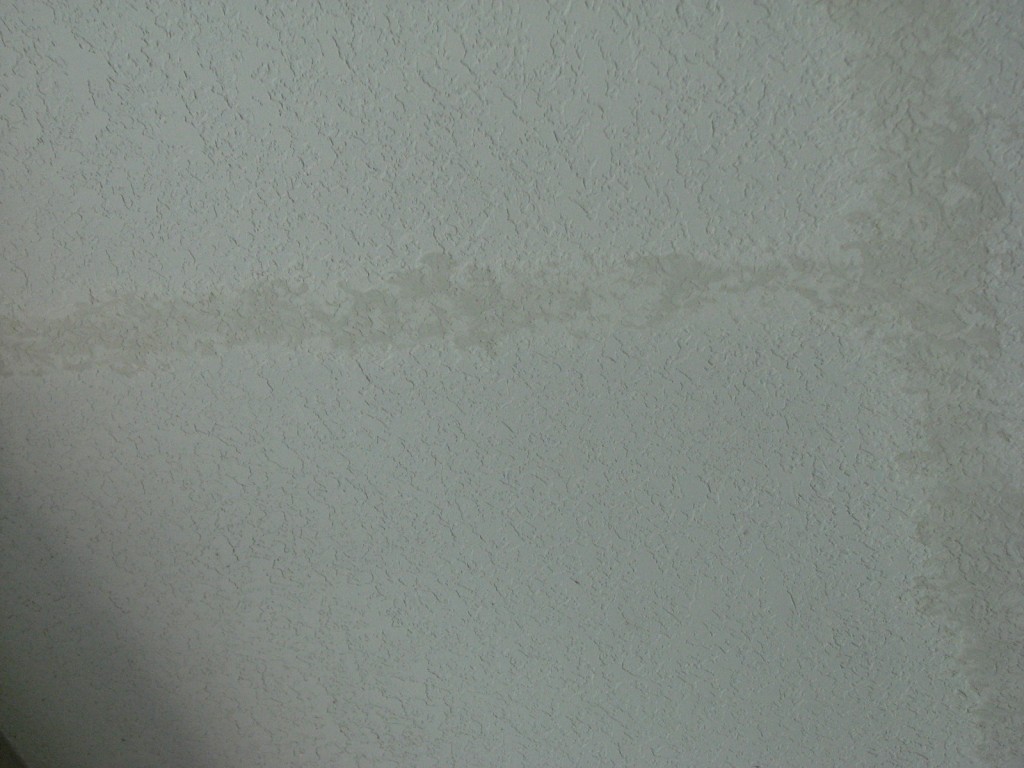
Ceiling Repaired – Knockdown Texture Matched with a sponge
Feel free to call or Email me for more information about my Drywall Art!
Feel free to call or Email me for more information about my Drywall Art!

