In this Blog video two part series I’ll show you how to do the first coat and second skim coats on a wall to get rid of an ugly poorly done knockdown texture. This how to skim coat trick is a great way for anyone from DIYers to contractors to apply a skim coat to drywall and plaster walls or ceilings.
Skim Coating to get rid of ugly texture
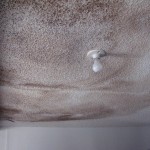
I’ll be using the paint roller method with a 1 1/4″ roller nap (cover) and I thinned down the all purpose joint compound with water.
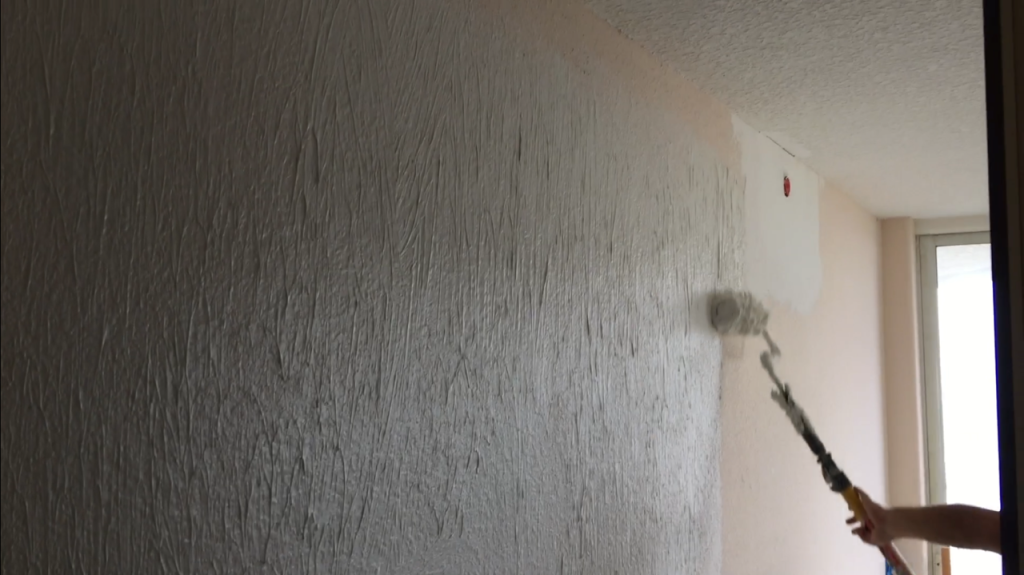
How to skim coat dtywall with the paint roller method
For skimming I’m using a 14″ drywall taping knife and mud pan to smooth out the mud that was applied.
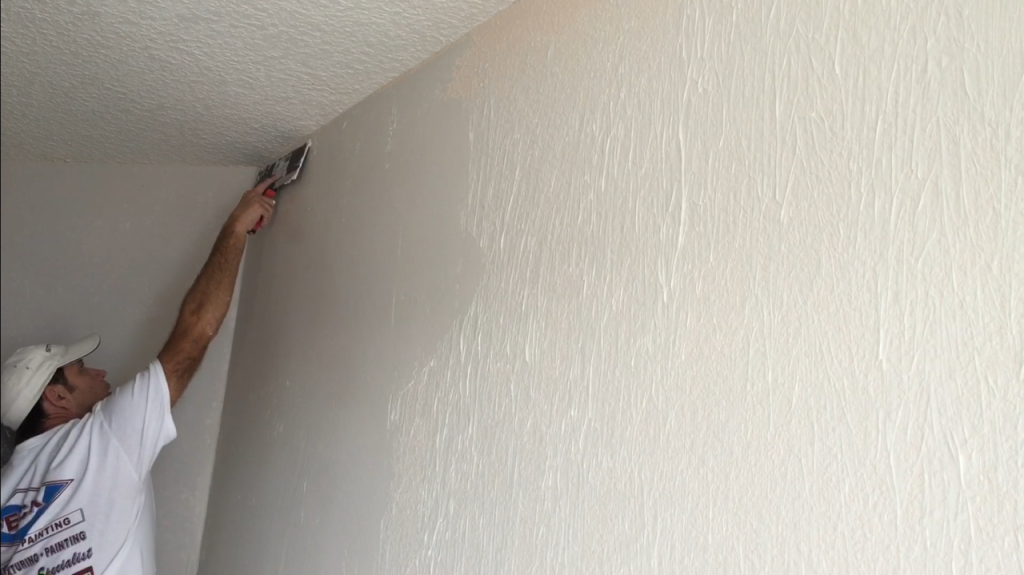
Skimming out the rolled on mud with a 14″ drywall taping knife
How to skim coat- Paint roller trick on Youtube (Part 1)
How to skim coat- Paint roller trick (Part 2)
This How to Skim Coat Trick is a must when skim coating walls and ceilings for DIY’ers!
Once the first skim coat is complete, let the joint compound dry for 24 hours. Day 2- scape any high spots with your 6″ drywall knife and then apply another skim coat to the area. This skim coat will be much easier and smoother than the first skim coat and it will also dry a lot faster too.
Once the second coat is dry:
1) Sand entire wall with 100 grit sandpaper
2) Remove sanding dust from walls by using a half of a bucket of water and a yellow grout sponge rinsing the sponge often in the bucket of water.
3) Prime with a quality latex acrylic primer.
4) Paint on two coats of a quality paint and you’re done!
Subscribe to my Youtube Channel
to see more of my videos that I post on a weekly basis
Comments from: Paul Peck- Owner at Peck Drywall and Painting
In Conclusion: I highly recommend this skim coating with the paint roller trick to any contractors or even Do it Yourself’ers for covering up an ugly texture, looking for a smoother finish on their drywall or plaster walls and ceilings, or even after removing wallpaper!
I think this how to skim coat trick saved me several hours of work by not having to take the extra time to try and keep the mud thickness as consistent as possible which means less sanding and mudding.
Tip: If you’re trying to cover up a knockdown or skip trowel texture, be sure to use at least a 1″ to 1 1/4″ roller cover when applying the first skim coat. Then a 3/4″ nap will work fine for the second skim coat of all purpose joint compound to the wall or ceiling or skim coating.
Proudly servicing these areas on the Space Coast: Melbourne-Melbourne Beach-Palm Bay-Indialantic-Indian Harbour Beach-Vero Beach-Satellite Beach-Viera-Cocoa Beach-Rockledge-Merritt Island-Cape Canaveral-Suntree-Port St. John-Cocoa-Titusville
Good luck with your skim coating project! -Paul
Checkout one of my latest videos below:
In this video tutorial I’m going to show you how to apply a skim coat to your walls for fresh new look.
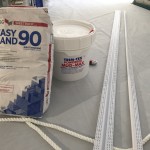
DIY Skim Coating- In this video I’m gonna show you how to mix the skim coat and also all of the tools needed to for mixing an all purpose joint compound for skim coating.
Have questions about how to skim coat and the materials that you see in the video?
Please feel free to ask Your Questions in the Comment Section of my video on YOUTUBE
HERE—>https://youtu.be/NZyY96BISXQ
Here’s the tools I used to get the job done in this skim coating by hand video:
Goldblatt Mud Mixing 3/8″ drill bit- http://amzn.to/2khx0WG
Dewalt 20-Volt Lithium Ion Drill/ Driver – http://amzn.to/2kJ2wtg
WallBoard Bucket Scoop- http://amzn.to/2jtimXV
Goldblatt Pro Mud Pan and Knife Set- http://amzn.to/2kIqlWc
Werner Bench Ladder- http://amzn.to/2kJor3v