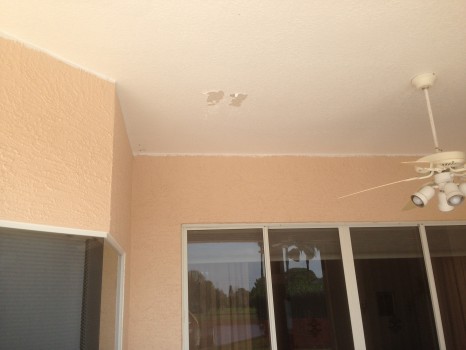
Rockledge patio ceiling bubbling
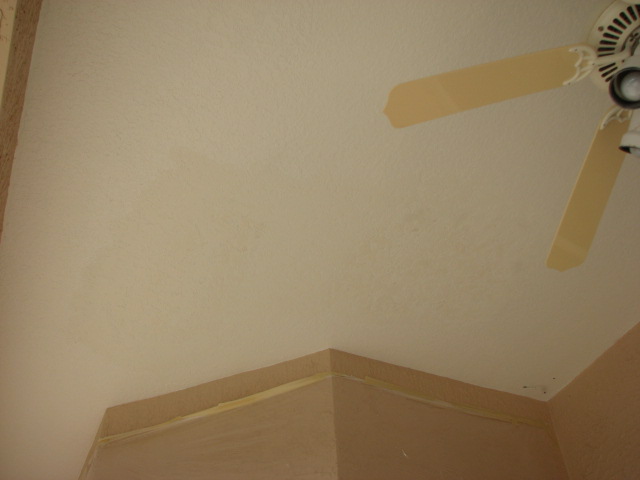
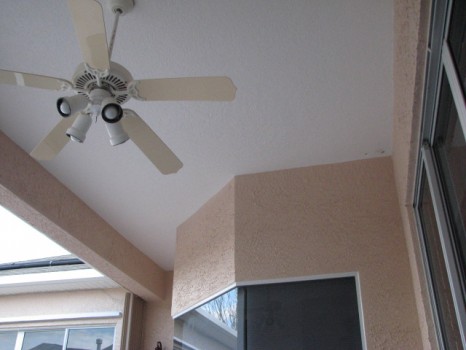
Textured patio ceiling bubbling, blistered or falling down?
I’ve seen this issue quite a few times over the years on knockdown, skip trowel, orange peel and popcorn textured exterior drywall ceilings.
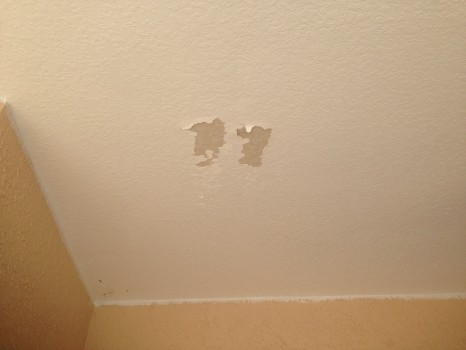
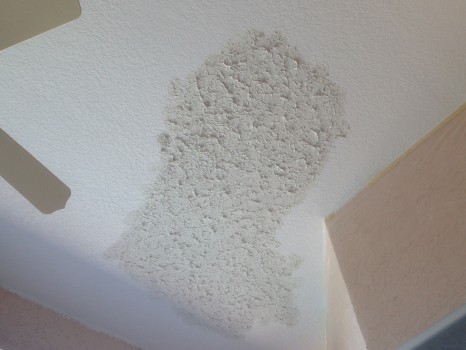
In this video I’m scraping the areas where the knockdown texture and paint had bubbled.
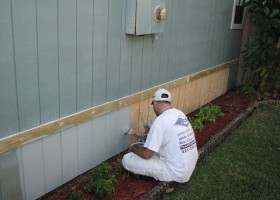
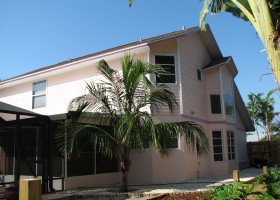
So today while on an complete exterior repaint in Rockledge, Fl.
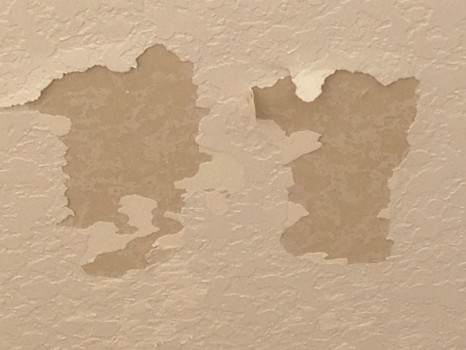
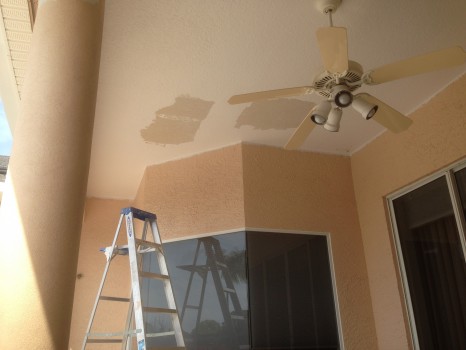
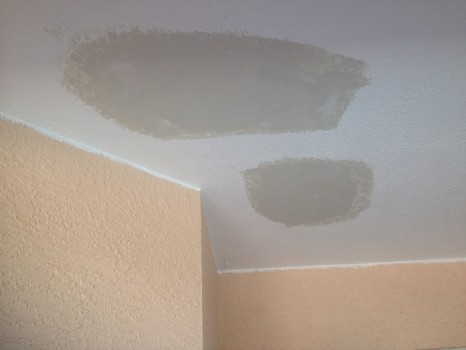
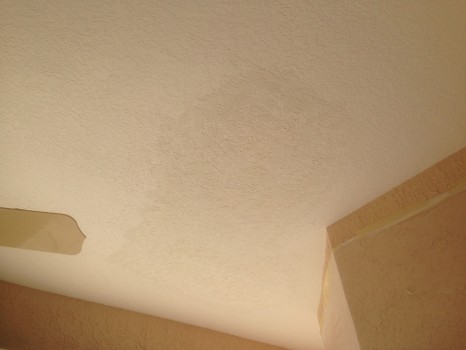
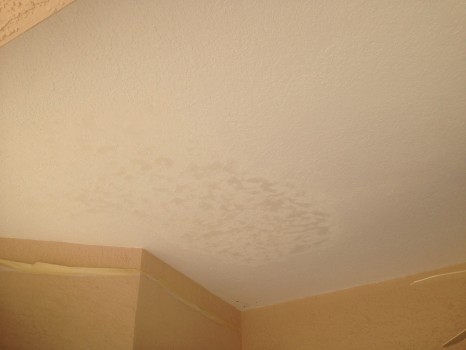
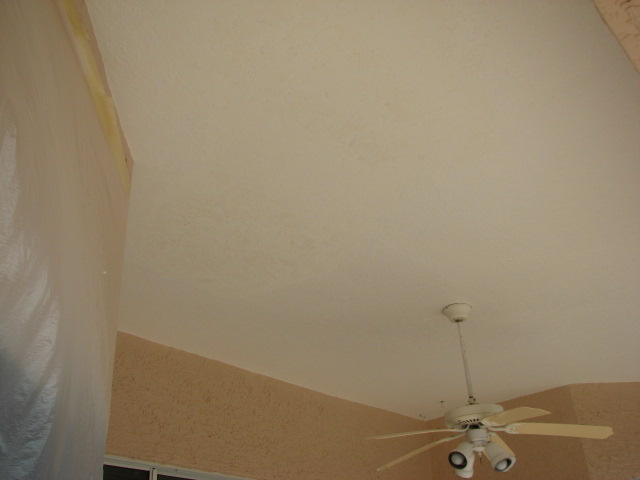
I was painting the first coat of exterior latex paint on the lanai ceiling, when the knockdown texture on the exterior drywall pool patio ceiling started to come off on to my roller nap. The ceiling texture had bubbled in two separate areas. It was as if the texture itself had lost any adhesion and all that was left after peeling the texture off was bare drywall which was dusty just like the back of the texture sheet that I removed.
I’m not sure if the ceiling was painted to soon before the knockdown texture had dried completely back when the home was built in 1998 or if there was some type of roof leak or if the exterior patio ceiling had just been baked by the hot Florida summer temperatures for the last 16 years that had caused the texture to fail long before we started painting the ceiling.
After scraping the problem areas of the ceiling I will:
1) Spot prime these areas with a spray can of oil base Kilz
2) Skim coat the primed areas with 20 minute hot mud
3) Wet sand the edges to blend into the existing texture
4) Apply the knockdown texture feathering to match the existing ceiling texture
5) Spot prime with a quality latex primer
6) Spot paint areas with an exterior paint
7) Repaint the entire lanai ceiling
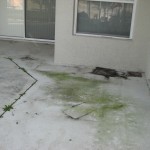
water damaged texture
The texture just rolled right off on the roller
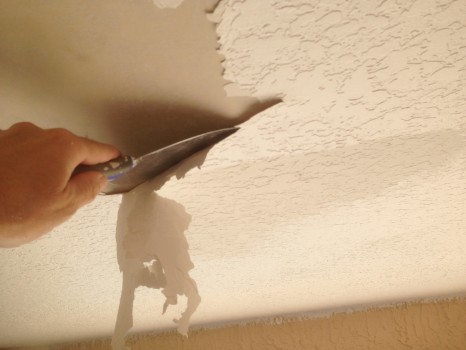
Scraping off the hollow areas
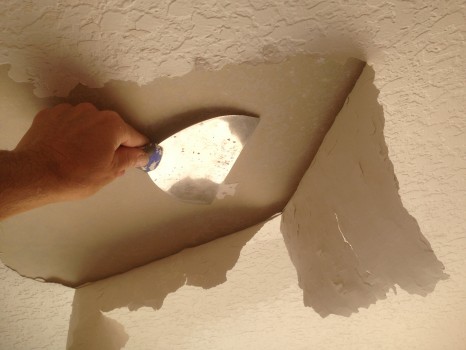
I used my tape knife to cut along the blister
The texture wasn’t even stuck
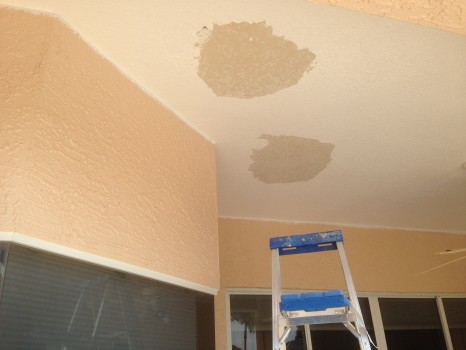
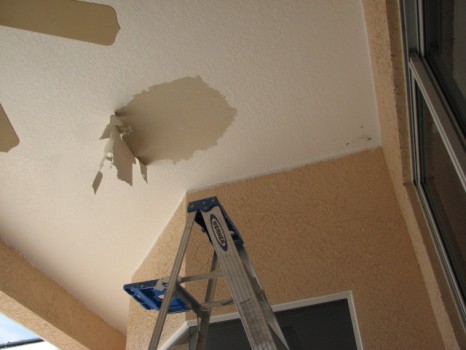
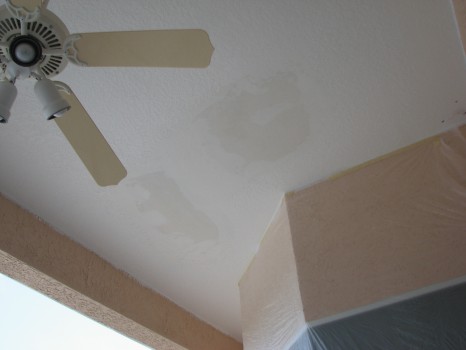
Two areas that will need to be repaired
Ready for primer and skim coating
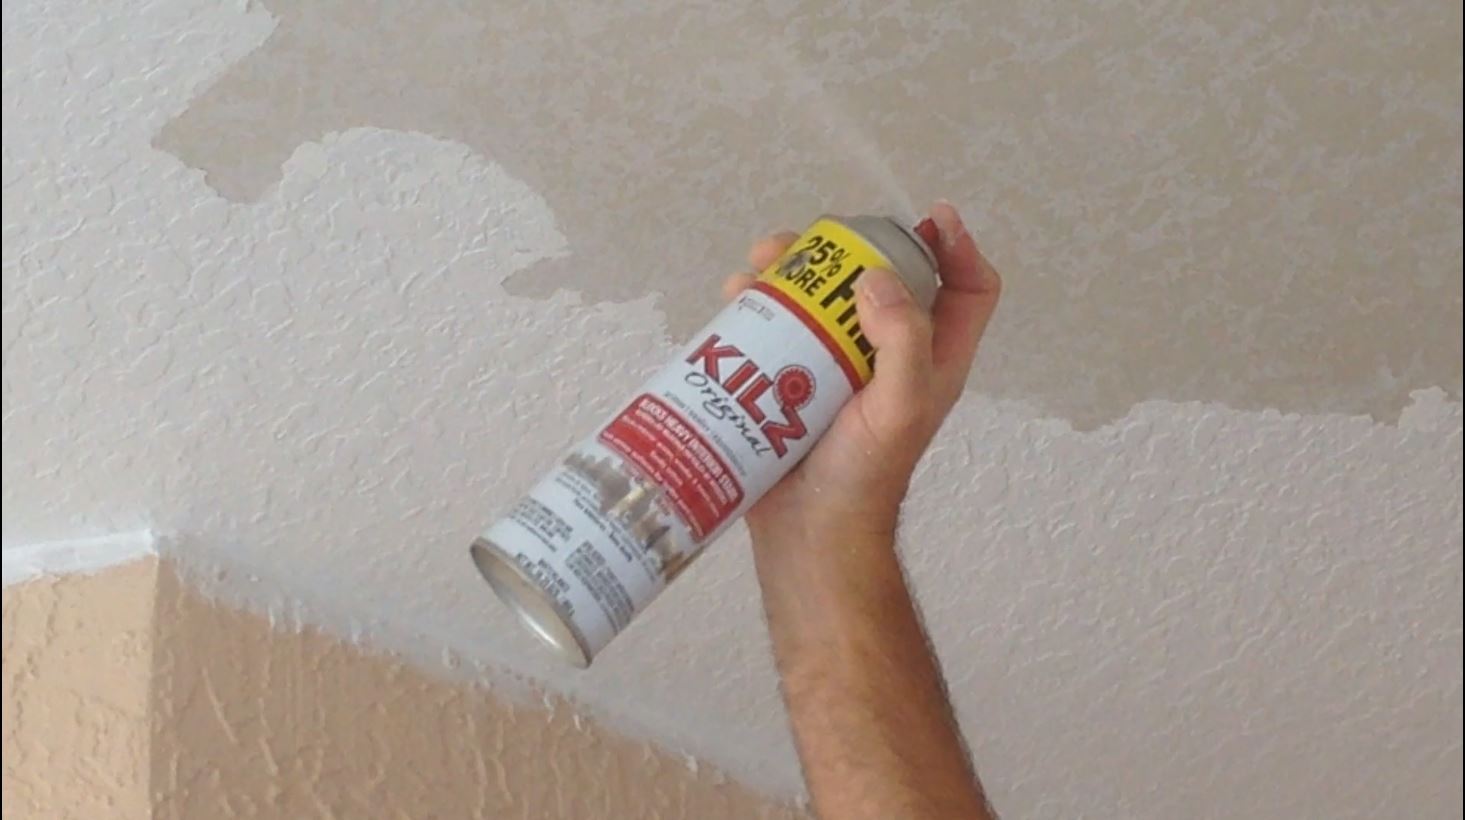
Spraying Kilz-Oil Base Primer to seal and block any stains

Quick Setting compound is much more exterior freindly than regular joint compound
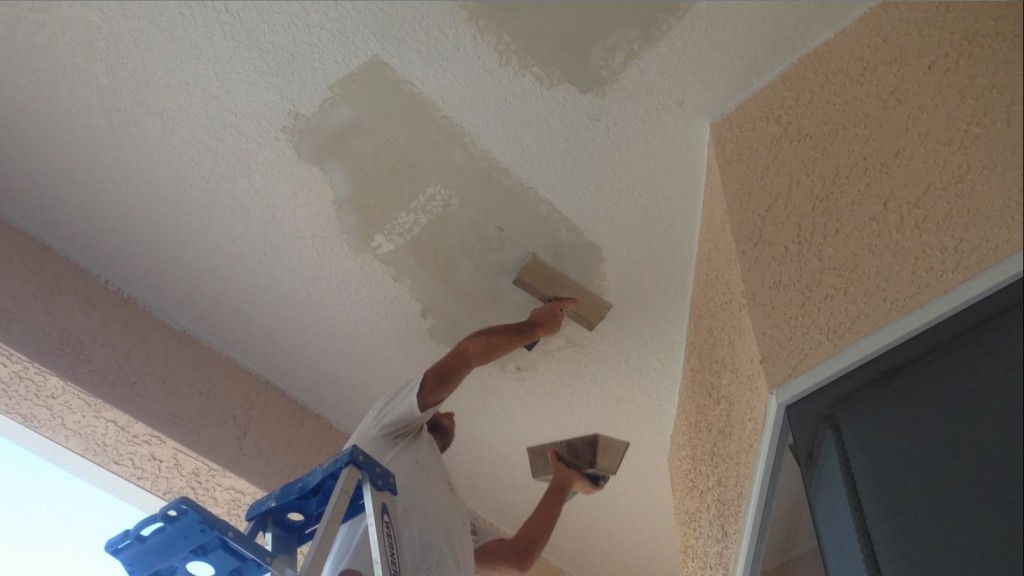
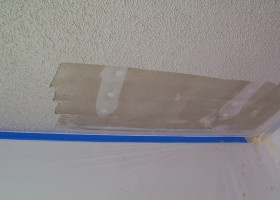
Skim coating ceiling repair with 20 minute hot mud
Primed and skimmed

Ready to wet sand
Final sanded and ready for texture
Texture applied

Knocking down the texture to match
Textured
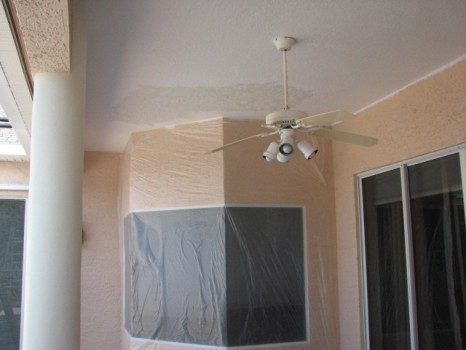
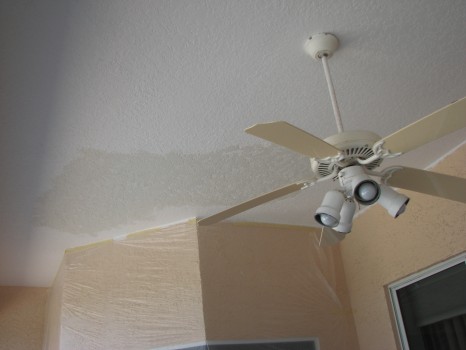
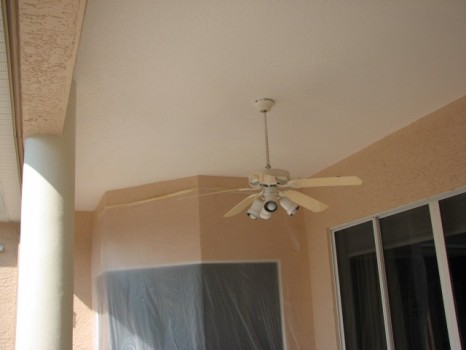
Lanai ceiling

texture feathered out for blending
Drying
Textured and blended
Ready for primer
Blending nicely
What knockdown texture repair?
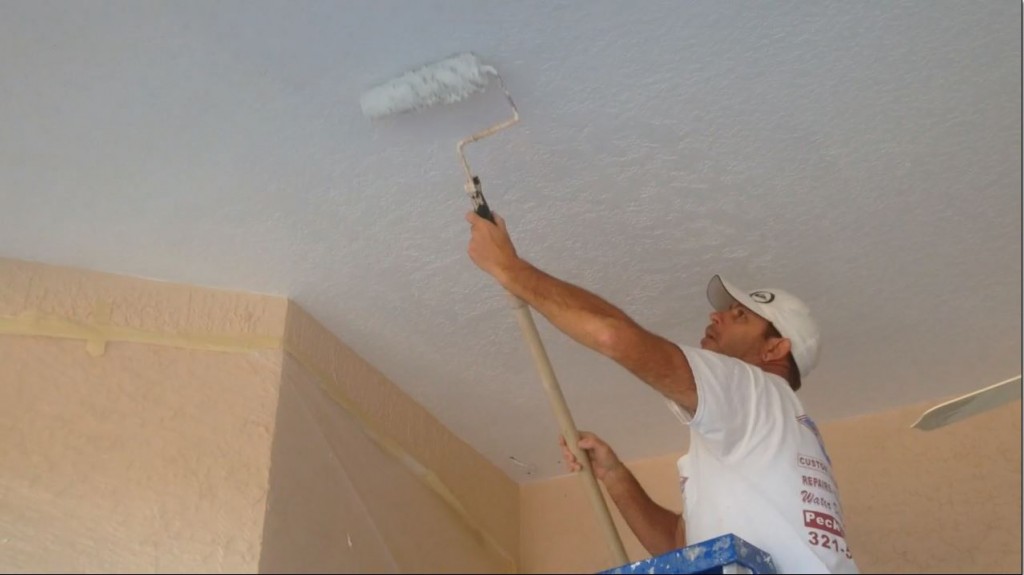
Priming and Painting the ceiling repair
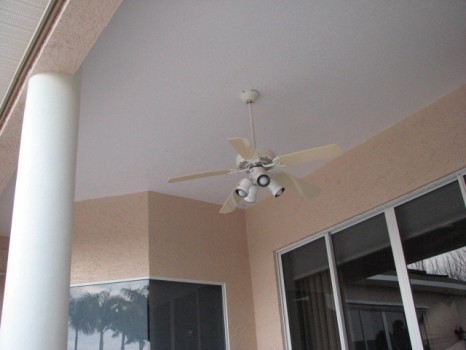
Perfect match!
Primed and Painted
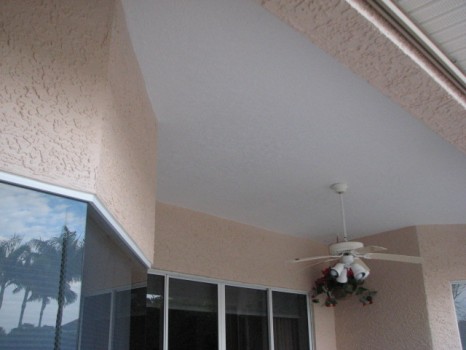
Lanai ceiling skimmed, textured, primed and painted
In conclusion. As you can see that are a lot of steps that go into repairing an exterior ceiling that is bubbling and then trying to match the original knockdown texture on a project like this. I would recommend getting a professional drywall or painting contractor in your area who knows the best ceiling repair techniques and paint products suited for your climate. But, if you’re an advanced DIY’er or handyman and you’re up for a challenge. Then have fun with it and Happy texturing!
Checkout——>My Amazon Top 100 Drywall Repair Tools
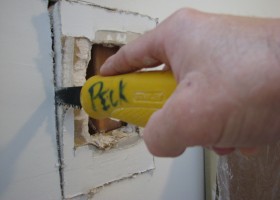
By: Paul Peck
Related Posts
 ☆Exterior Painting Melbourne Florida/ Stucco cracks,dingy soffitts and iron stains ☆
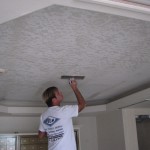 Professional Interior Exterior Services
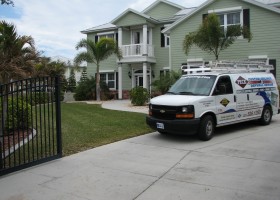
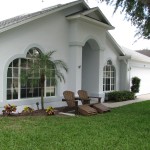 Merritt Island FL | Exterior House Painting Project by: Peck Painting
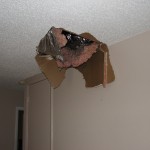 Barry the cable guy stepped thru my popcorn ceiling!
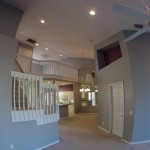 Interior Painting 8 colors and 1 townhouse in Melbourne,Florida

")