Springtime to Paint!

Spring fever is a term applied to several sets of physical and psychological symptoms associated with the arrival of spring. In general it refers to an increase in energy and vitality.

Spring is in the air

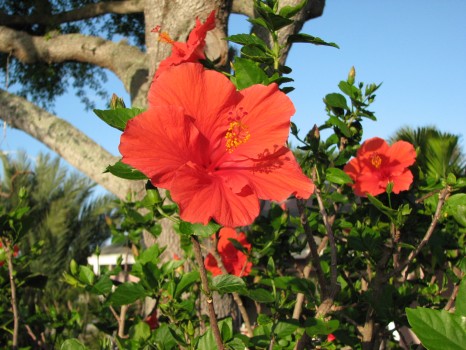
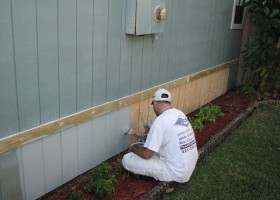
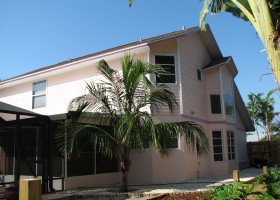
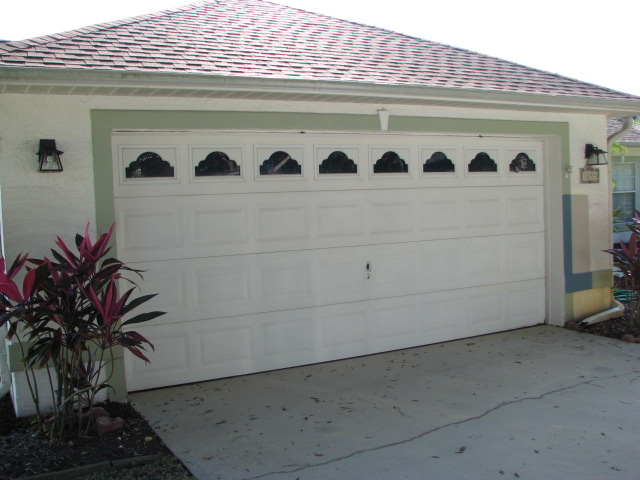
Spring is the perfect time of the year to paint the exterior of your Florida home

Spring and “springtime” refer to the season, and also to ideas of rebirth, rejuvenation, renewal, resurrection, and regrowth.

Banana 001

Spring = Rejuvenation

Shouldn’t your home’s exterior be at the top of your list when thinking about Springtime and your rejuvenated motivation to get things in order around the house that you’ve been putting off for a while. Important things. Like probably one of your biggest investments, Your Home…

Once the clock’s are changed to Spring forward, you know that Spring is soon to follow.

Springtime Fresh

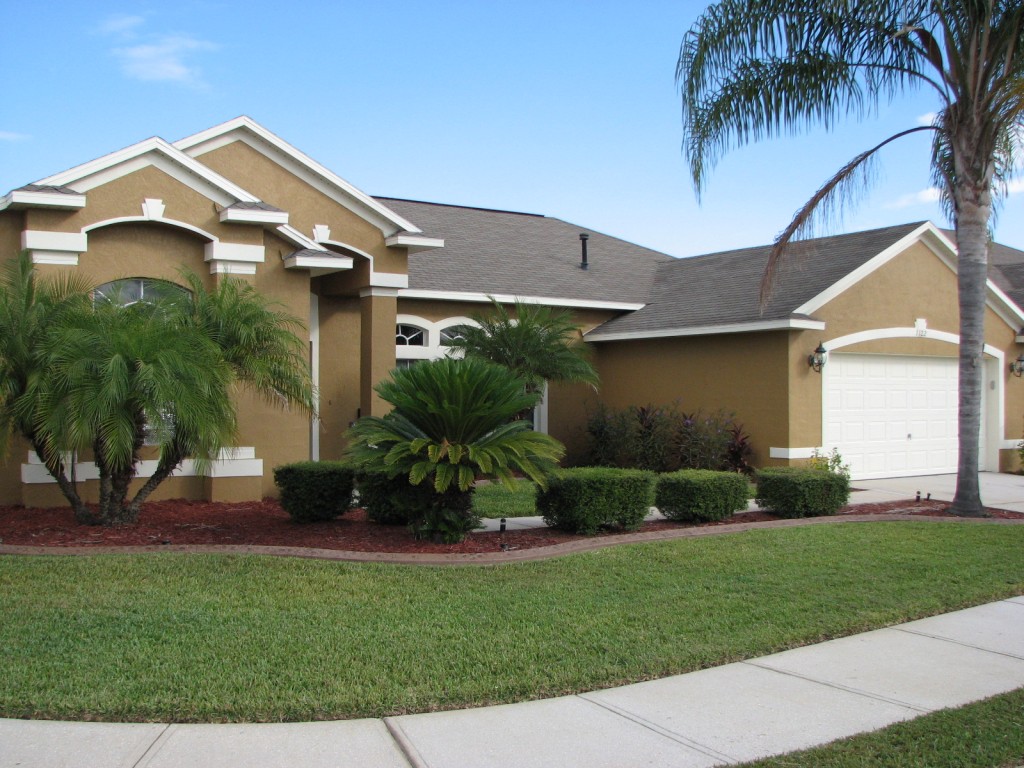
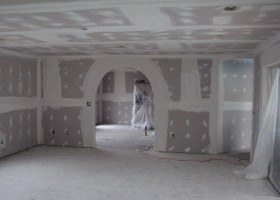
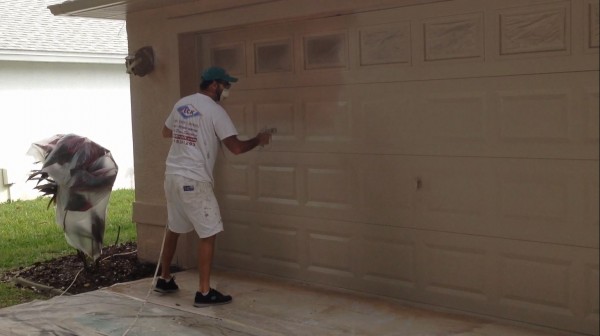
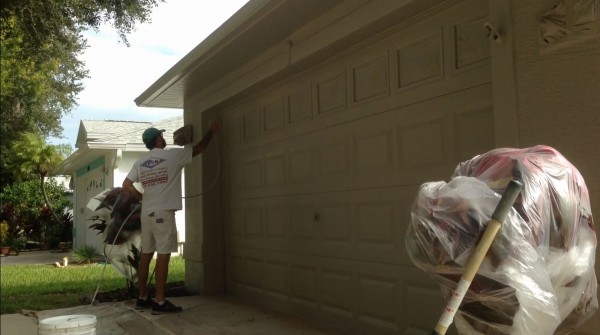
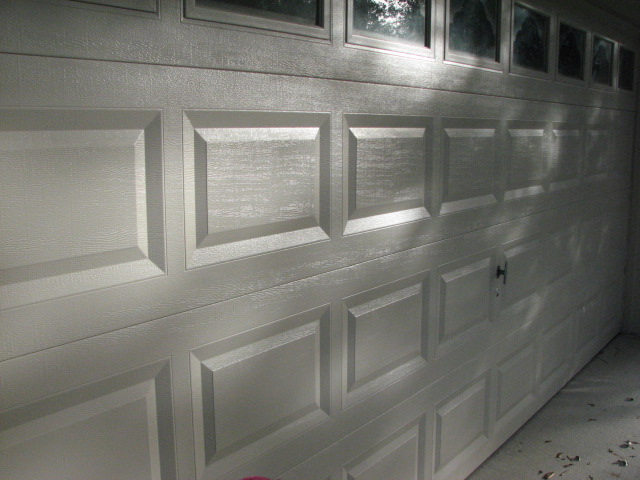
Springtime Fresh – New exterior paint job

Spring is the perfect time of the year to paint your home

Especially if you have any cracked or damaged stucco, faded paint, iron stains from your water sprinklers, or it might just be time for a fresh new vibe that will not only look great. But, it will also help protect the interior of your home from insects, water damage, mold and other moisture related issues for years to come. If you’re not sure about the color combinations you would like to have on your home. We can certainly help you with picking out the colors and advise you on the latest color trends here in Central Florida. Summer is right around the corner which means family get togethers , cookouts and sleepovers.

Wouldn’t it be nice to have your home looking great, so you could entertain guests and family and be proud of your home again?

Stucco cracks- Exterior painting Melbourne FL Before

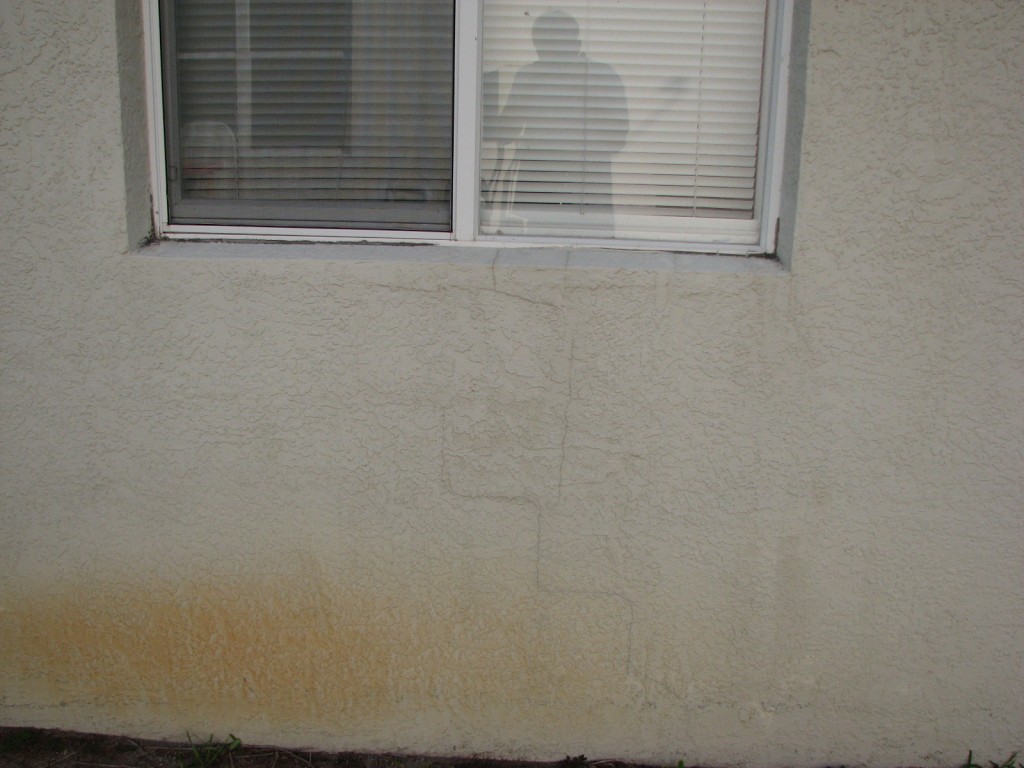
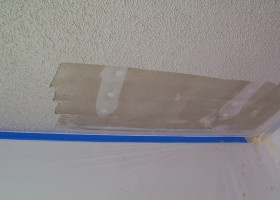
Stucco cracks and Iron stain


Summer is right around the corner and so is Hurricane season

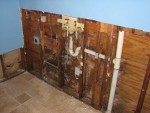
It’s amazing what a little paint can do. Not only does it rejuvenate your homes appearance. Additionally, a properly done paint job whether it’s done by you the homeowner or by a professional painter it will protect your home from the water damage caused from wind driven rain like we had during hurricane season just a few years back. A lot of the water damage caused during these wind events could have been prevented in hundreds of homes here in Brevard county, Fl by simply repairing all of the hairline stucco cracks on the walls of these homes and re caulking all of the exterior windows.

With all of the right preparation and applying the proper sealers and paints to their stucco walls on block and wood frame homes, it most definitely would have prevented the amount of water intrusion damage and insurance claims from the wind driven rain scenario.

In conclusion:

Spring provides the extra boost of energy that helps us motivate to get things in our lives in order for the rest of the year. This also means taking care of things you care about. The home is where a lot of people like to catch up on all of the little things that can protect it and make it look nice and cared for. Yardwork and exterior painting are some of the most popular springtime activities when it comes to improving and protecting your home.

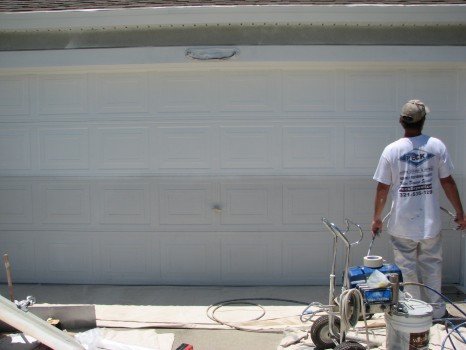
So get out there and paint the exterior of your home! Or hire a professional house painter to get the job done properly. Leaving you with more time to focus on your family and other springtime home improvement projects.
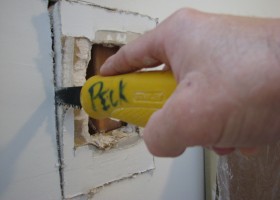
By: Paul Peck

Serving the Brevard County area since 1995

How to paint a garage door

Your garage door is a HUGE part of the overall appearance of your home.

Has your homes garage door lost it’s luster?

Garage Door Painting-Before and After-Viera FL

Is my garage door paintable?

It’s a common question among homeowners that have a weathered, rusted, chalky, faded or dusty garage door that’s in need of a facelift or even just a color change that can give your home a different vibe and better curb appeal .
Whether you’re thinking about just repainting it or looking to paint the entire exterior of your home. I would recommend hiring a professional painting contractor.
But painting a garage door is doable for the advanced DIY’er.

I give this project a difficulty rating of 7 out of 10.

You can get by with just using a brush and roller to paint most garage doors. But with these you will be left with some sort of stippling (a light texture or brush strokes). That’s why I prefer to use an airless sprayer to apply the primers and paint. It it will leave your garage door with a beautiful factory finish like it had when it was brand new.

I’ve painted hundreds of garage doors here in the Brevard County, Fl area. Which means I have been perfecting the most efficient techniques and the tried and true best primers that ensure proper adhesion and the right exterior paints to use on metal and wood garage doors for over 20 years.

Here’s some of the basic bullet points for properly painting your garage door.

Materials and tools needed to prep, prime and paint your garage door:
  • Masking paper- 12″ to 16″
  • 3M paper machine (optional)
  • Masking tape 1.5″ and 3/4″ for paper machine
  • .31 mil light plastic (optional)
  • 5 in 1 tool or putty knife
  • Drop cloths
  • Rags
  • Paintable caulk
  • 1.5 gallons Acrylic Latex Multi surface sealer/primer
  • 2 gallons of a high quality (satin or semi gloss) Acrylic Latex exterior paint
  • Roller frame with a 3/8″ nap and at least a 3′ paint pole
  • 1 Purdy or Wooster 4″ to 6″ brush
  • Or if you can get your hands on a paint sprayer? I use a Graco 695 paint sprayer .311 Spray tip for paint gun

Steps for applying primer/sealer and paint

Step 1) Pressure wash all of the exterior surfaces of the garage door to be painted.

*Tip-Trick- You’re going need to use a good environmentally friendly cleaner or detergent like Simple Green or a similar product. But bleach and water will do as well.

Step 2) Prep the surface and area around the garage door to be painted. Cover anything you don’t want painted.

*Tip-Trick- Raise the garage door halfway up and put masking tape on the bottom rubber seal of the door, Next place drop cloths half in and half out of where the garage door sits on the ground when in the closed position.

Step 3) After the garage door is completely dry, check it for any rusted areas.

Tip-Trick- If you have some rust, take 80 grit sandpaper and sand down any rust spots and and after sanding the surface wipe with a damp cloth.
Purchase a can of rust inhibitor which primes the area and actually turns rust back into metal.

Step 4) I prefer to use my airless paint sprayer to prime the garage door with a – Multi Surface tinted Primer/Sealer (a brush or roller will work as well).

Tip-Trick- After priming and after each coat of paint take your 5 in one tool or putty knife and carefully slide it under one of the three rubber seals on both sides and at the top of the garage door and go around the perimeter of the garage door keeping the tool under the rubber seals. This keeps paint from building up and bonding the three rubber seals to the garage door.

Step 5) After the primer dries, I will then caulk any wood trim joints that are cracking or opened up around the garage door before painting the first coat

Tip-Trick- Try and keep the hole small when cutting the tub of caulk And cut it at a slight angle.
Have a wet sponge or rag handy while caulking to keep your finger clean.

Step 6) Lastly, I spray two coats of a high quality (satin or semi gloss) exterior paint for a long lasting and durable finish.

Tips-Tricks- Spray the first coat going horizontally (side to side) and apply the second coat of paint vertically (up and down). This keeps the the paint from building up in the same areas and also makes for better adhesion of the garage door paint.

Check this out:
I just finished up an exterior house repaint where we also painted the metal garage door because the paint was chalky and chipping. Most homes exteriors have been painted a few times over the years. But a lot of times the garage door is left out of the painting process. I’m sure you know the ones in your neighborhood…

Here some photo’s and video clips of the garage door painting process:

Before Photo:

Garage Door Painting- Before Photo

Garage Door Painting- Before Photo

After pressure washing it was time to Spray on Primer/Sealer:

Garage Door Spraying Primer/Sealer

Garage Door Spraying Primer/Sealer

Here’s a video of the primer/sealer being applied with an airless:
In this video clip you will see my technique on using a paint sprayer to to seal/prime a garage door, vinyl soffits, gutters and stucco. First thing is clean all surfaces to be painted (I used a pressure washer on this project) Next you’ll need to cover everything that you don’t want to get painted with either drop clothes, lightweight plastic or masking paper and tape.

:

Applying the first coat of paint:

Garage Door Painting-First Coat

Garage Door Painting-First Coat

In this clip I’ll show you how to apply the first coat of a tinted high quality exterior satin paint with an airless sprayer to the garage door and stucco walls:

Applying the second coat of paint:

Garage Door Painting- Second Coat

Garage Door Painting- Second Coat

In this last video clip, I will show you how to apply the second and final coat of exterior satin paint going in vertical motions this time with my airless sprayer:

Garage door transformed back to a beautiful factory finish!

Garage Door Painted-Two Coats

Garage Door Painted-Two Coats

In conclusion. If your garage door happens to sit at the front of your home, then painting it should be at the top of your honey-do list. As you can see that are a lot of steps that go into a painting project like this. I would recommend getting a local professional painting contractor in your area who knows the best paint products suited for your climate. But, if you’re an advanced DIY’er or handyman and you’re up for a challenge. Then have fun with it and Happy Painting!

By: Paul Peck

Popcorn Removal in Palm Bay, Fl | Skip Trowel Texture

The Job:
On this popcorn removal project. We removed the dated popcorn texture from the living room, kitchen, dining room and foyer ceilings of a home in Palm Bay/Melbourne, Florida.

First task is to cover and protect everything in these rooms with plastic. Including the walls. Next,we  removed all of the outdated and yellowed popcorn ceiling texture.
Once the popcorn texture is removed, we repaired several failing and cracked tape joints and filled any holes on the now exposed drywall ceiling.
After the repairs were competed, we applied a skip trowel hand texture to ceilings.
Next, we primed newly skip troweled ceilings with an oil base stain blocking primer to insure good adheshion and beautiful bright white ceilings after the finsh coat of paint has been applied. Lastly we painted the skip troweled ceilings with two coats of Sherwin Williams Pro-Mar 200 semi-gloss paint.

Here’s a youtube video of this popcorn removal project:

Check Out my Featured Skip Trowel Texture Youtube Video Playlist!

Click Here–> Youtube/Playlist/Skip-Trowel-Texture

In this Video Playlist I have videos of how to mix skip trowel texture, applying skip trowel texturing tips and tricks and even some project videos where I’m wearing a GoPro video camera to get a very unique perspective of the skip troweling process.


What the homeowners had to say about their new skip troweled ceilings:

Choose Peck Drywall and Painting…you will be delighted!
Paul and his team are highly professional and capable. He created a skip trowel ceiling for us that can honestly be described as a work of art! No more popcorn ceiling and we’re very happy with the result.
Dennis B.- Palm Bay, FL

Schedule an popcorn removal Estimate Here

Feel free to call or Email Us for more information about our popcorn removal services!

Serving all of Brevard County

South: 321-777-9337

Central: 321-453-6233

North: 321-383-3574

Peck Popcorn Removal Service Areas Include:

Melbourne-Melbourne Beach-Palm Bay-Indialantic-Indian Harbour Beach-Vero Beach-Satellite Beach-Viera-Suntree-Cocoa Beach-Rockledge-Merrit Island-Cape Canaveral-Port St. John-Cocoa-Titusville
Serving the Brevard County area since 1995