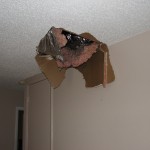
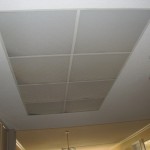
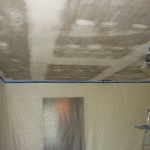
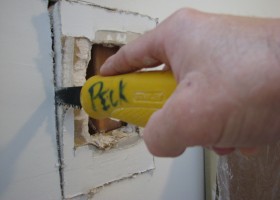
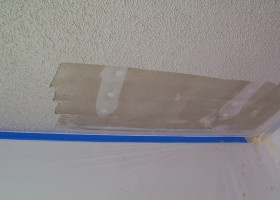
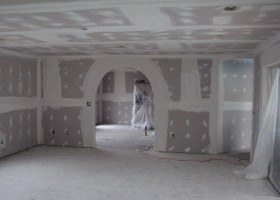
On this Brevard County water damage repair project video, I show you the whole process of doing a water damage drywall repair from start to finish. When
the plumbing leak happened the homeowners cut out the area of drywall that had been damaged by
the water. After they did that they realized that it might be a little bit bigger
project than they really could handle.
In My Youtube video I’ll show you how I do the drywall finishing on this water damage drywall repair from start to finish. There is also a link within in the video of me applying a orange peel texture to this same repair.
1) The first thing I needed to do was square up the drywall because when they cut it out it was kind of crooked and just passed a couple studs.
2) Next, I added a couple of one by four furring strips to be able to attach the new drywall too.
3) I then added two pieces of 1/2″ drywall to the repair areas.
Drywall tip: when doing these types of wall
repairs always add a screw into the existing drywall that was not cut out to
secure it so it will not crack overtime
4) I added fiberglass mesh drywall tape to all of the seams except the one corner where I like to use paper tape to get a nice crisp defined corner.
Drywall tip: when using fiberglass mesh drywall tape always use a setting type of joint compound this means it comes in a powder form and is much stronger than the all-purpose joint compound that comes in a 5 gallon bucket.
5) Mix The setting type of joint compound and apply it with a 6 to 12 inch drywall taping knife trying to keep all edges smooth and not raised.
6) Scrape any high or raised areas on the drywall mud that you just applied using a 6 inch drywall taping knife.
7) apply the second coat with a 12 inch taping knife depending on how soon you want this to be ready to texture and paint you can use the setting type compound or if you’re not in a hurry just use a all-purpose joint compound.
8) apply the third coat you really shouldn’t have to put much mud on just a thin layer of all-purpose joint compound.
Drywall tip: I like to use the all-purpose over the setting type compound for the final finish coat because it sends a lot easier than the setting type joint compound.
9) Using hand sander or sanding sponge Sand down any edges or bumps or humps on your mud work. And touch up any areas that look like they might just need a little bit of mud.
10) Next, I applied the orange peel texture to the repair walls and feathered it into the existing texture which makes it blend and not stand out like a repair any longer.
11) Lastly, prime the repaired areas with your favorite type of primer and then paint two coats and you’re done!
Painter tip: I like to use a primer called Zinsser 123 primer in these
types of repairs. Not only is it a great drywall primer, it also has a stain blocker in it
just in case any water stains that might show up from when the plumbing leak originally occurred. That’s my primer recommendation.
Good luck on your water damage drywall repair project!
