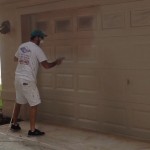
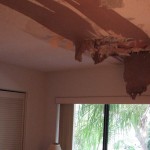
On this popcorn ceiling repair project, I’ll demonstrate how to spray and blend popcorn ceiling texture on an actual ceiling repair that had water damage from a roof leak in Merritt Island, Florida. I’ll be using my GoPro while shooting the video.
This will give you a unique perspective of how I spray and feather and match popcorn ceiling texture with a hopper and compressor.
Prep- After I moved a few things out of the work zone, I covered the floor with 2 mil plastic and in order to contain all of the dust from the ceiling repair and the popcorn ceiling spray texture, I created a plastic bubble going from the ceiling to to the floor by using .31 mil plastic.
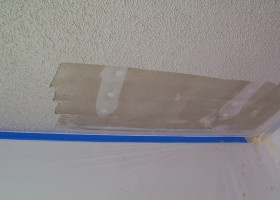
Next, I scraped back the area of the ceiling where the popcorn texture had the water damage from a roof leak that had occurred while these homeowners were getting a new roof installed.
After scraping back the popcorn texture, I primed the area with a can of Kilz stain blocking primer. This helps the popcorn ceiling texture get maximum adhesion to the existing popcorn ceiling and also will prevent any water stains to bleed through where the new popcorn texture meets the old popcorn.
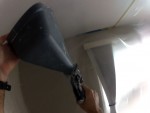
Next, I sprayed the popcorn ceiling texture using my smaller hopper and 15 gallon compressor since it’s just a small ceiling repair area that needs to be sprayed with the popcorn ceiling texture. I first concentrate on going around the perimeter of the ceiling repair. Then, I move on to spraying the main part of the popcorn ceiling repair. Lastly, I blend the popcorn texture into the old popcorn texture from the repair line out lightly feathering at the very end to create a gradual fade into the ceiling repair.
Good luck with your popcorn ceiling repair and texture matching project!
If you have any questions be sure to subscribe to my Youtube Channel and the ask your question in the comments section of this video.


