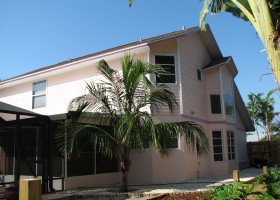
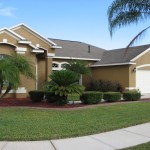
This water damage drywall repair and texture matching project is in the Cloisters subdivision of Indialantic, Fl.
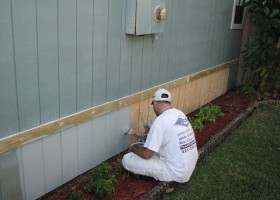
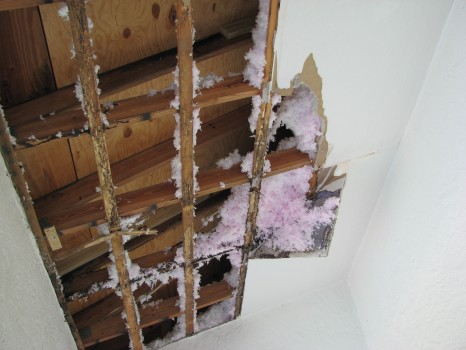
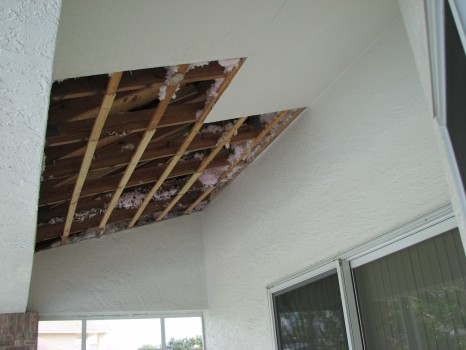
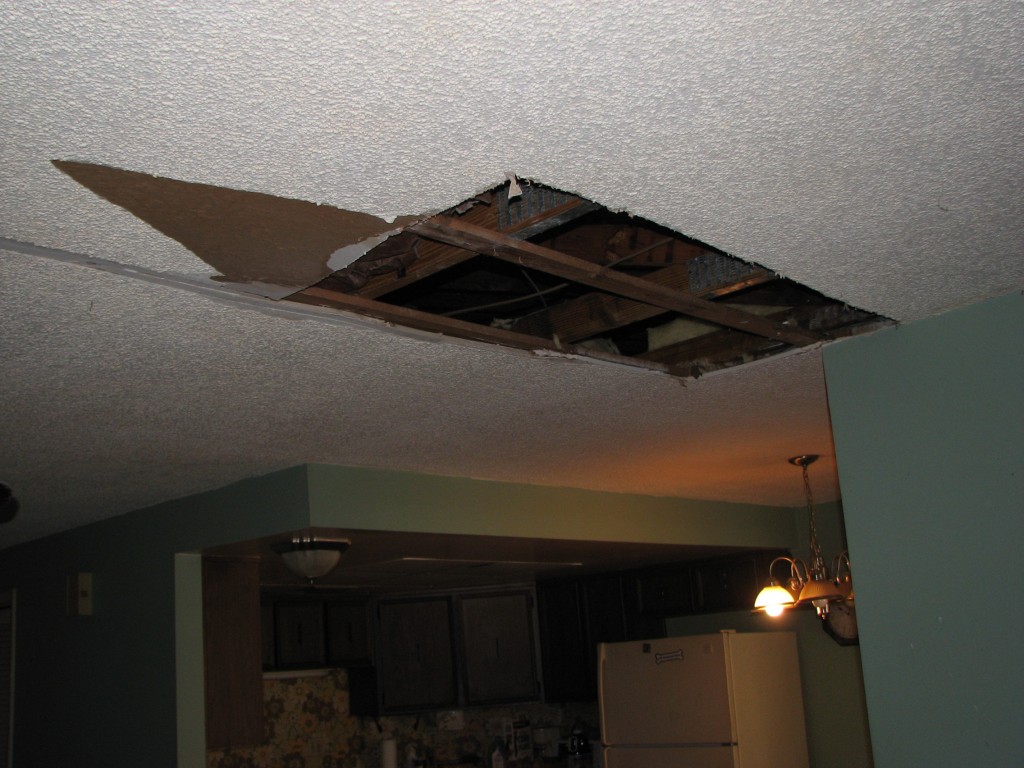
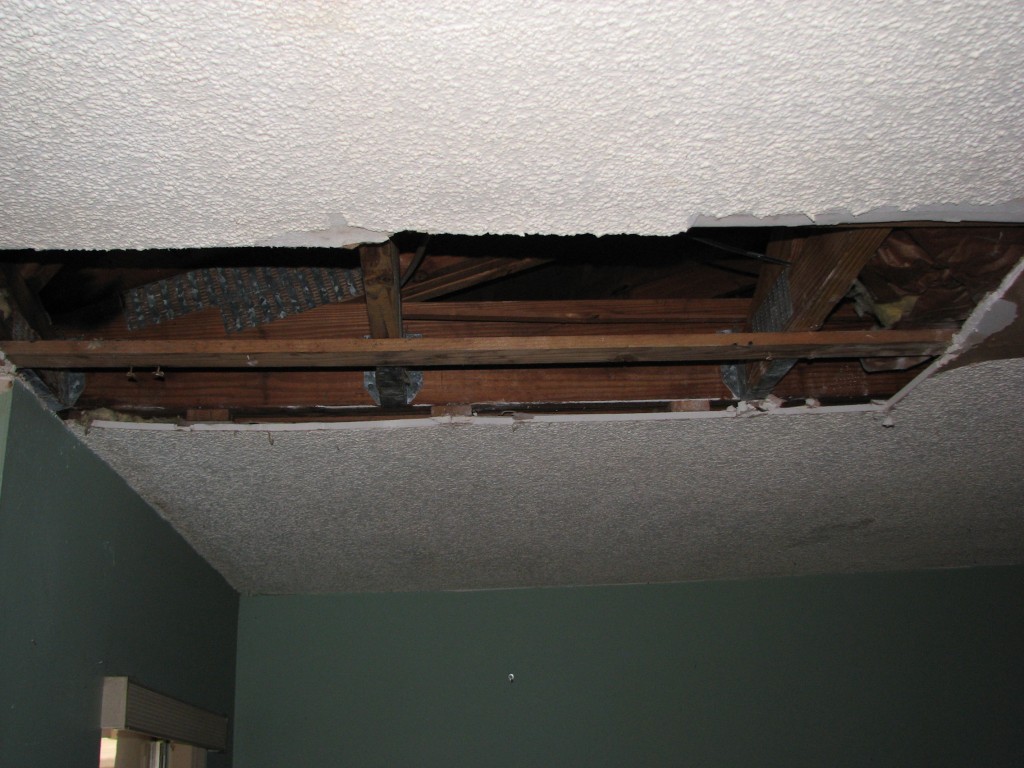
We were contacted by a past customer to do a drywall repair on the already cut out and dried out the water damaged walls in two of the guest bedrooms of their home. Water had got the drywall wet on the one exterior wall in each of the two guest bedrooms of this four bedroom home here in Brevard County.
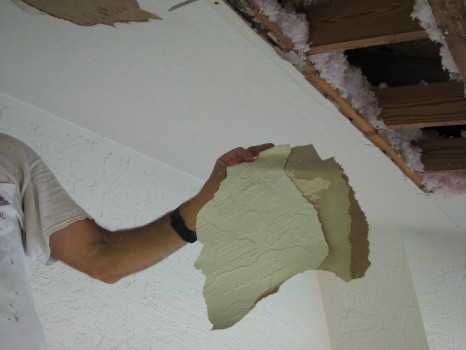
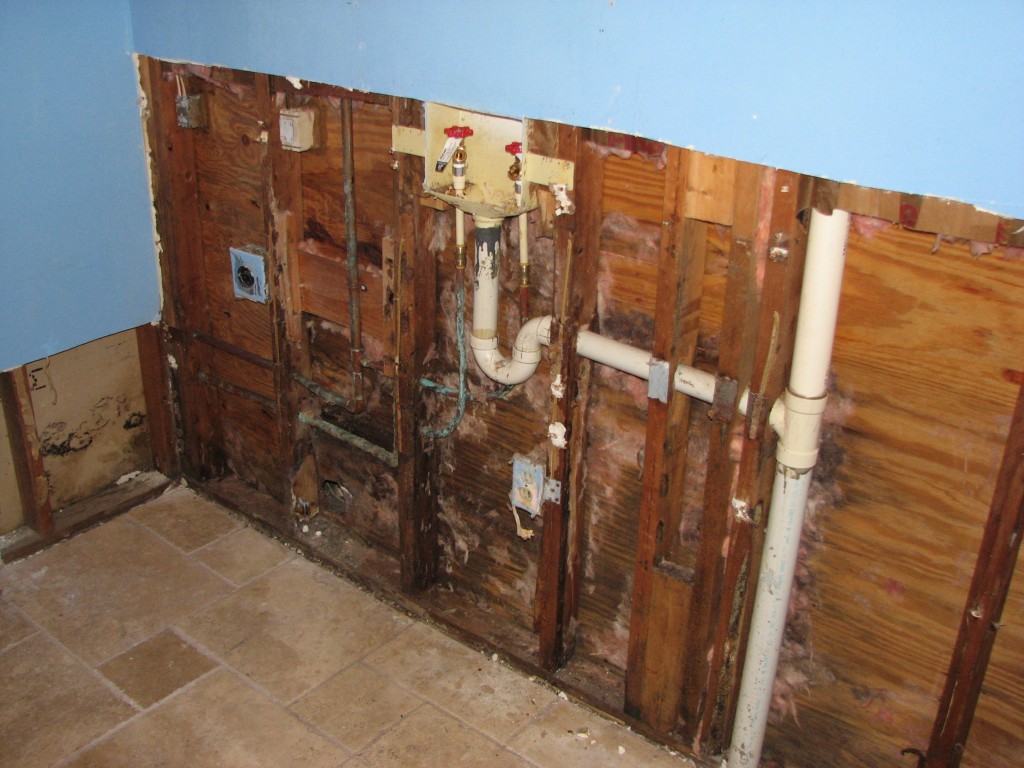
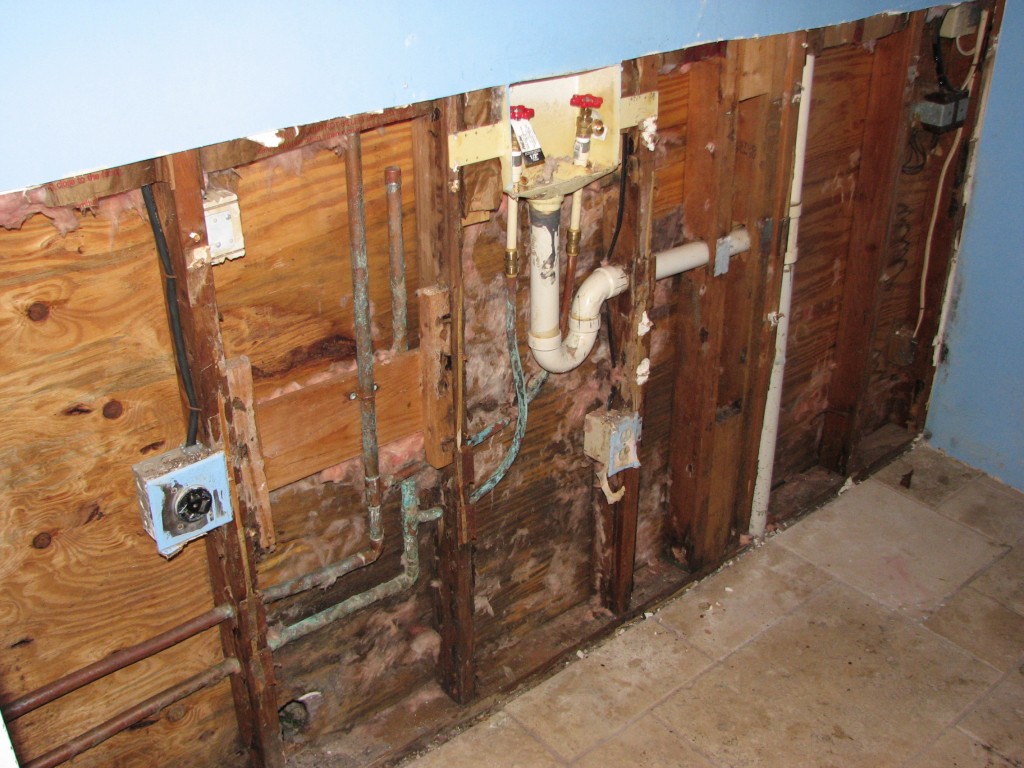
Once we arrived the drywall had already been cutout up to the window sill around 20″ in one bedroom and at 16″ on the other bedrooms wall. The base board and carpet had been removed by the water restoration company when the plumbing leak had first occurred.
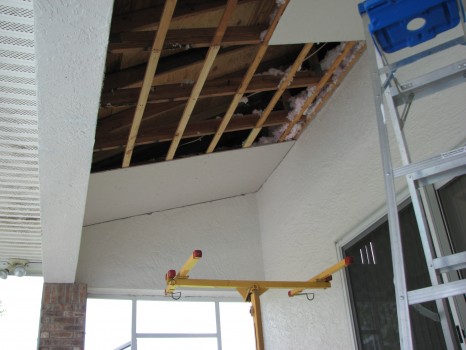
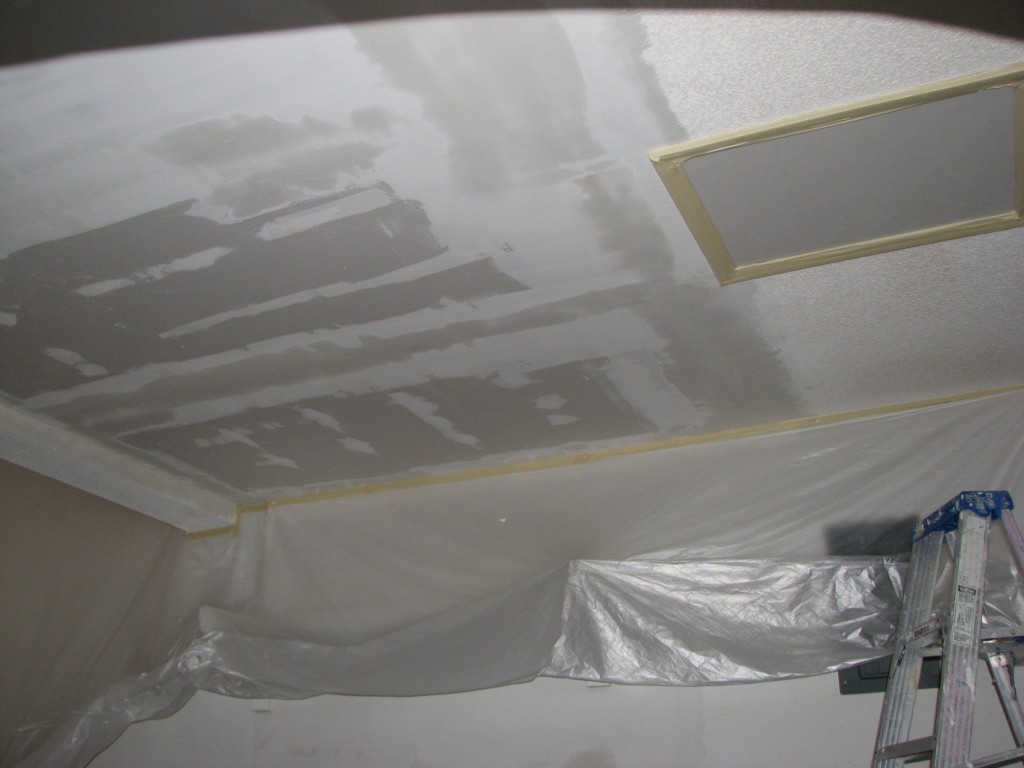
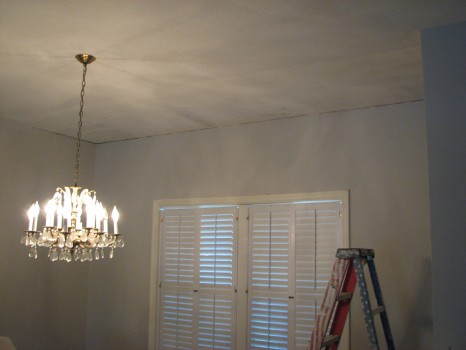
So, all we had to do to get this drywall repair party started, was to prep the floors and cover personal items with plastic. Next, I used the paper masking machine to cover the window sills and bi-fold doors ect… so that nothing would get on them while doing the drywall repair and re texturing of the affected water damaged areas.
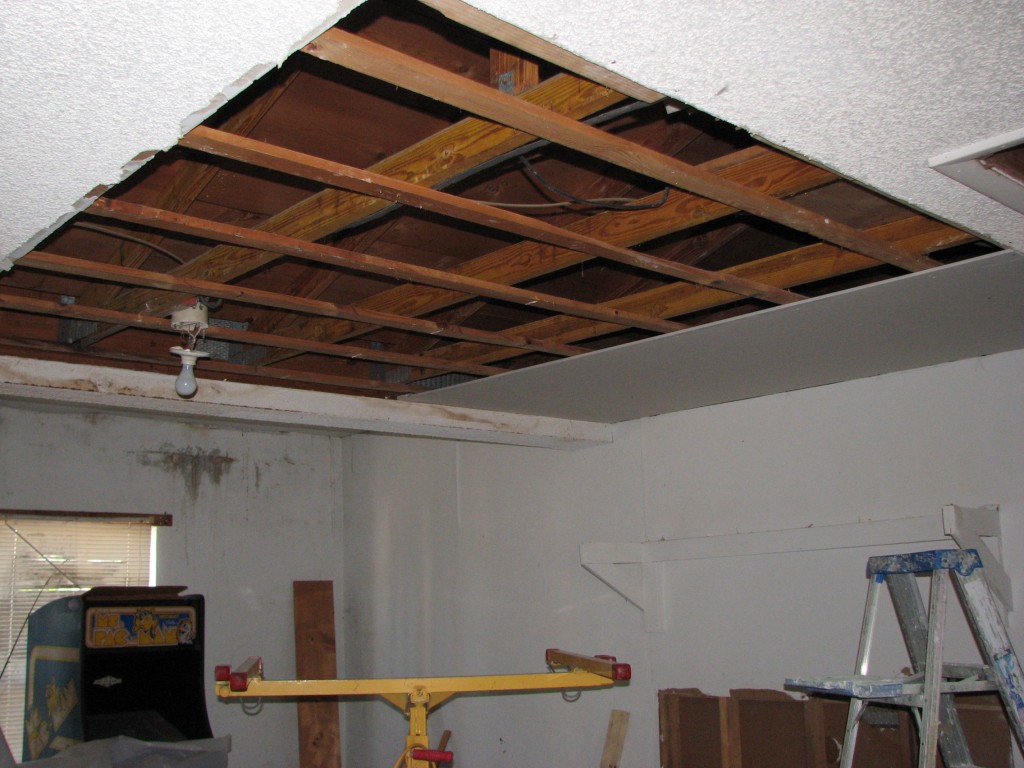
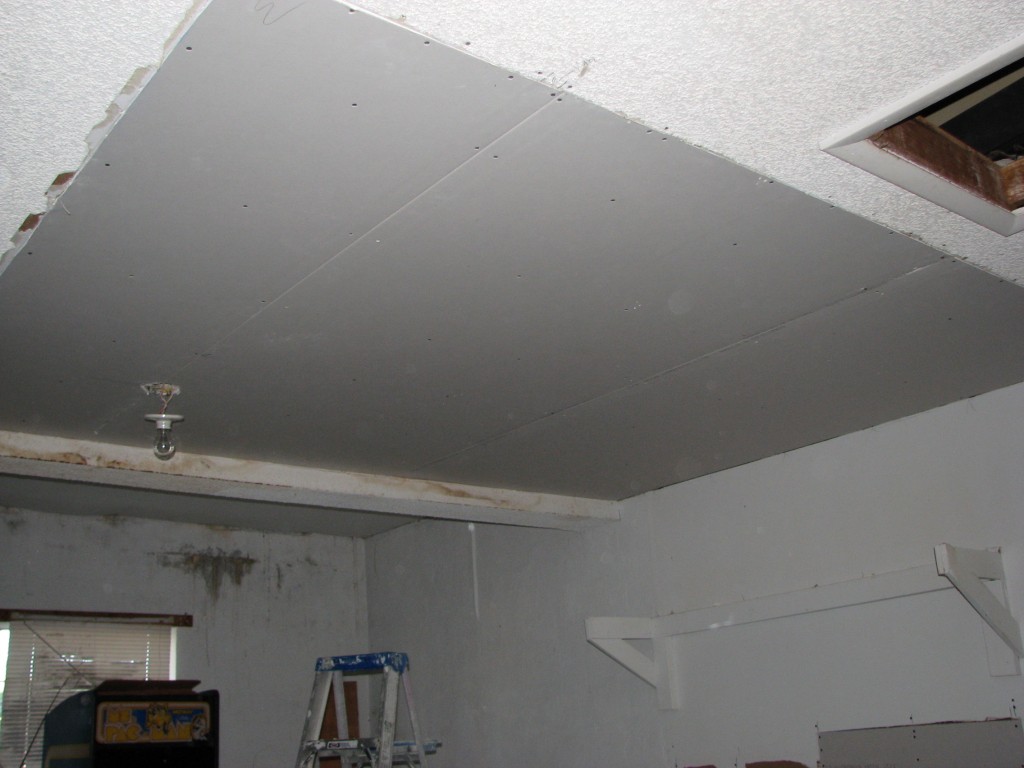
- After resecuring the drywall (with screws) where it had been cutout
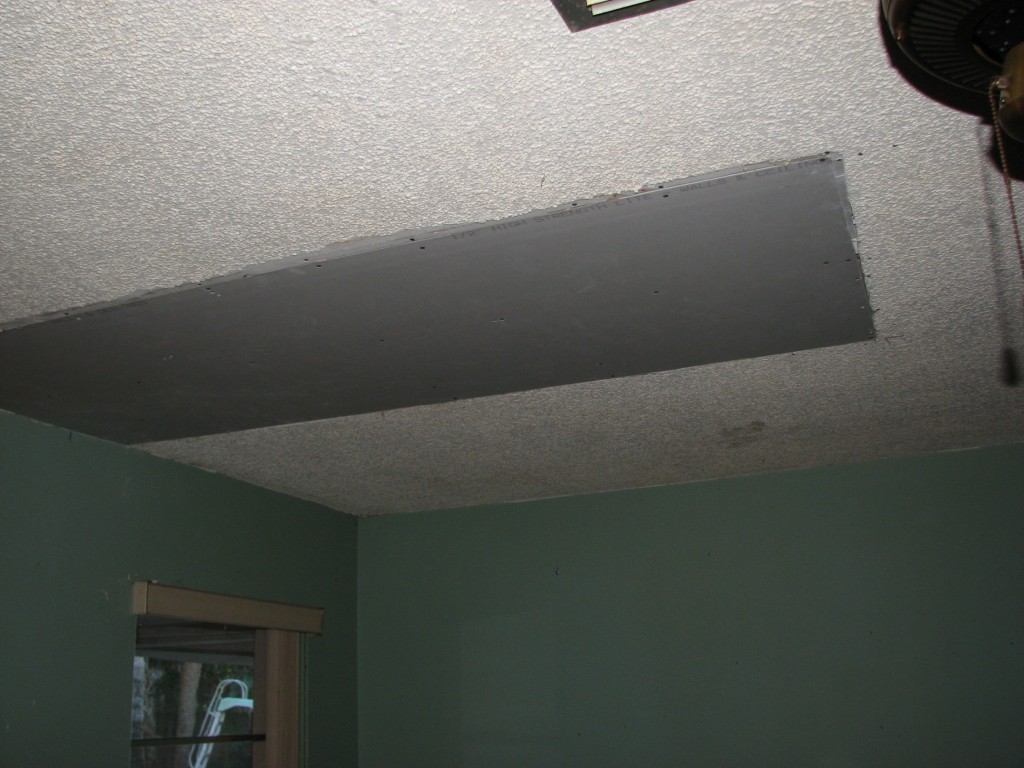
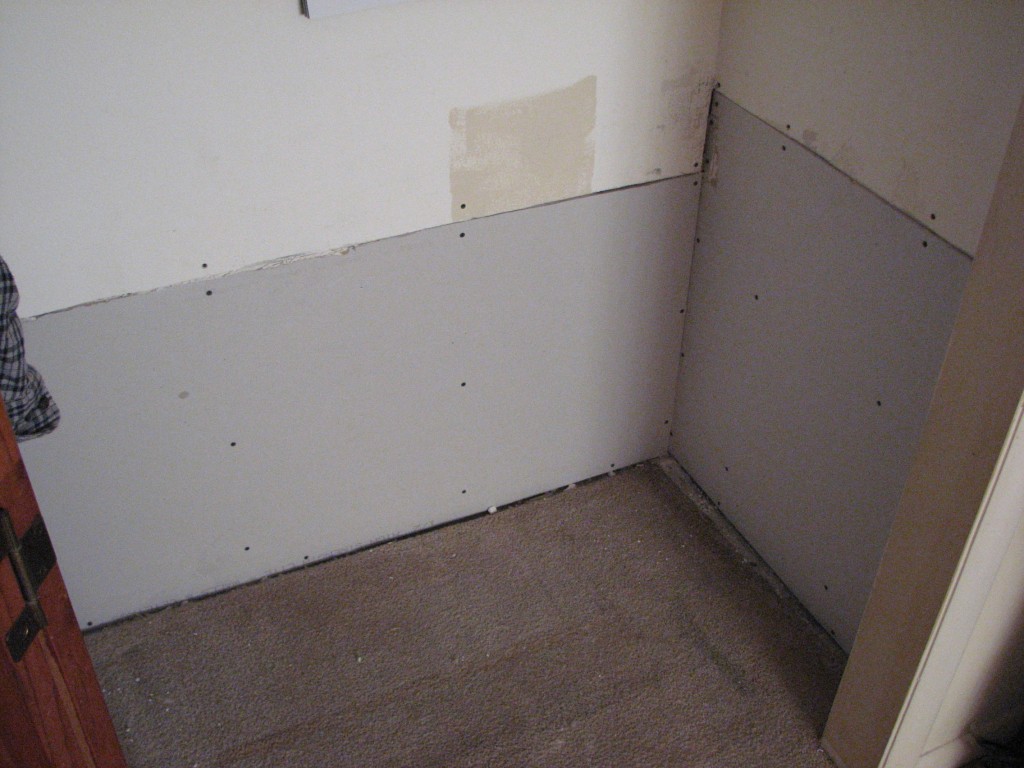
- We installed 1/2″ drywall at all of the cutout areas
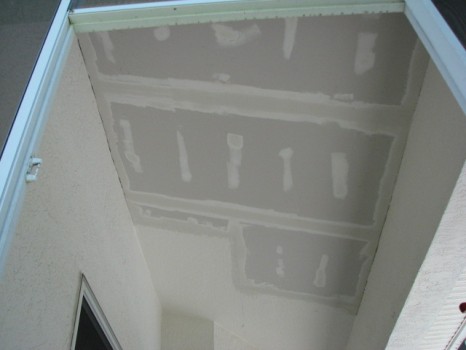
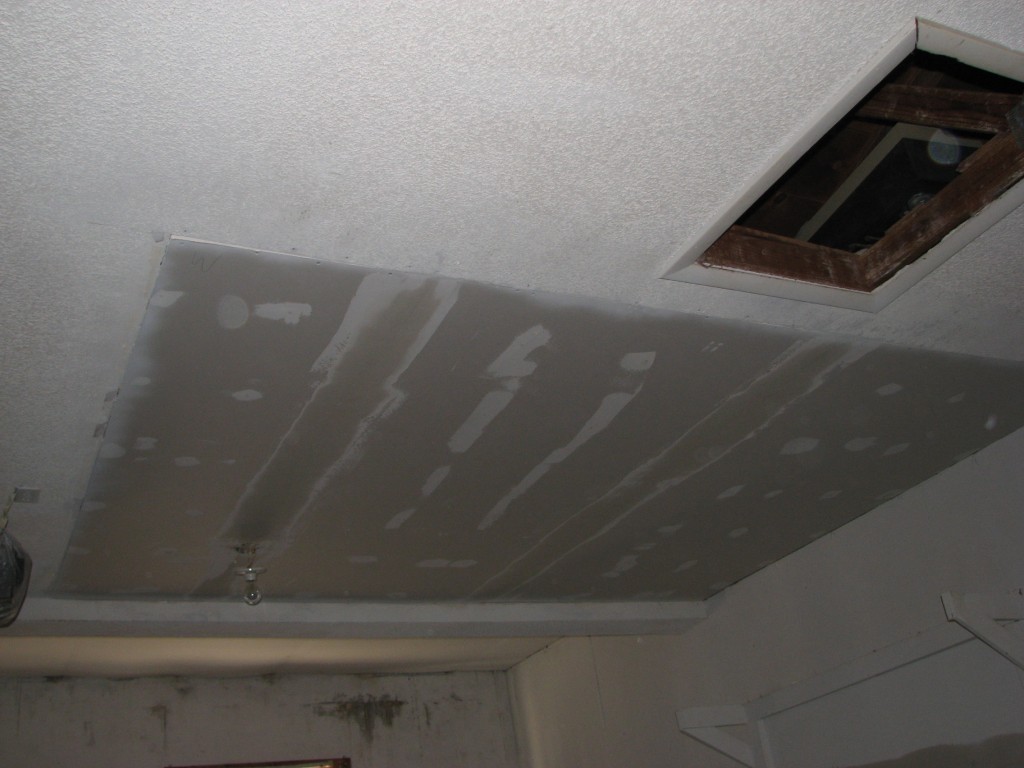
- Applied self adhesive fiberglass mesh tape at all drywall repair seams
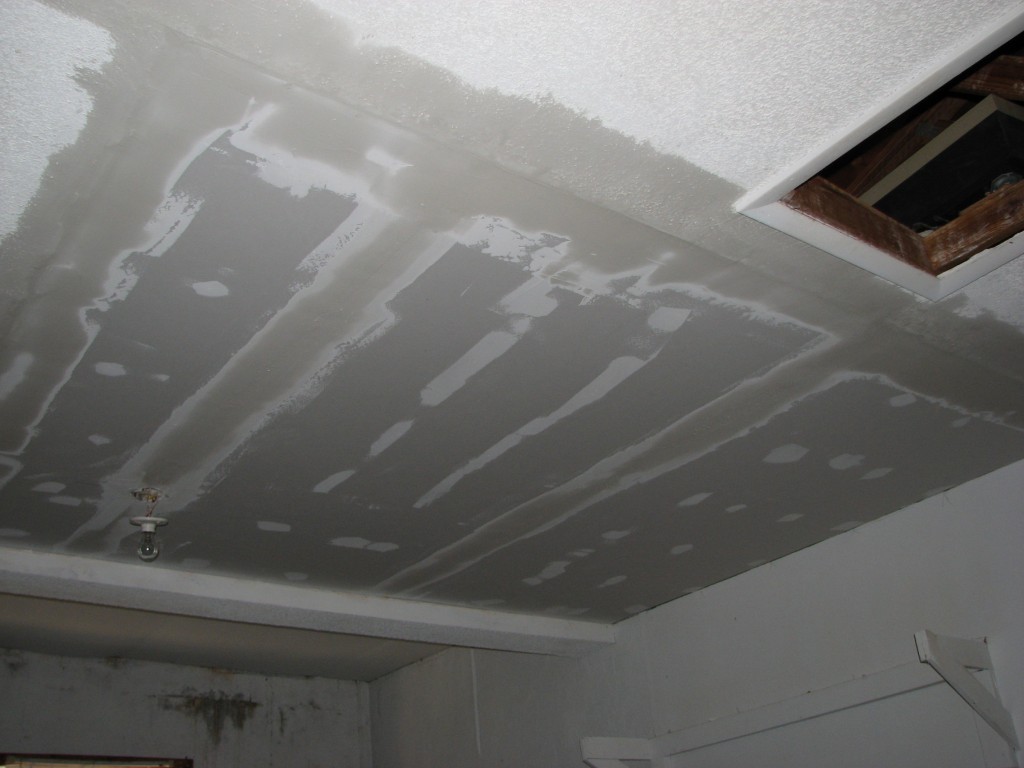
- Next,I applied three coats of 20 minute compound for maximum joint strength
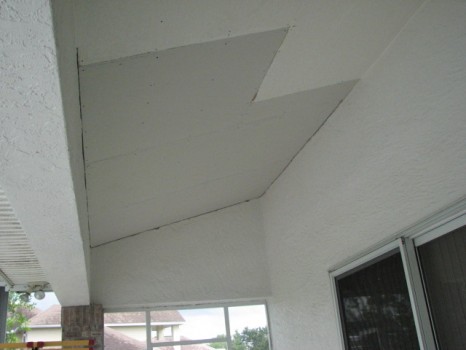
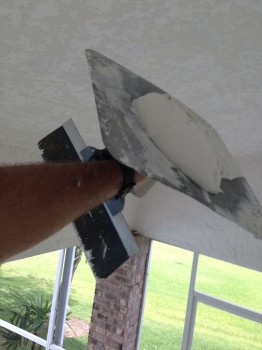
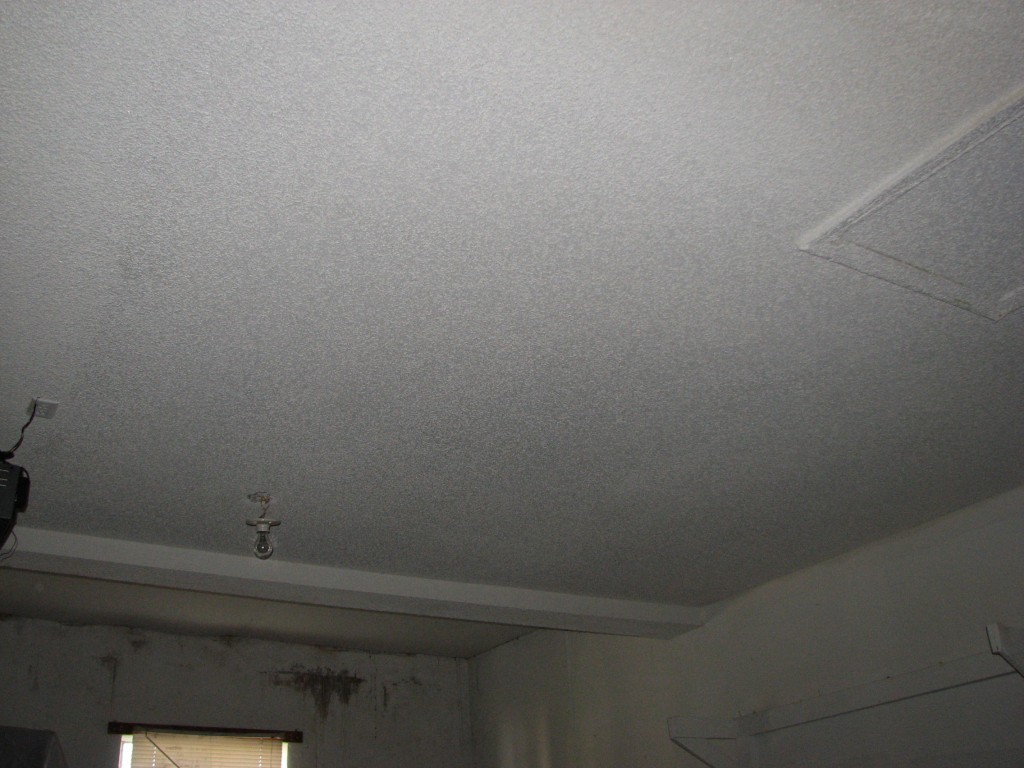
- Sprayed orange peel texture to match existing texture
- Lasty, I primed and painted the wall repairs using a 3/4″ roller nap on my roller
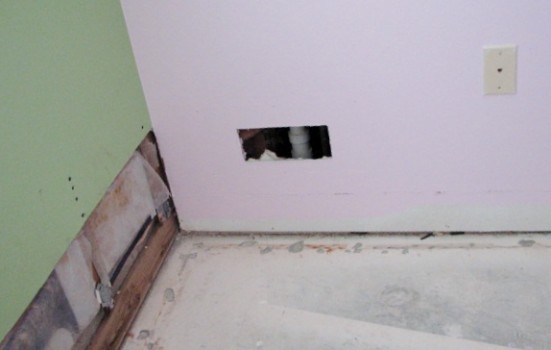
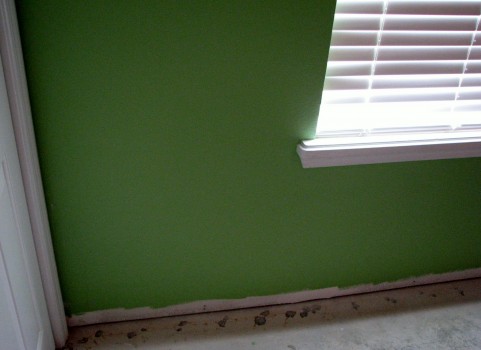
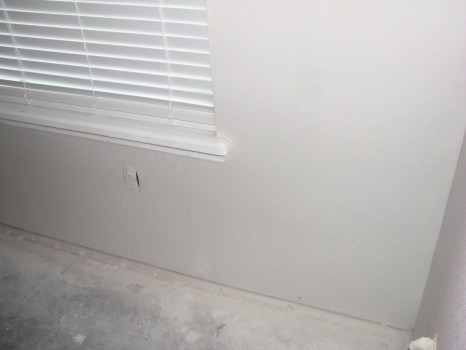
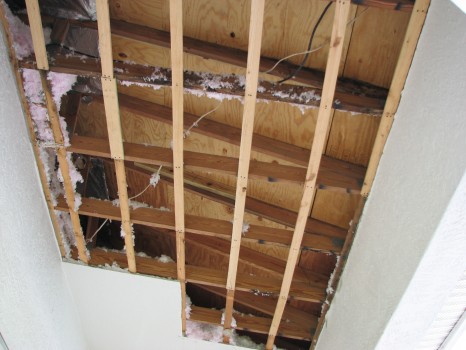
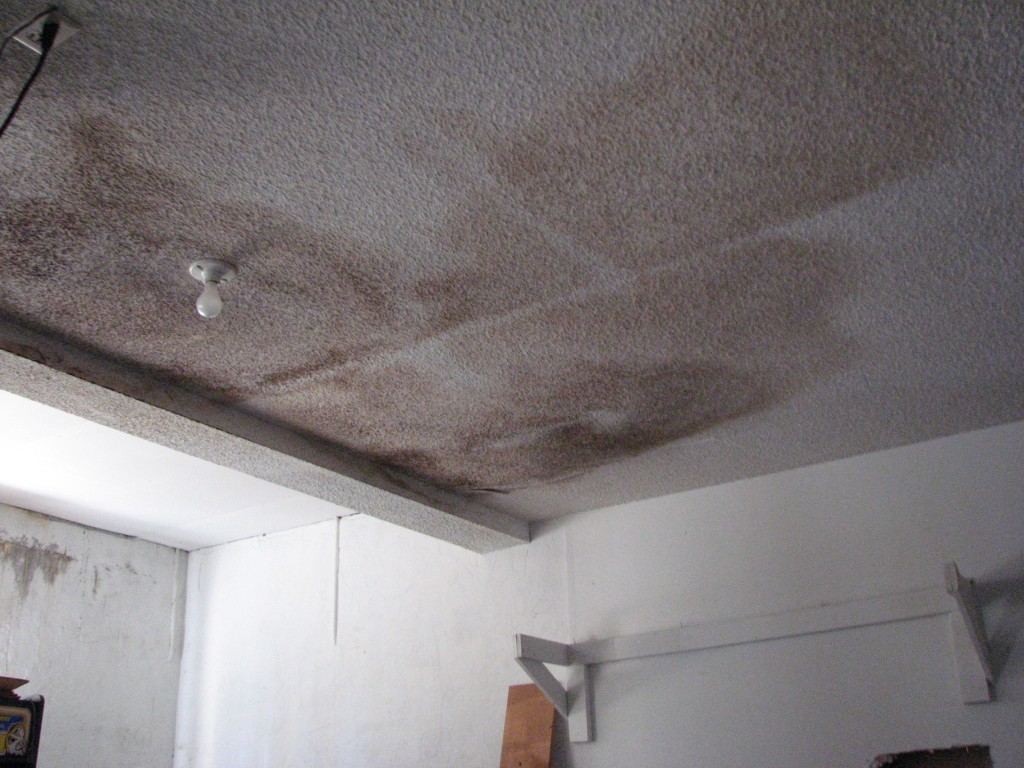
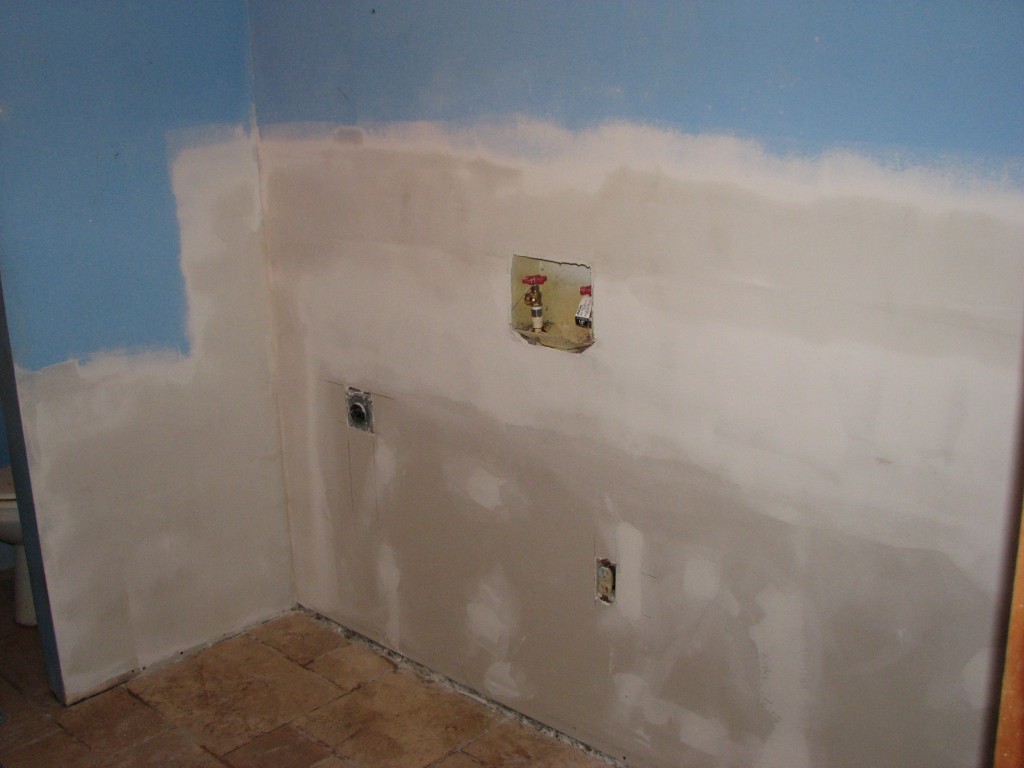
Noitice that the drywall was kept up off of the concrete floor by at 1/2″ kept the drywall from getting wet at all on this wall.
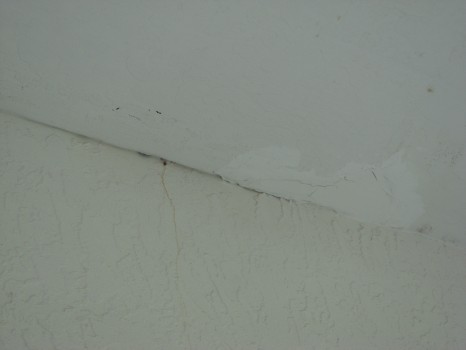
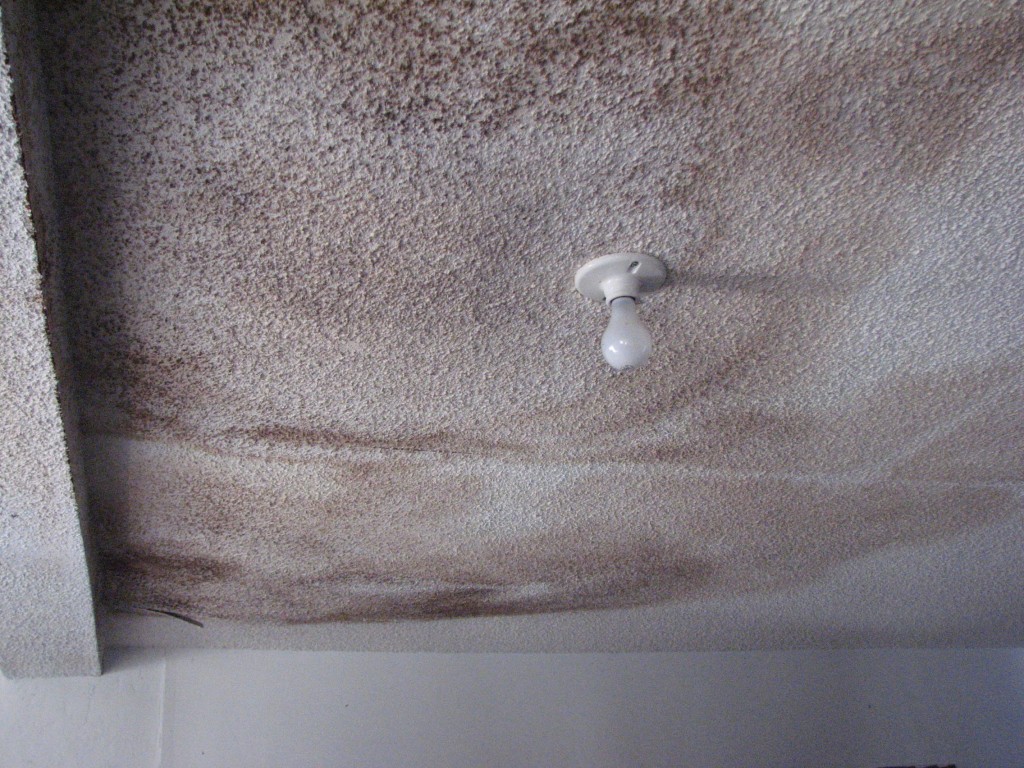
Because of a slight slant of the foundation the water from the leak went straight over to the east wall of the bedrooms and the water wicked up into the bottom section of the drywall. Luckily the leak was caught in time so that only a minimum part of one wall was all that needed to be removed.
Bedroom-1:
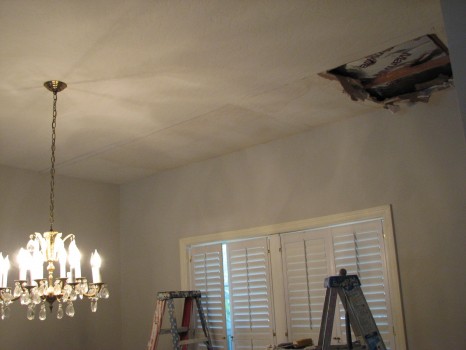
***Sorry if the photos are a little blurry. The sun was just to strong on that side of the home to get the lighting right for photos. But, I was there to do a drywall repair so hopefully you’ll get the idea by the photos anyway’s. 😉

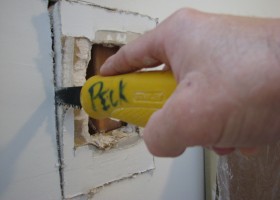
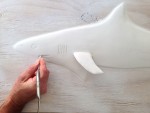
Drywall cutout at 16″ just below the electrical outlet – Bedroom-1
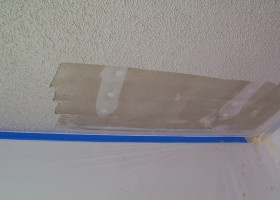
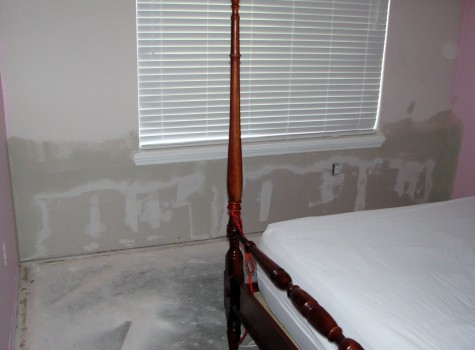
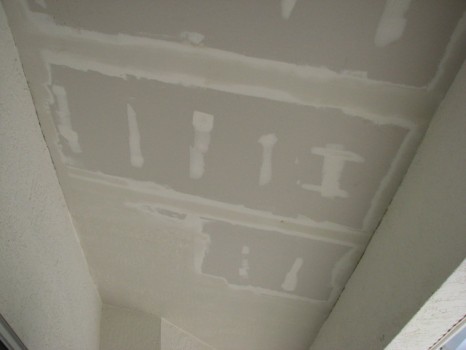
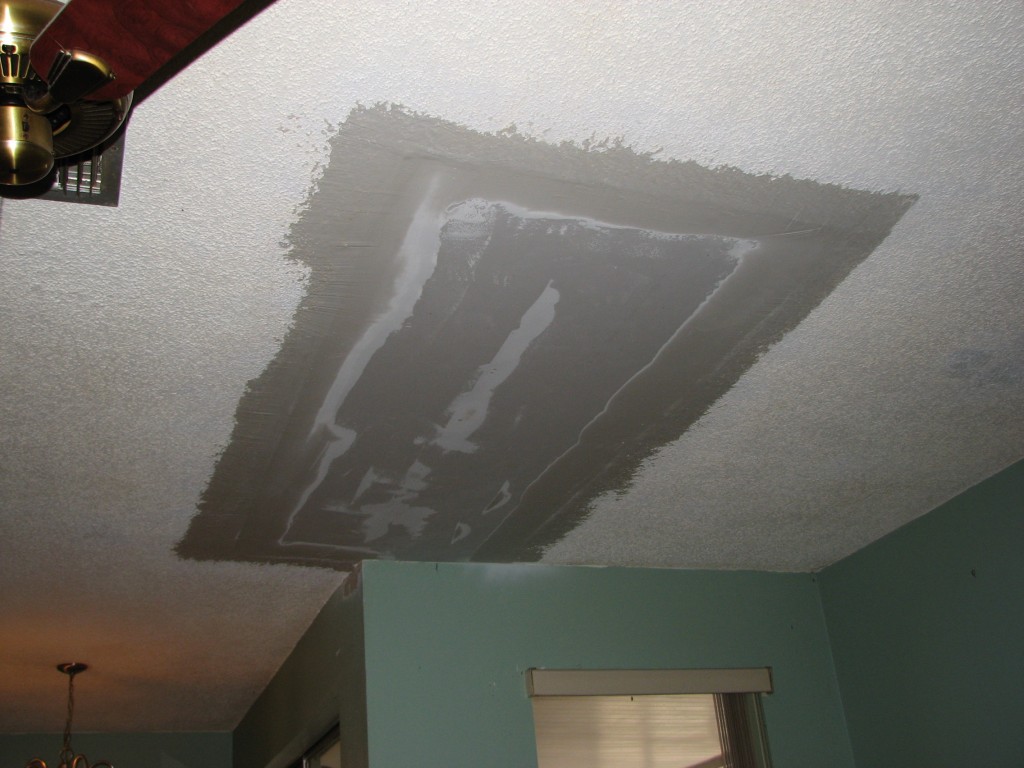
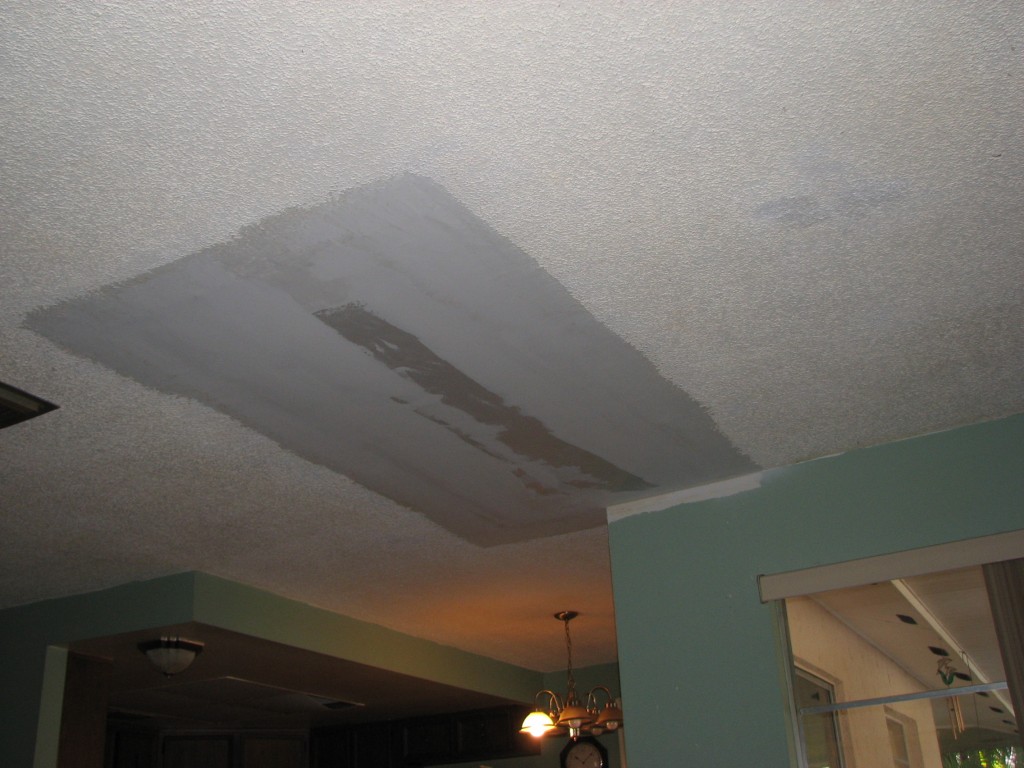
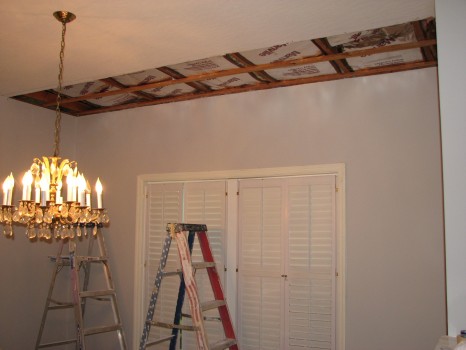
Drywall finish – Three coats of mud
Prepped and ready for orange peel

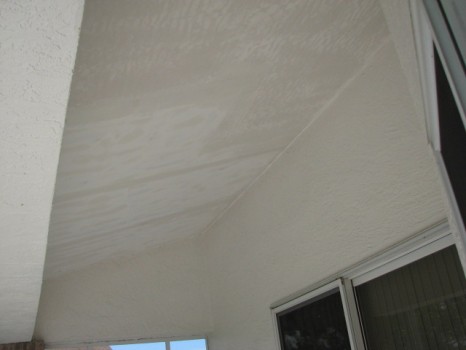
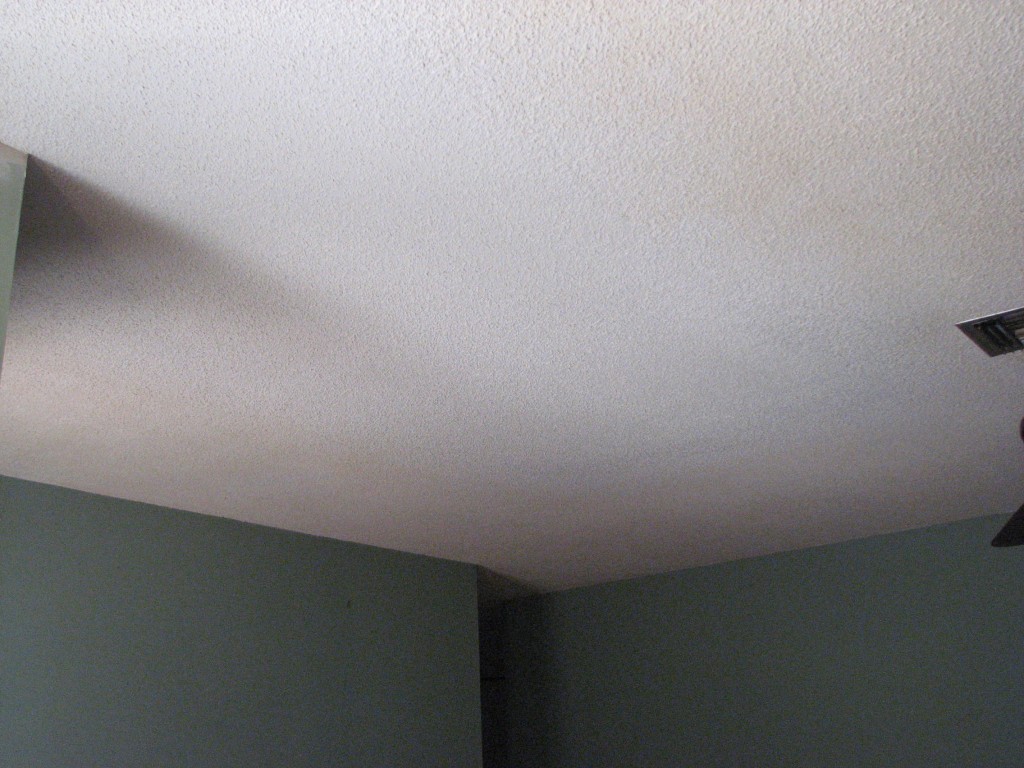
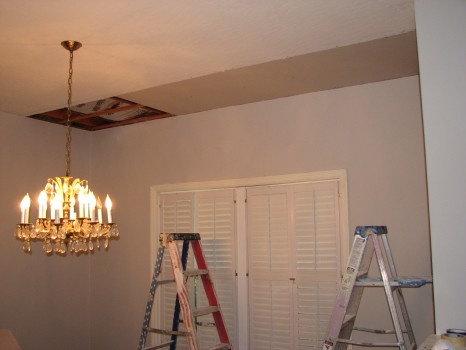
After orange peel was sprayed

Spray texture matched

Orange peel texture blended
Close up of the texture on the drywall repair
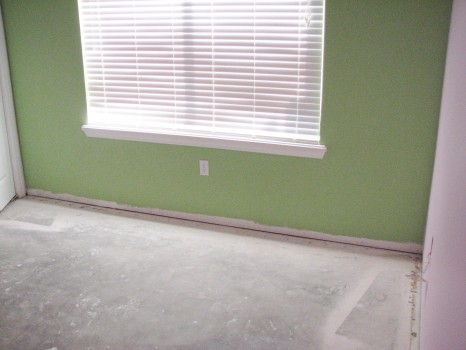
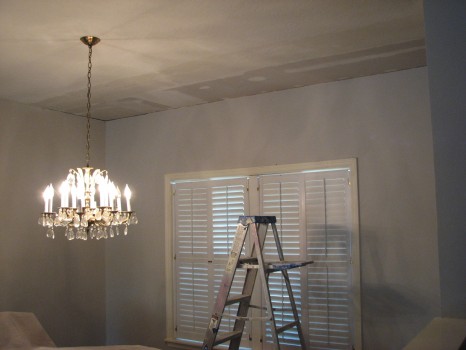
Primed and painted-1
Primed and painted-2
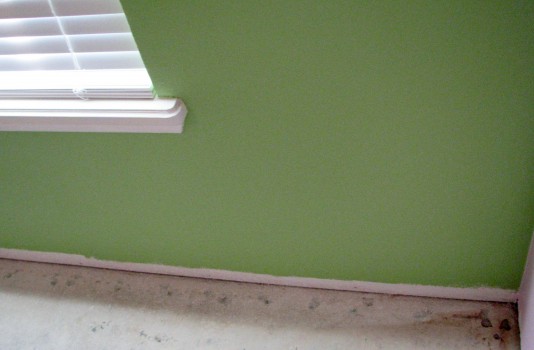
Primed and painted-3
Bedroom-2:
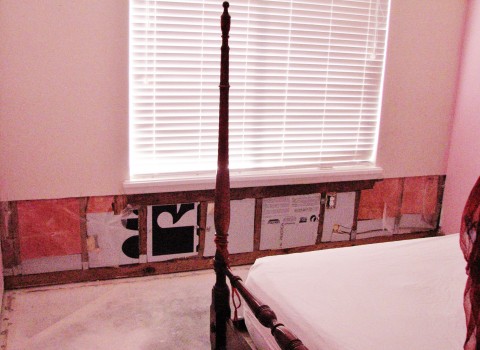
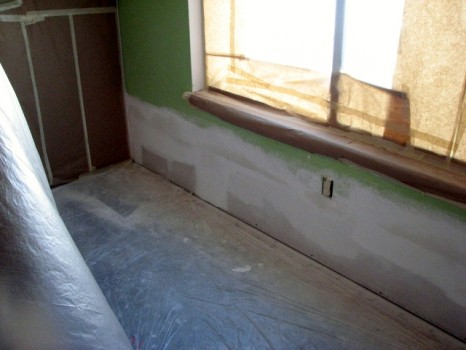
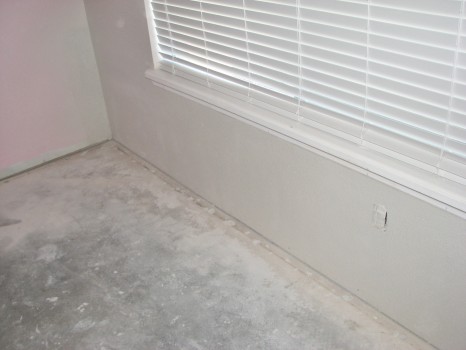
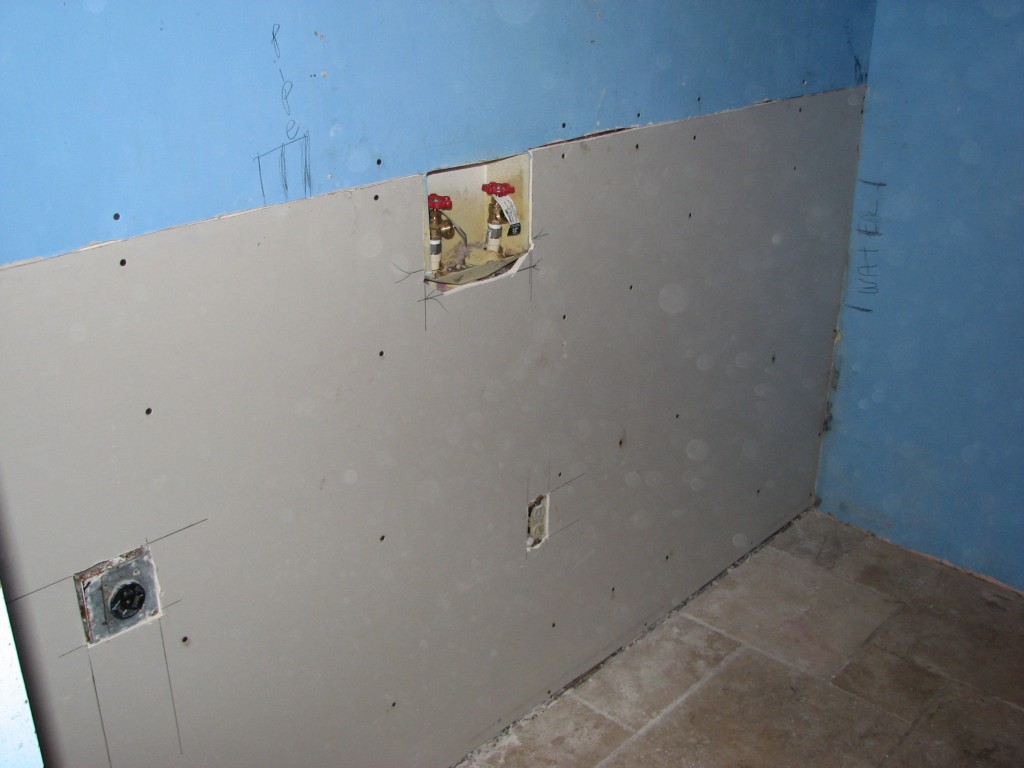
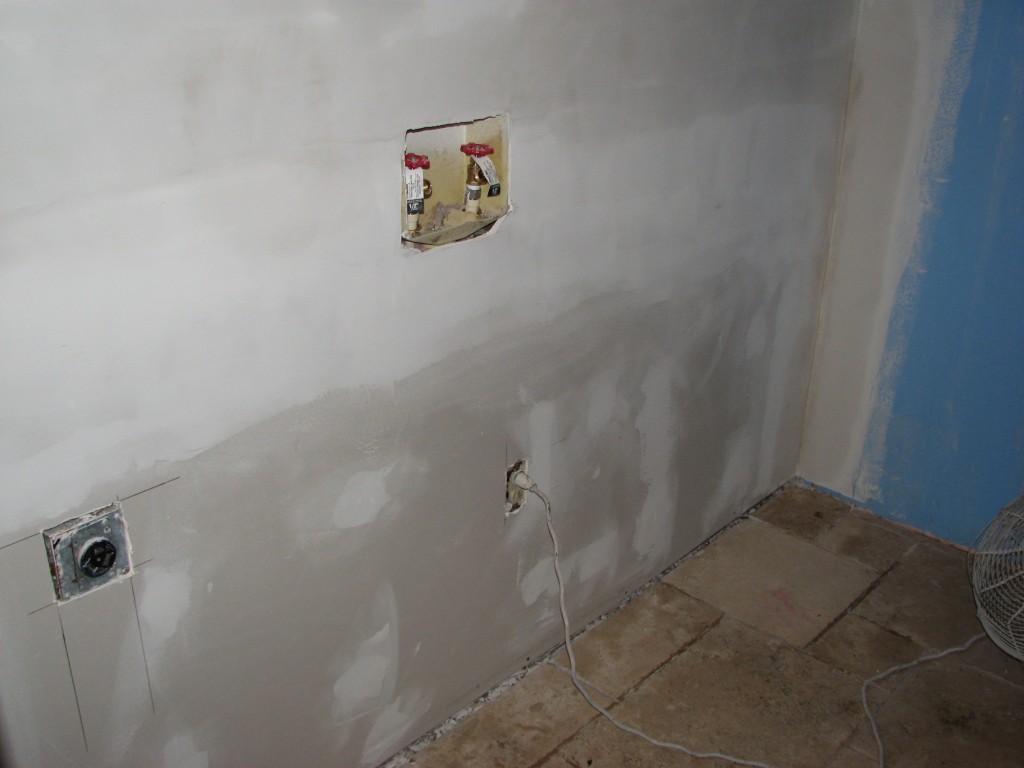
Drywall cutout at 20″ just below the window sill – Bedroom-2
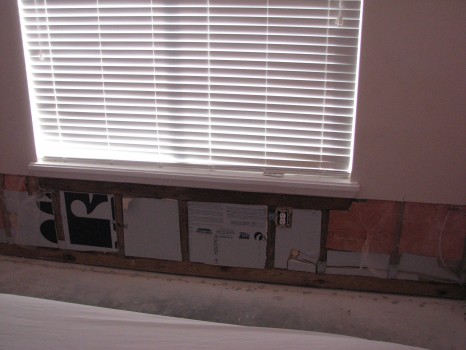
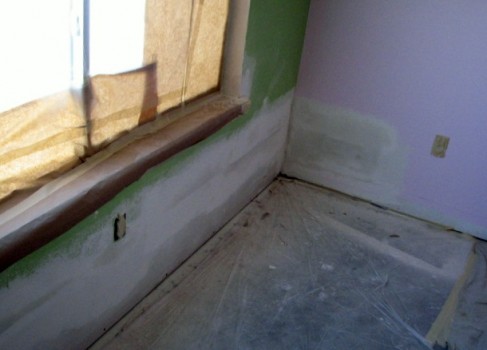
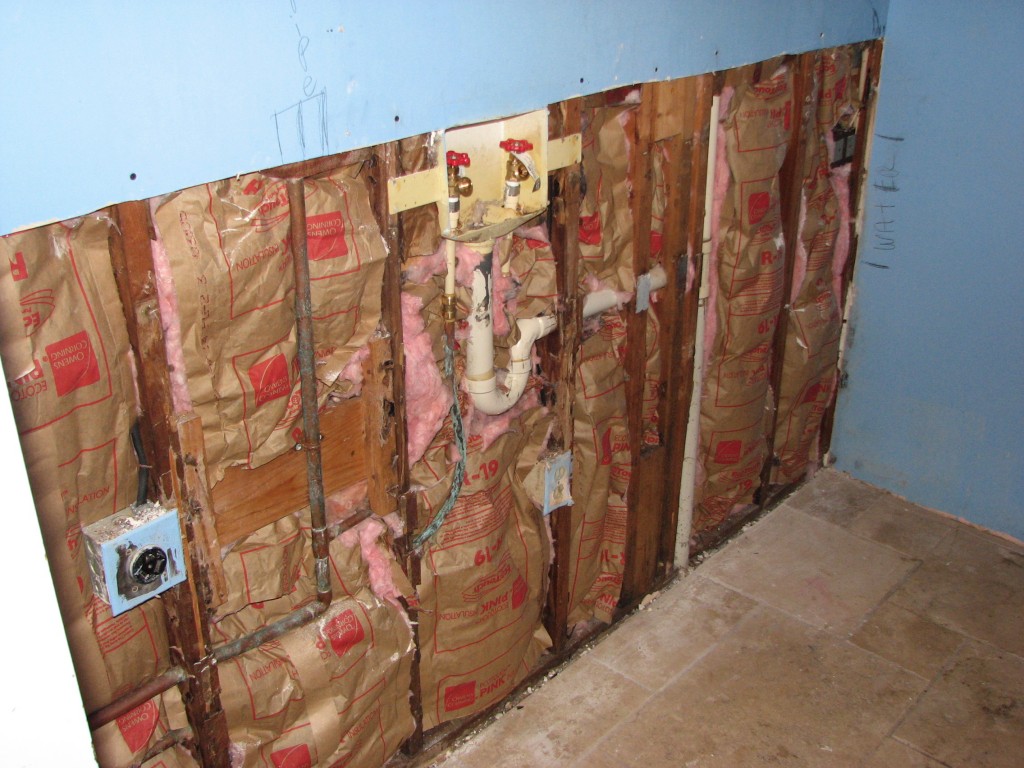
Water damage wall repair texture

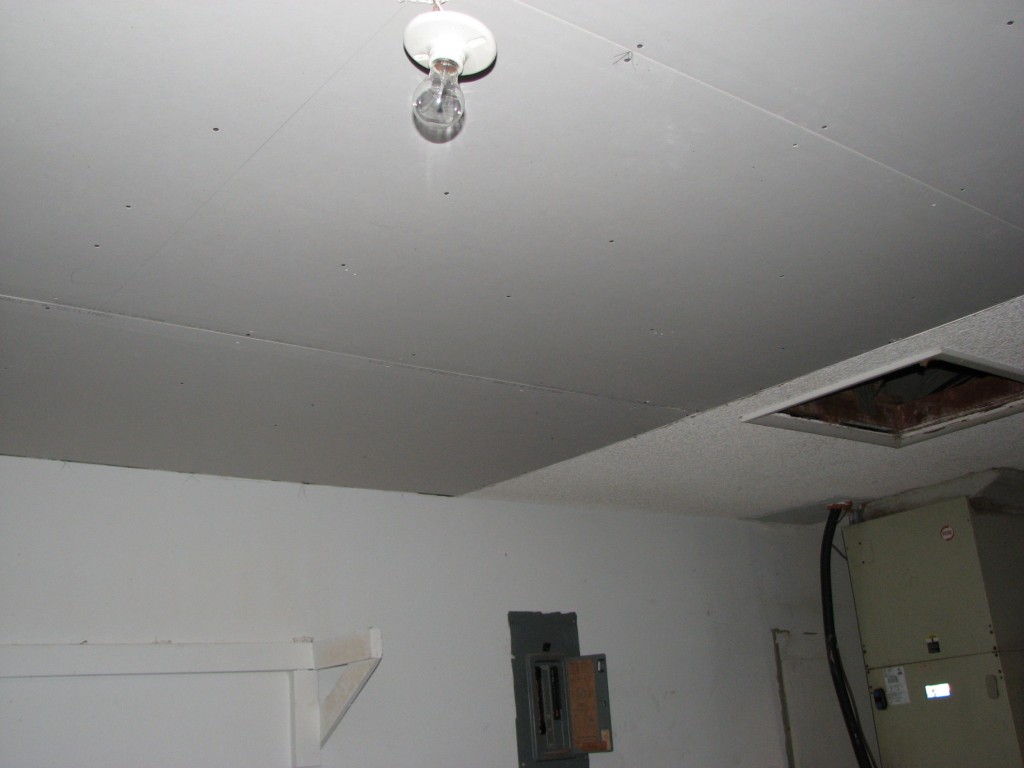
Installing the drywall

Drywall installed in bedroom-2
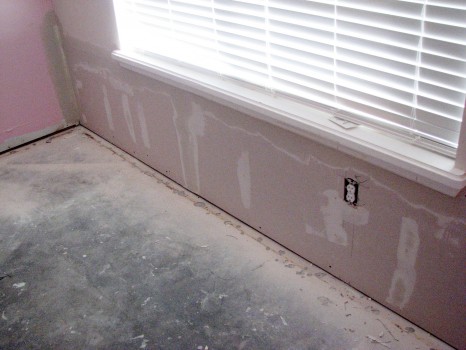
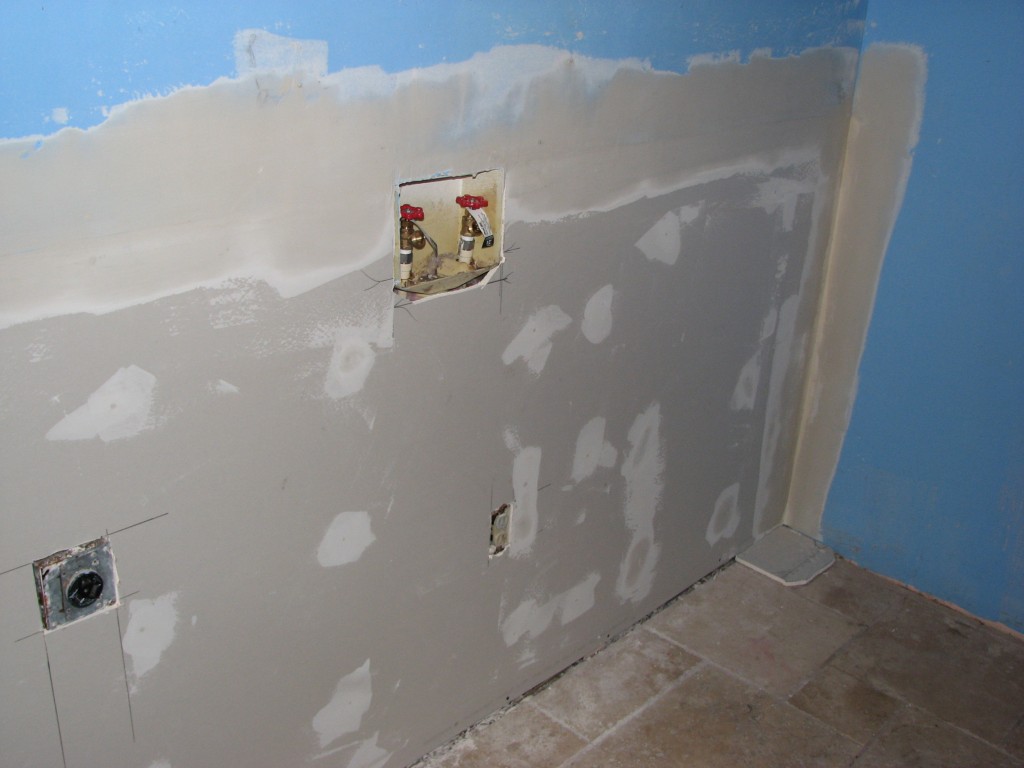
First coat of setting type compound (20 minute) over fiberglass mesh drywall tape – Bedroom 2
Second and third coat of setting type compound (20 minute) – Bedroom 2
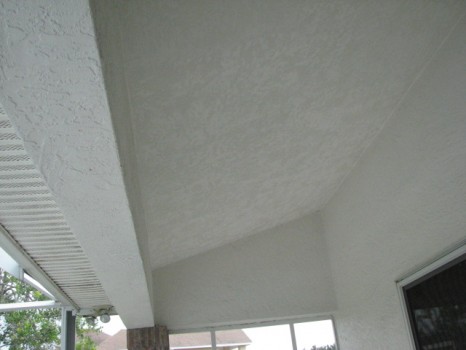
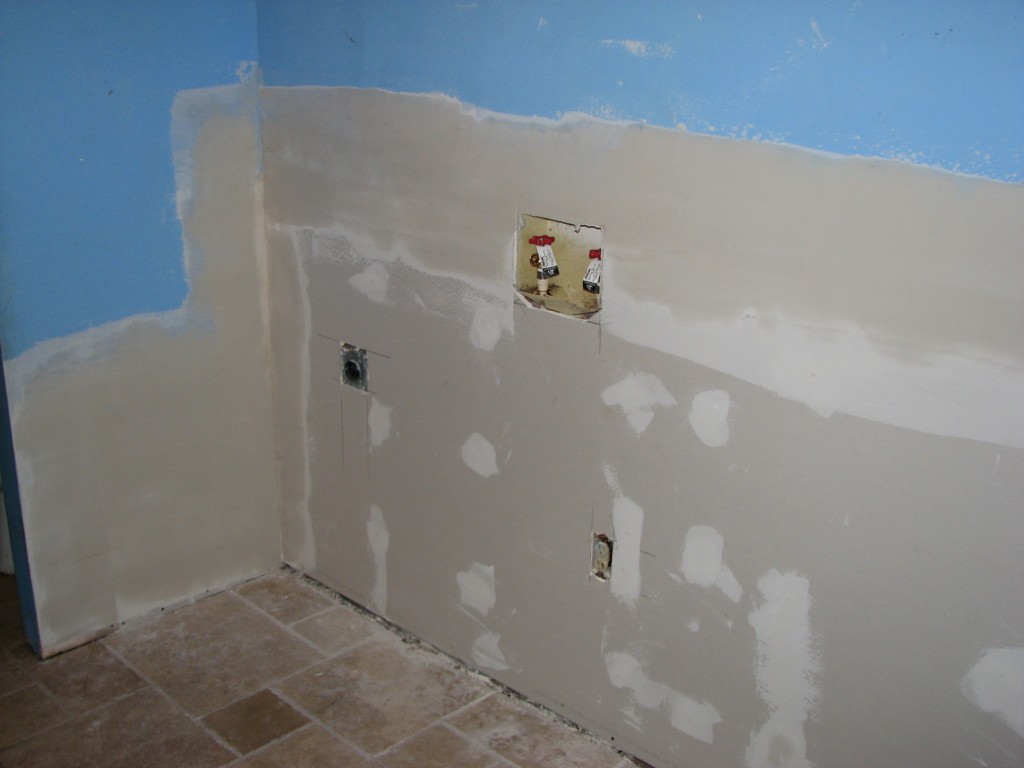
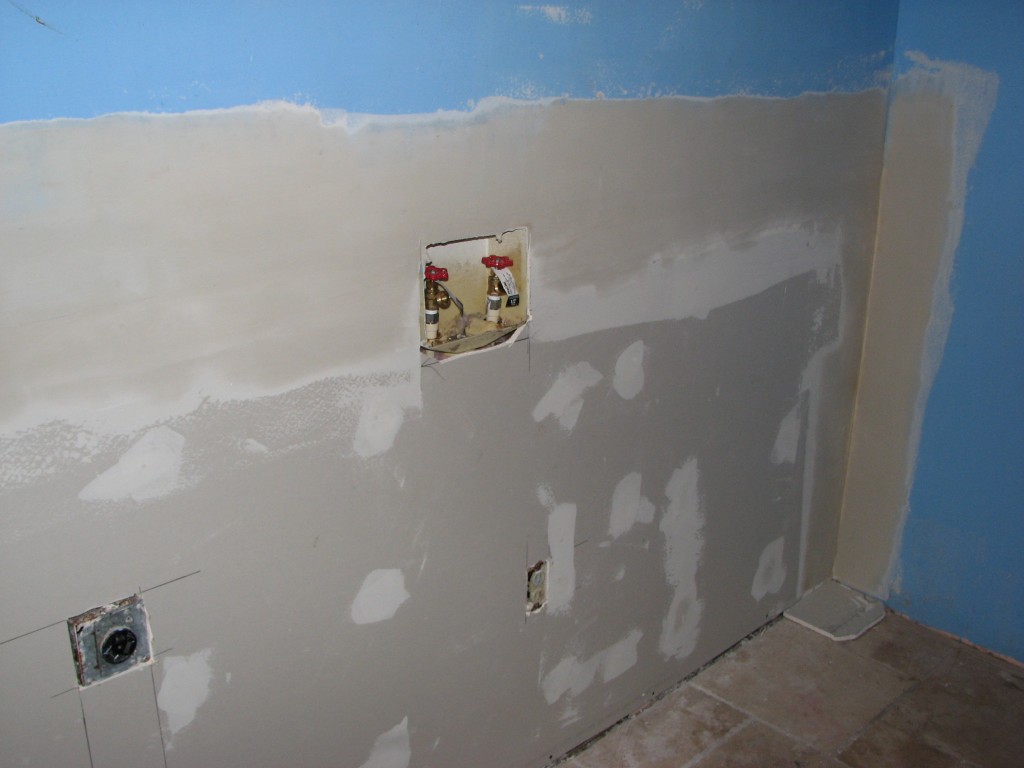
Orange peel texture applied
Orange peel texture blended to match

Orange peel texture matched
***Check Out my Featured Orange Peel Texture Video Playlist!
Click Here–> youtube/playlist/orange-peel-texture
In this Video Playlist I have video footage from everything how to apply orange peel texture tips and tricks, some finished remodel project videos and even some video footage of when I wear a GoPro to get a very unique and interesting perspective of the orange peel texturing process.
[ebs_seo_cp_map_only]
For more information about our drywall repair services
Schedule Your Wall Repair Estimate Here
Serving all of Brevard County
Please give us a call for a prompt and accurate quote!
Melbourne/Viera: 321-777-9337
Cocoa Beach/Merritt Island: 321-453-6233

Brevard County Drywall Contractor since 1995
Get Your Expert Drywall Repair or Orange Peel Texture Quote:


")