Water damage drywall repair and orange peel texture match

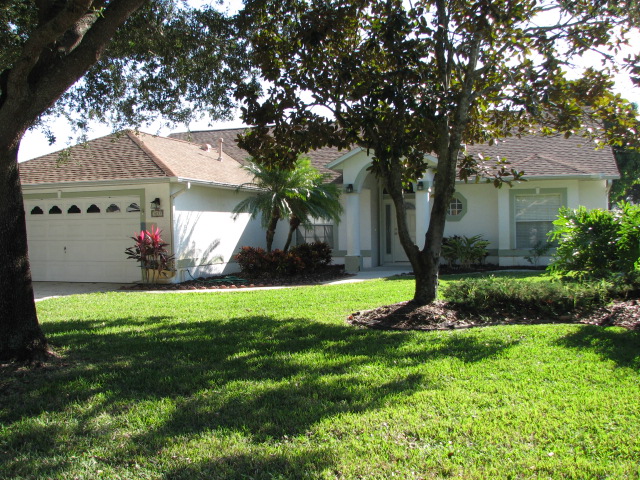
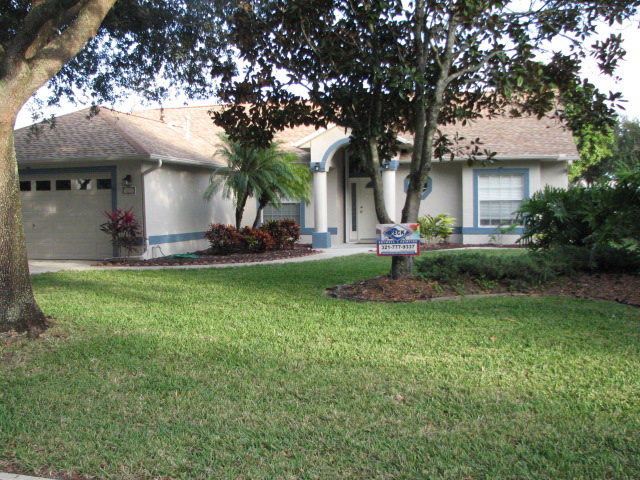
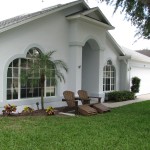
This water damage drywall repair and texture matching project is in the Cloisters subdivision of Indialantic, Fl.

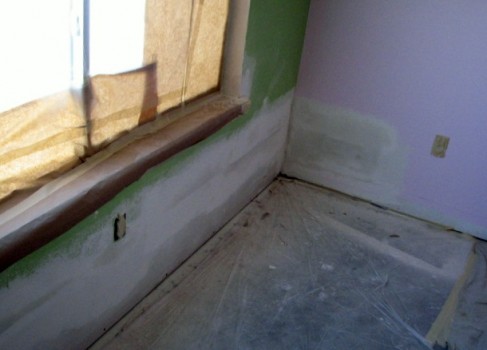
We were contacted by a past customer to do a drywall repair on the already cut out and dried out the water damaged walls in two of the guest bedrooms of their home. Water had got the drywall wet on the one exterior wall in each of the two guest bedrooms of this four bedroom home here in Brevard County.

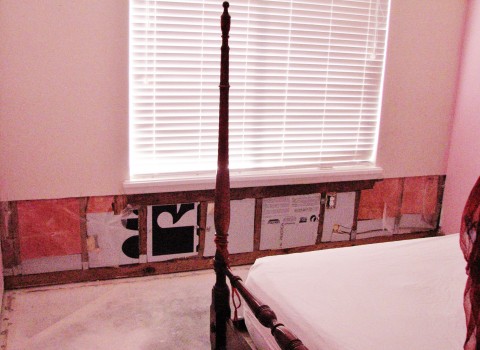
Once we arrived the drywall had already been cutout up to the window sill around 20″ in one bedroom and at 16″ on the other bedrooms wall. The base board and carpet had been removed by the water restoration company when the plumbing leak had first occurred.

So, all we had to do to get this drywall repair party started, was to prep the floors and cover personal items with plastic. Next, I used the paper masking machine to cover the window sills and bi-fold doors ect… so that nothing would get on them while doing the drywall repair and re texturing of the affected water damaged areas.

  • After resecuring the drywall (with screws) where it had been cutout
  • We installed 1/2″ drywall at all of the cutout areas
  • Applied self adhesive fiberglass mesh tape at all drywall repair seams
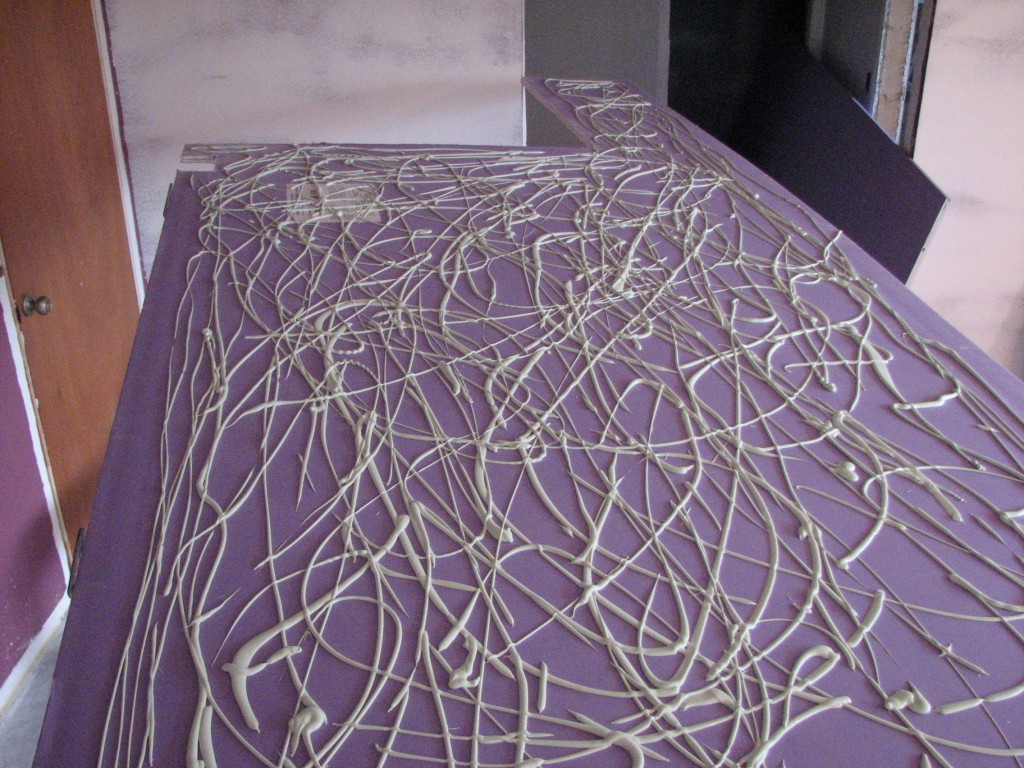
  • Next,I applied three coats of 20 minute compound for maximum joint strength
  • Sprayed orange peel texture to match existing texture
  • Lasty, I primed and painted the wall repairs using a 3/4″ roller nap on my roller
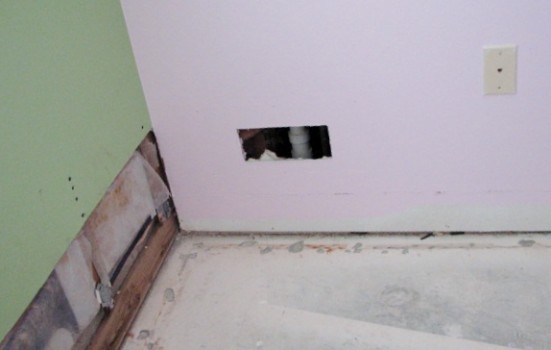
Water damage from a plumbing leak

Noitice that the drywall was kept up off of the concrete floor by at 1/2″ kept the drywall from getting wet at all on this wall.

Because of a slight slant of the foundation the water from the leak went straight over to the east wall of the bedrooms and the water wicked up into the bottom section of the drywall. Luckily the leak was caught in time so that only a minimum part of one wall was all that needed to be removed.

Bedroom-1:
***Sorry if the photos are a little blurry. The sun was just to strong on that side of the home to get the lighting right for photos. But, I was there to do a drywall repair so hopefully you’ll get the idea by the photos anyway’s. 😉
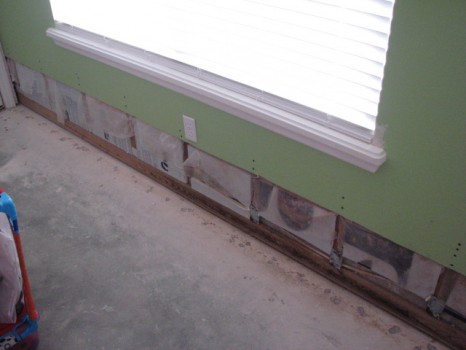
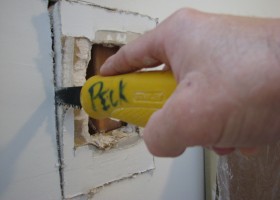
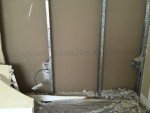
Water damage - Drywall cutout - Bedroom-1

Drywall cutout at 16″ just below the electrical outlet – Bedroom-1
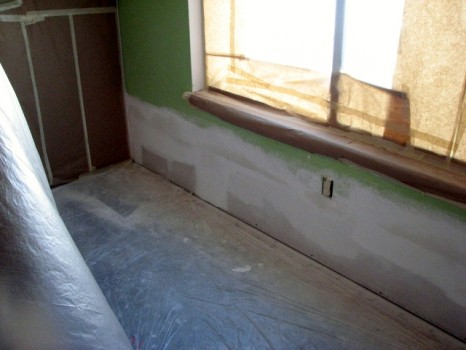
Drywall finish - Three coats of mud

Drywall finish – Three coats of mud

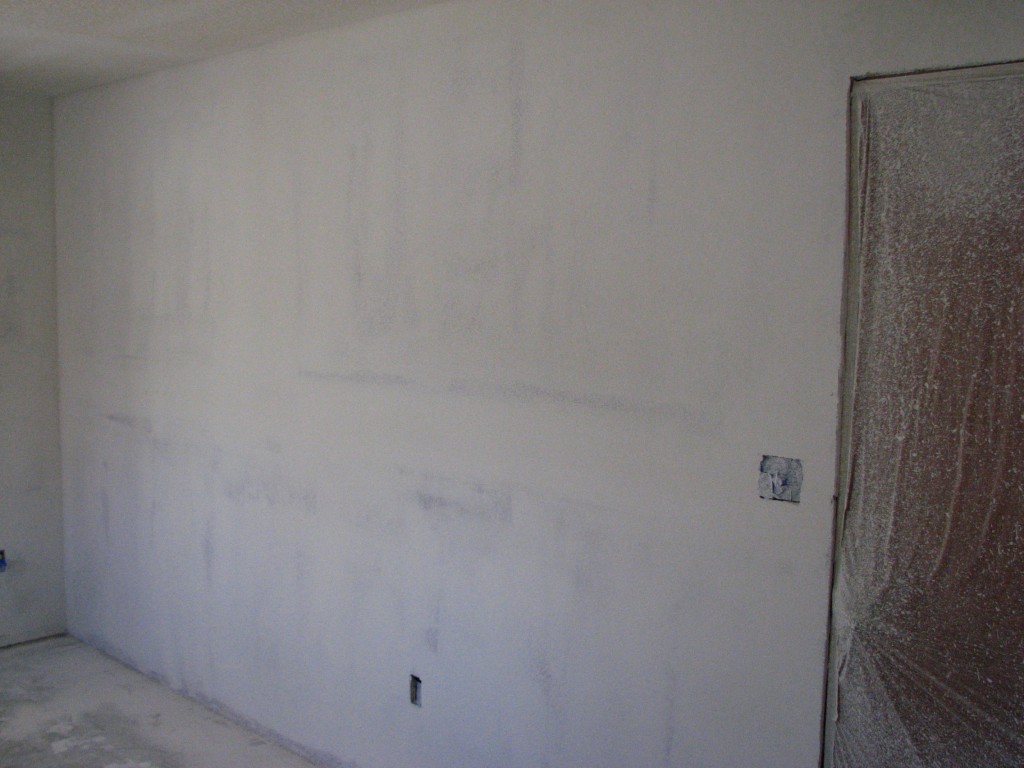
Prepped and ready for orange peel
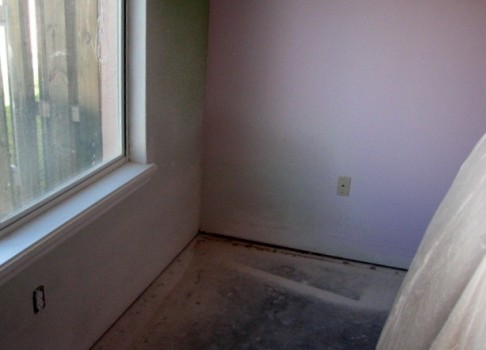
Prepped and ready for orange peel

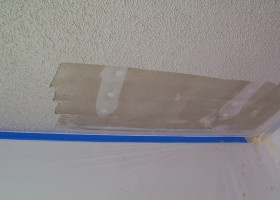
After orange peel was sprayed
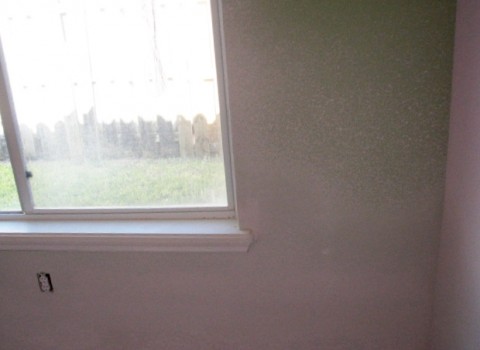
After orange peel was sprayed

Spray texture matched
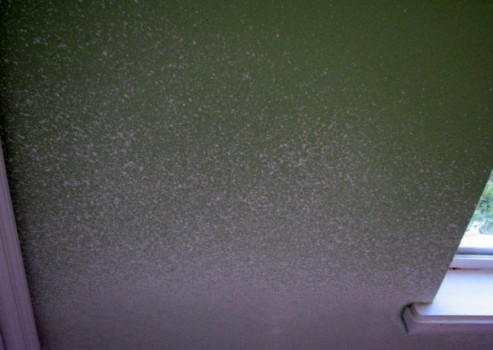
Spray texture matched

Orange peel texture blended
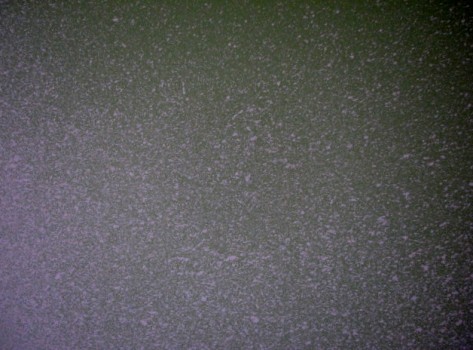
Orange peel texture blended

Close up of the texture on the drywall repair
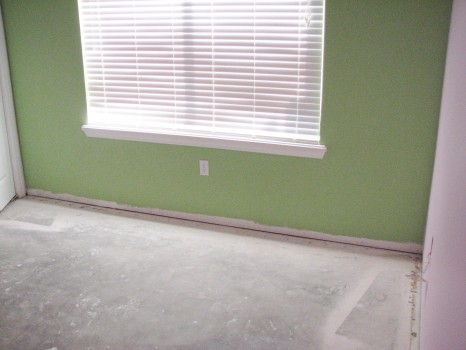
Close up of the texture on the drywall repair

Primed and painted-1
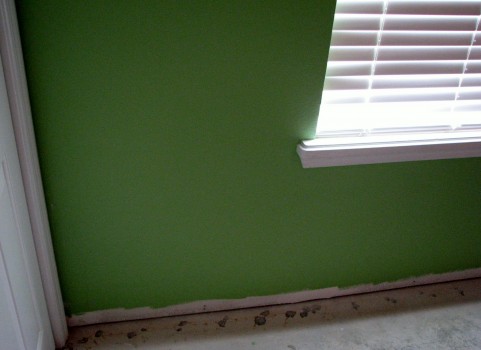
Primed and painted-1

Primed and painted-2
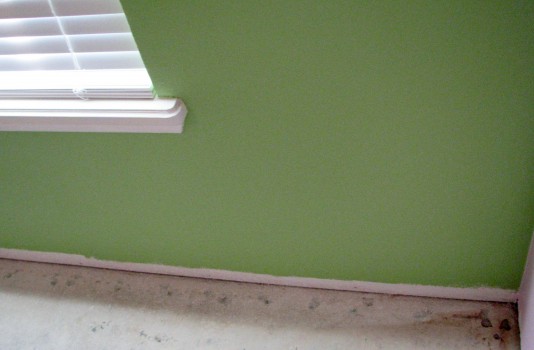
Primed and painted-2

Primed and painted-3

Primed and painted-3

Bedroom-2:

Water damage - Drywall cutout - Bedroom-2

Drywall cutout at 20″ just below the window sill – Bedroom-2
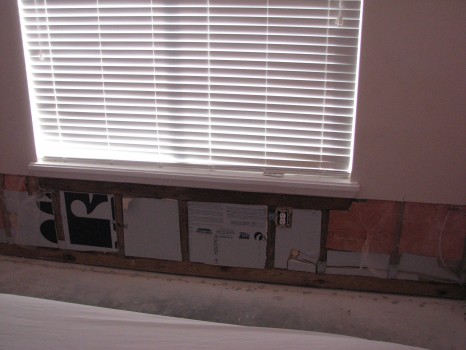
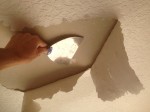
Water damage wall repair texture

Water damage wall repair texture

Installing the drywall

Installing the drywall

Drywall installed in bedroom-2
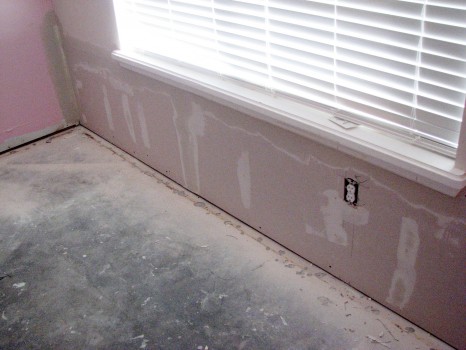
Drywall installed in bedroom-2

First coat - Bedroom 2

First coat of setting type compound (20 minute) over fiberglass mesh drywall tape – Bedroom 2
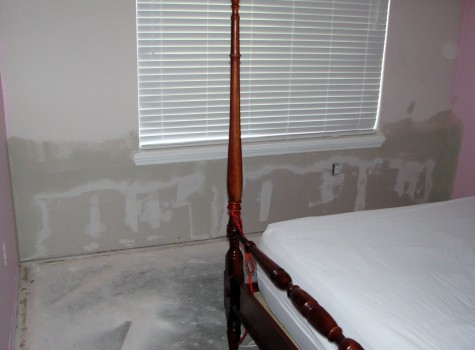
Second and third coat of setting type compound (20 minute)  - Bedroom 2

Second and third coat of setting type compound (20 minute) – Bedroom 2
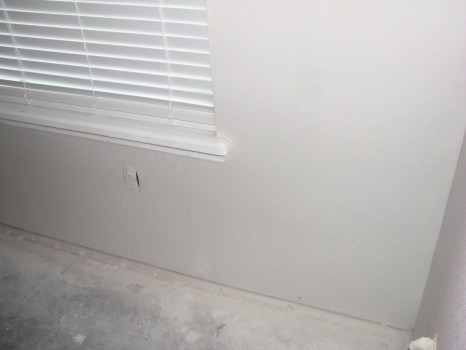
Orange peel texture applied
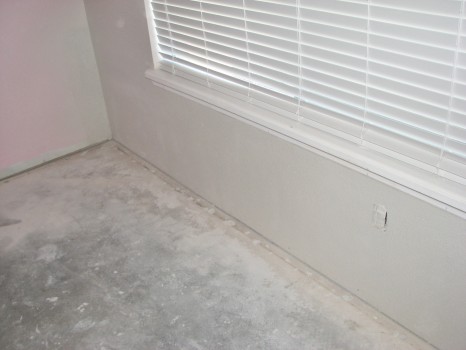
Orange peel texture applied

Orange peel texture blended to match

Orange peel texture blended to match

Orange peel texture matched

Orange peel texture matched

***Check Out my Featured Orange Peel Texture Video Playlist!

Click Here–> youtube/playlist/orange-peel-texture

In this Video Playlist I have video footage from everything how to apply orange peel texture tips and tricks, some finished remodel project videos and even some video footage of when I wear a GoPro to get a very unique and interesting perspective of the orange peel texturing process.

[ebs_seo_cp_map_only]


For more information about our drywall repair services

Schedule Your Wall Repair Estimate Here

Serving all of Brevard County

Please give us a call for a prompt and accurate quote!

Melbourne/Viera: 321-777-9337

Cocoa Beach/Merritt Island: 321-453-6233

Indialantic Drywall and Painting Contractor since 1995

Brevard County Drywall Contractor since 1995


Get Your Expert Drywall Repair or Orange Peel Texture Quote:


    Your Name

    Address

    City

    Phone

    Email

    Project Description

    What year was your home built?
    Before 19781978 - 2013

    I understand that there is a $35.00 estimate fee that will be refunded upon completion of my project.

    Interior Painting 8 colors and 1 townhouse in Melbourne,Florida

    I just finished up this interior painting project in the Suntree/Viera area of Melbourne.
    The townhouse is 2200 sq.ft. We painted the entire place: baseboards, casing, crown, stair trim, spindles, all doors, bifolds, ceilings, walls and three accent walls. It was unoccupied and all of the carpeting will be replaced after the painting is completed.
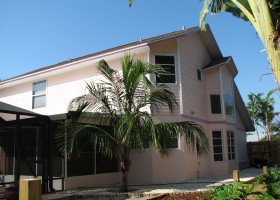
    We used a local paint manufacturers paint called Richards Paint. They’re at the top of my the list when it comes to paint quality in my book.

    Melbourne, Florida Painting Contractor

    What this Homeowner had to say about his interior painting project
    By: Peck Painting
    Quality Excellent

    Paul Peck provided an accurate labor estimate then completed a beautiful and professional 100% interior paint job to my recently purchased home. The job required several sheet rock repairs that are now invisible. His attention to detail is obvious. My home has ceilings up to 30′ with nooks and crannies that look just as good as the easily reachable areas. I absolutely recommend Peck Painting.

    Randy Becker – Melbourne, Fl

    We cut and rolled most everthing. We used the airless sprayer to spray the stair trim, baseboards, bifolds, doors and trim.
    Ceilings: Flat Wnite.
    Walls and Accent Walls: Satin
    Trim, Doors, bathroom’s and Laundry Room: Semi-gloss

    Completed interior painting.


    A couple from the GoPro:

    Serving the Brevard County area with interior painting since 1995

    Return to Peck Drywall and Painting’s–> Home Page

    Schedule an interior painting Estimate Here

    Feel free to call or Email Us for more information about our interior painting services!

    Serving all of Brevard County

    South: 321-777-9337

    Central: 321-453-6233

    North: 321-383-3574

    Peck Interior Painting Service Areas Include:

    Melbourne-Melbourne Beach-Palm Bay-Indialantic-Indian Harbour Beach-Vero Beach-Satellite Beach-Viera-Suntree-Cocoa Beach-Rockledge-Merrit Island-Cape Canaveral-Port St. John-Cocoa-Titusville
    Serving the Brevard County area with interior painting since 1995

    How To and Product Review – Strait Flex Uno-Bead

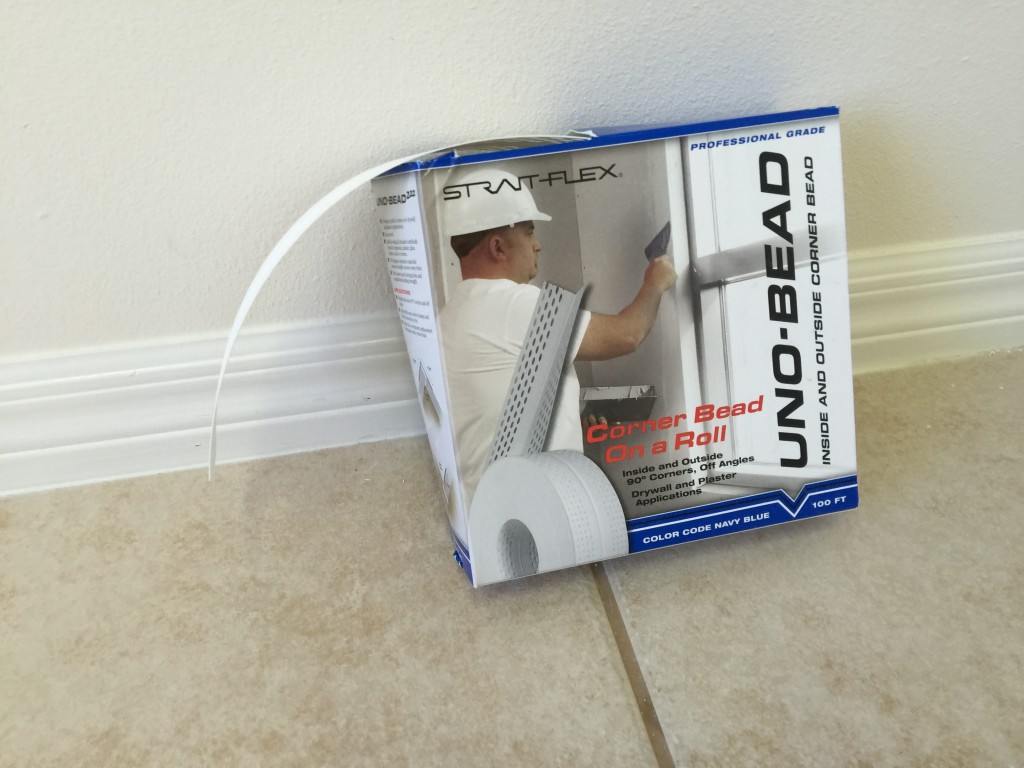
    Strait Flex Uno-Bead - Corner bead on a roll

    Strait Flex Uno-Bead – Corner bead on a roll


    In this product review and demonstration video, I will be using the Strait flex Uno-Bead for the first time ever. This will enable you to see how easy the Strait Flex Uno-Bead is to work with without ever have used it before. Or what might be a bit of a learning curve when it comes to using a product you have never used before. Thanks for watching and if you have any questions about the Strait Flex Uno-Bead please feel free to ask me in the comments section of my video on Youtube.

    I’ll be replacing the old corner bead from a closet modification with the Strait Flex composite corner bead on a roll. The closet had already been taken apart by the homeowner that had just purchased this home.The plan was to make a computer/gaming area for their son where the closet was. Since their new to them home was having several remodeling projects going on anyways they wanted to have me take care of this extra job while I was there.

    My conclusion after trying Uno-Bead for the first time on this remodeling project is that whether you’re a contractor, handyman or even a home improvement DIY’er. This product will be a fast and easy way to install corner bead on new drywall and drywall repairs. And the Strait Flex Uno-Bead is much stronger the traditional corner beads which means it’s great for drywall corners in high traffic areas.

    Another benefit is Uno-Bead requires less joint compound than the traditional metal corner bead or vinyl corner bead. Which speeds up drying time as well. So you can save time, the amount of materials needed to finish outside 90 degree drywall corner. All of this means you make more money while also getting a better and stronger end result. Also since this corner bead product comes on a roll, it’s easily stored eliminating the need to have a special place to store it from getting damaged before getting to the job where you’ll be doing your drywall finishing.

    I would definitely use Strait Flex Uno-Bead Again again!

    Here some stats about Strait Flex Uno-Bead 222:

  • This composite corner bead provides outside 90 degree corners for drywall, plaster and EIFS applications and perfectly replaces damaged metal corner bead.
  • Works on all inside and outside corners
  • Drywall, thin coat plaster, EIFS and kitchen remodels, bathroom remodels, home renovations and new construction.
  • High traffic areas where bumps and dents commonly occur.
  • Reduces waste and is easily transported.
  • Uno-Bead 222 is sized to be a permanent replacement to damaged corner bead.
  • Installs using all standard methods: Drywall compound, Plaster, EIFS, glue, staples, nails or screws.
  • Available in 2.22″ and 3″ widths.
  • Mold proof, Rust proof and Alkali resistant.
  • Slots insure quick drying time and unmatched bonding strength.
  • PVC/Nylon composite material ensure straight corners every time and prevents mold and rust.
  • Happy New Year! A Brevard County Contractors 2014 year in review

    I just wanted to say Happy New Year to all my past, present and future customers and fellow contractors. It’s been a very busy year and I’ve worked with some great people throughout the year.

    Looking over my 2014 year in review, It seemed like the economy here in Brevard County was on the upswing with lot’s of activity in the residential real estate and existing homeowner markets. Which included a bounty of renovation, remodel, home improvement and repair contracts throughout 2014.

    For that I Am very grateful.

    I completed many interior and exterior painting projects, stucco repair, pool deck repair, ceiling repair, drywall repair, texture matching and even soundproofing from Melbourne to Viera, Melbourne Beach, Suntree, Cocoa Beach, Satellite Beach, Indian Harbour Beach, Indialantic, Cape Canaveral, Cocoa and Merritt Island here on the Space Coast.

    Here’s just a few of the many completed before and after project photos from 2014:

    Chalky and Faded Paint Project in Melbourne

    The job: Seal and repaint all of the exterior surfaces of the home due to the fading and chalking of the paint from years of the sun and elements of the harsh Florida climate on this Melbourne, FL home.
    Read more about this Melbourne exterior painting project…

    Painter in Melbourne, Florida

    Home before sealer and paint


    Painter in Melbourne, Florida

    After exterior painting was completed:

    Exterior House Painting Project in Cocoa

    On exterior repaint we repaired several staircase stucco cracks, damaged stucco from the hurricane shutters and a buckled stucco area at the front entrance before applying the sealer and paint to this home.
    Read more about this Cocoa exterior painting project…

    Before Stucco Repair and Exterior Painting Photo

    Before:

    After Stucco Repair and Exterior Painting Photo

    After:

    Melbourne Exterior Repaint w/ Stucco Repairs

    On this Melbourne exterior repaint project there were several stucco related repairs that I had to tackle before we could start painting.
    Such as rusted stucco bands and stucco cracks. But the main stucco repair was the two wood frame and stucco column bases at the front entrance of the home. They had to be totally rebuilt due to water damage and termites.
    Read more about this Melbourne exterior painting and stucco repair project…

    Repaint in Melbourne before photo:

    Repaint in Melbourne before photo:


    Repaint in Melbourne after photo:

    Repaint in Melbourne after photo:

    Cedar siding, soffits and stucco painting in Indialantic

    On this Indialantic exterior repaint project there were several stucco and wood siding related repairs that I had to tackle before we could start painting.
    After we pressure washed all of the exterior surfaces to be painted on this Indialantic, Fl home, we then applied a tinted sealer to all off the exterior surfaces (due to chalkiness and also to assure good adhesion of the finish coats).
    Read more about this Indialantic exterior painting project…

    Cedar siding, soffits and stucco painting  in Indialantic before photo:

    Cedar siding, soffits and stucco painting in Indialantic before photo:


    Indialantic exterior painting after photo:

    Indialantic exterior painting after photo:

    If you’re in need of a painter in Melbourne please give me a call 321-777-9337

    Pool Deck Repair, Texture and Paint in Indialantic

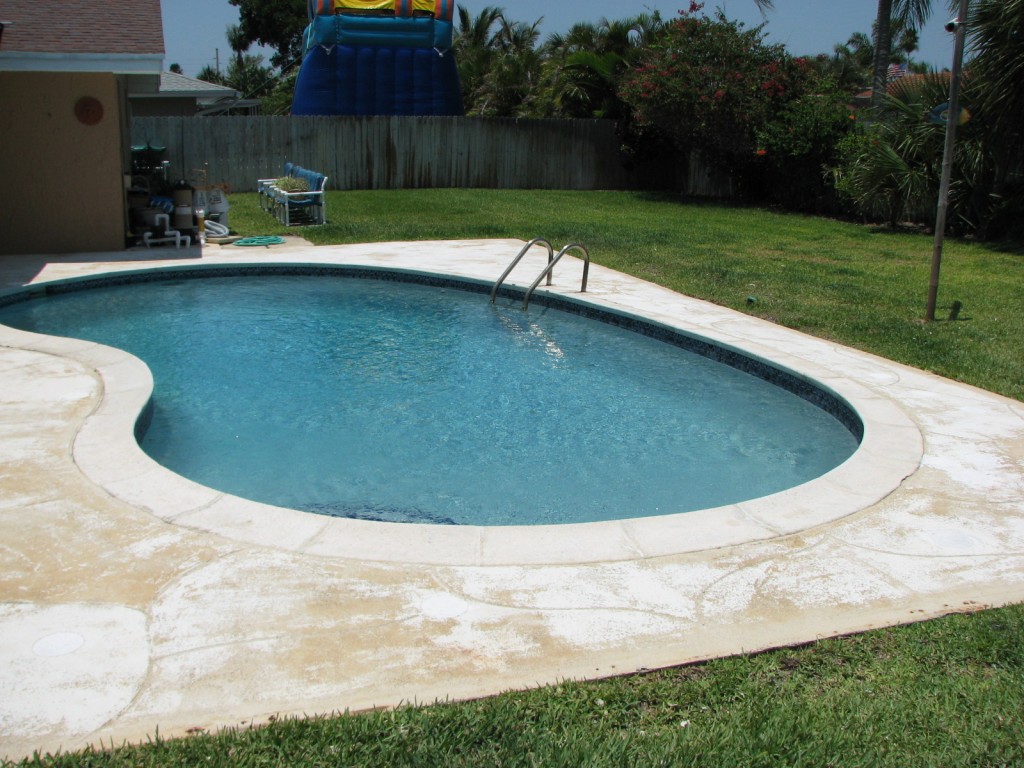
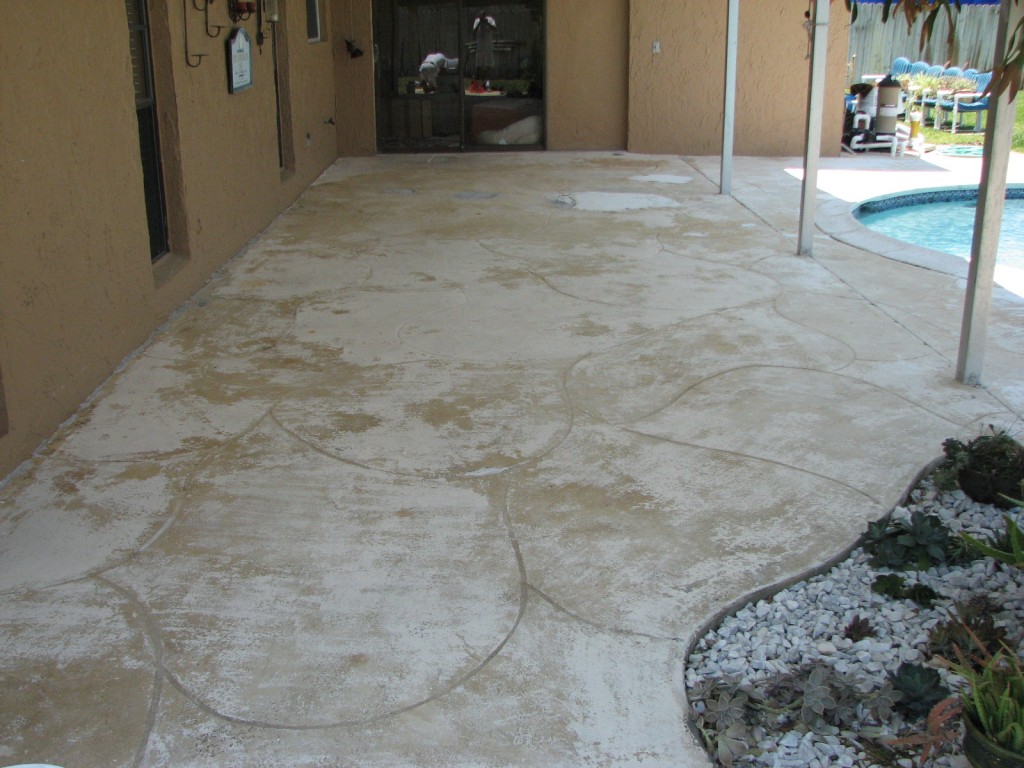
    We repaired all of the pool deck cracks and floated out the areas where there had been previous pool deck repairs and also skim coated the spots where the textured finish was chipping off in several areas with a thin coat of Kool deck.
    Read more about this Indialantic pool deck repair and painting project…

    Indialantic Fl Textured Pool Deck Repair

    Before photo

    Indialantic, Fl Pool Deck Painting

    After photo

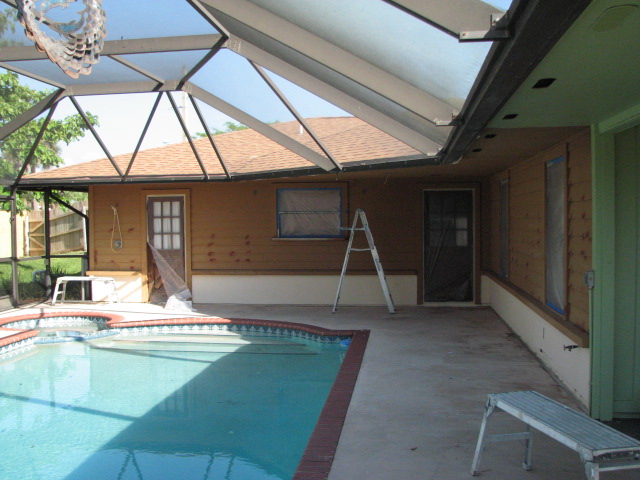
    Indialantic Pool lanai Repair and Painting- Before photo:

    Indialantic Pool lanai Repair and Painting- Before photo:

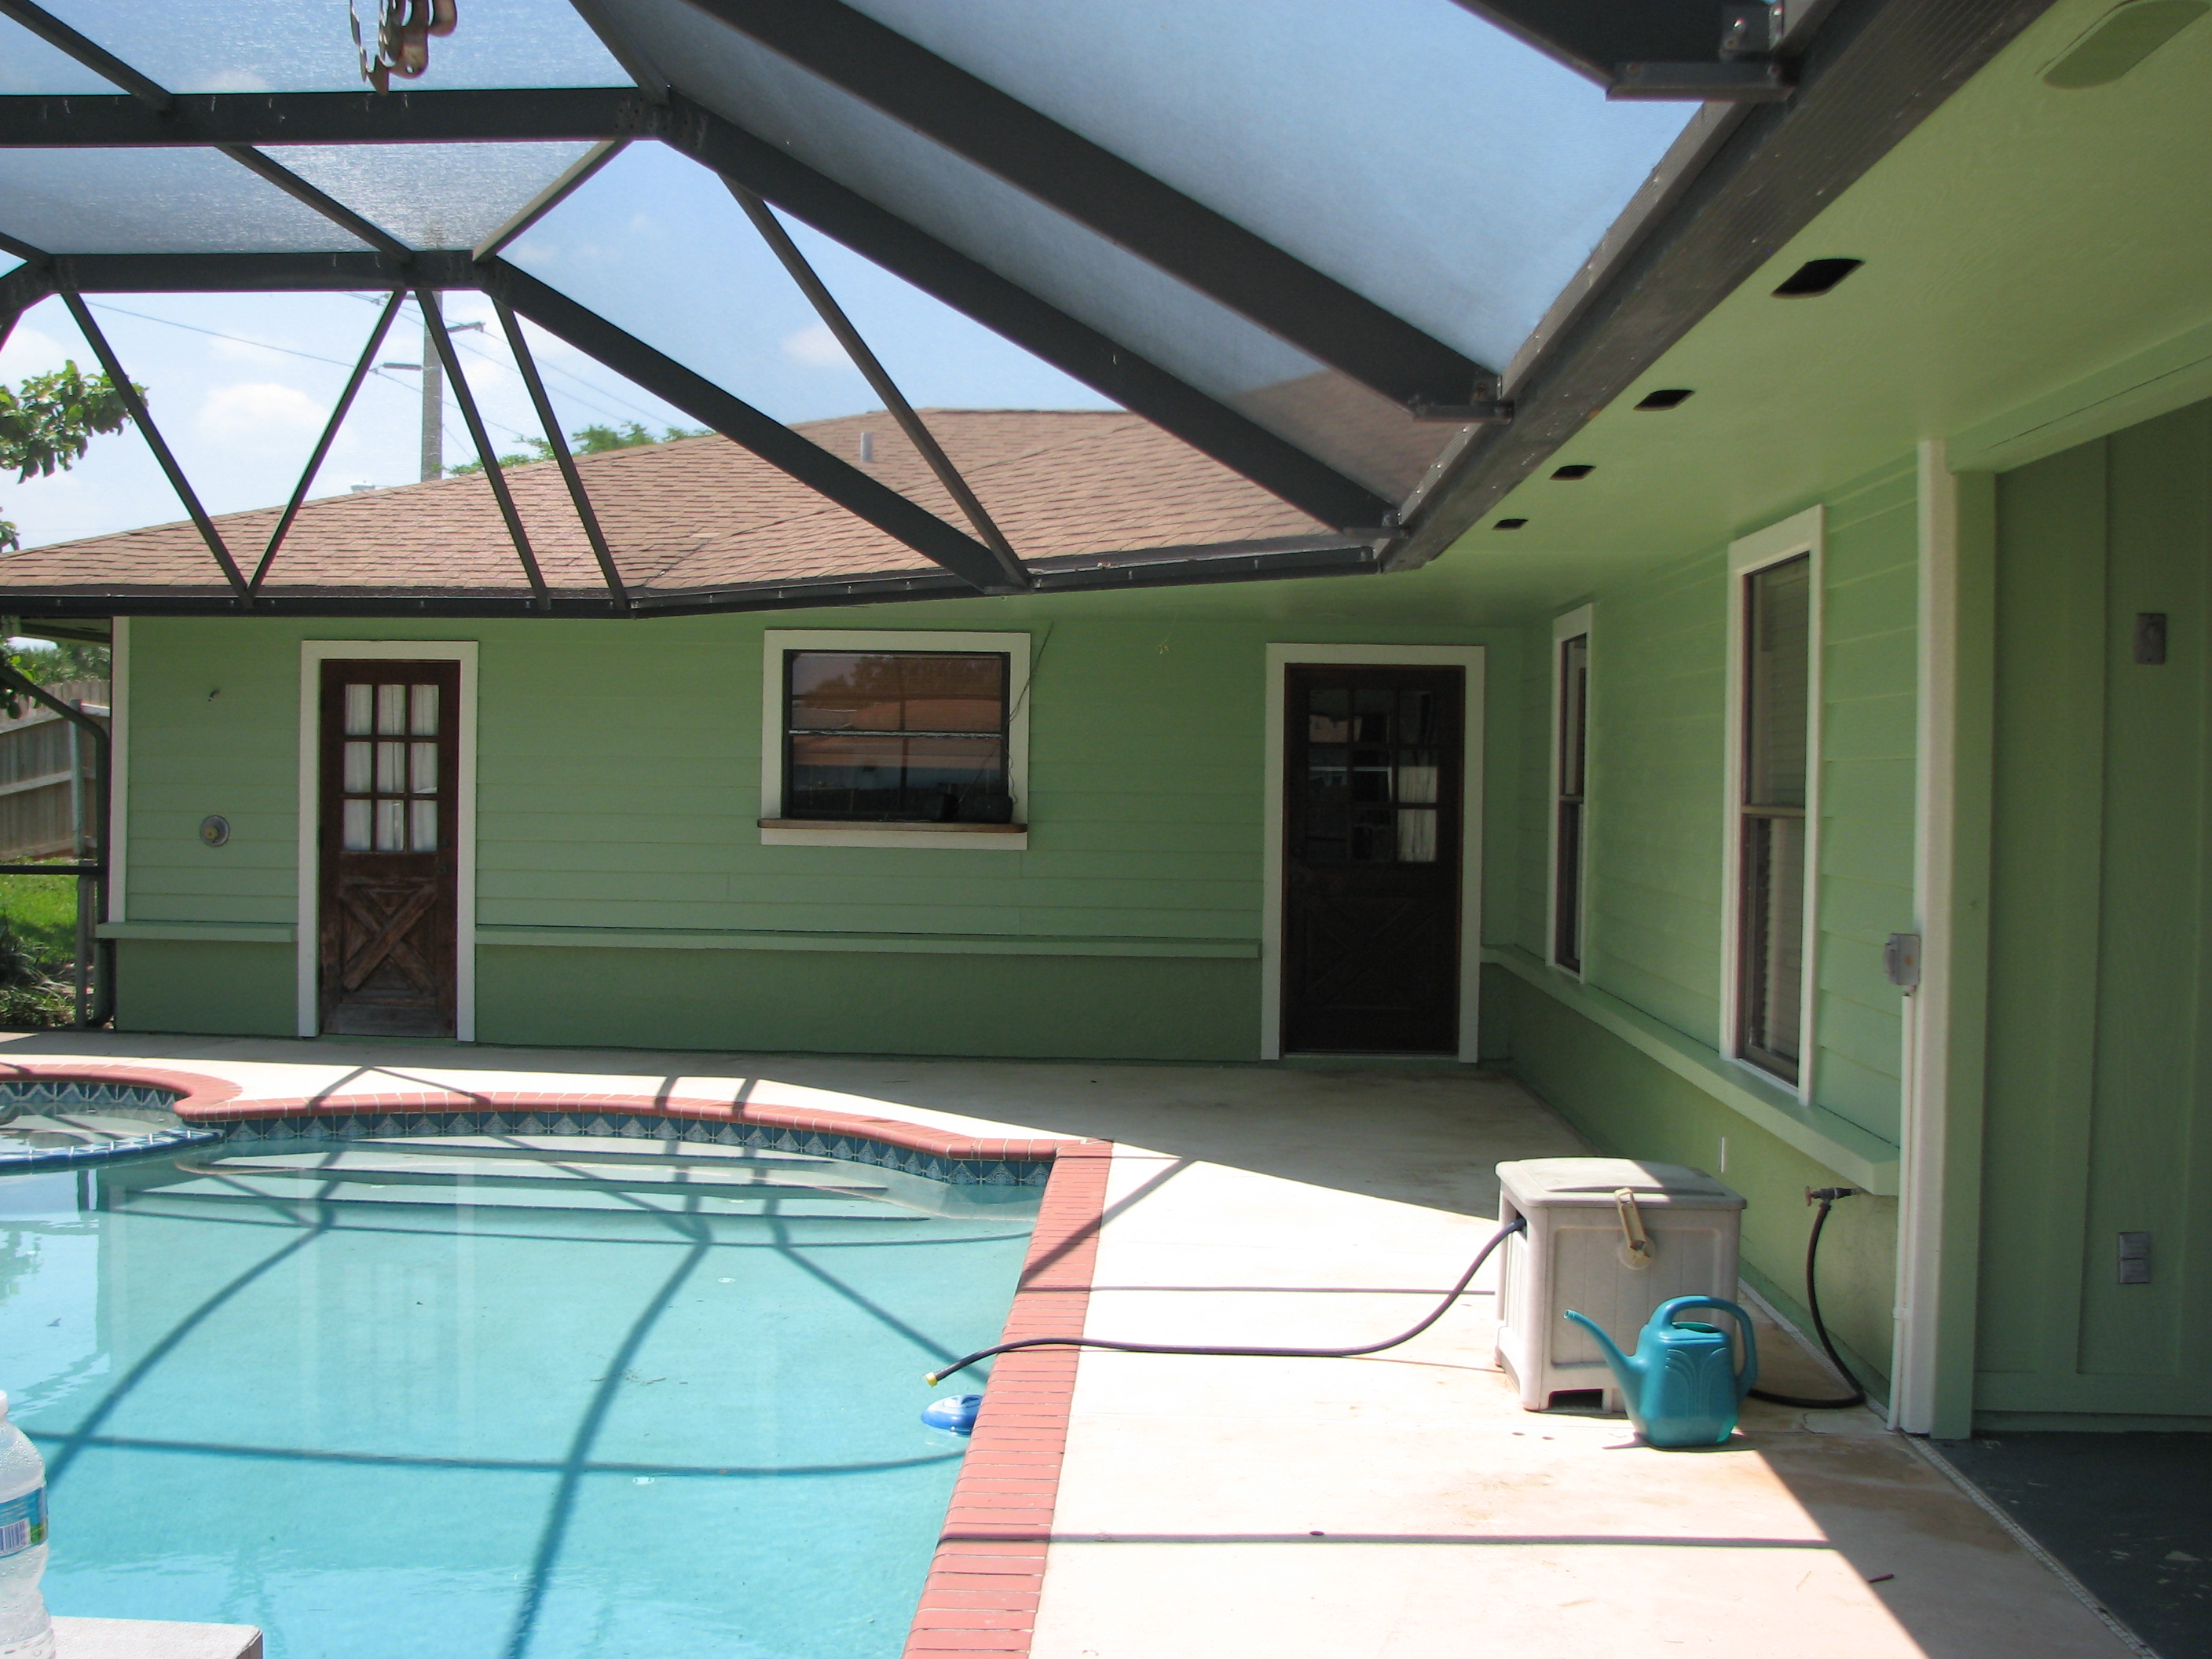
    Indialantic Pool lanai Repair and Painting- After photo:

    Indialantic Pool lanai Repair and Painting- After photo:

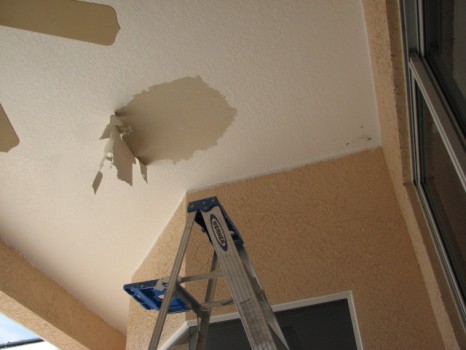
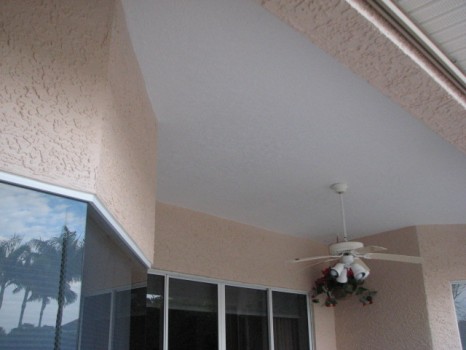
    Textured patio ceiling bubbling, blistered and falling down in Rockledge

    After scraping the problem areas of the ceiling I:
    1) Spot primed these areas with a spray can of oil base Kilz
    2) Skim coated the primed areas with 20 minute hot mud
    3) Wet sanded the edges to blend into the existing texture
    4) Applied the knockdown texture feathering to match the existing ceiling texture
    5) Spot primed with a quality latex primer
    6) Spot painted areas with an exterior paint
    7) Repainted the entire lanai ceiling
    Read more about this ceiling repair and matching knockdown texture project…

    Rockledge Exterior-ceiling bubble

    The texture wasn’t even stuck


    Rockledge knockdown texture-ceiling repair

    Knocking down the texture to match


    exterior repaint-rockledge-final-day 014

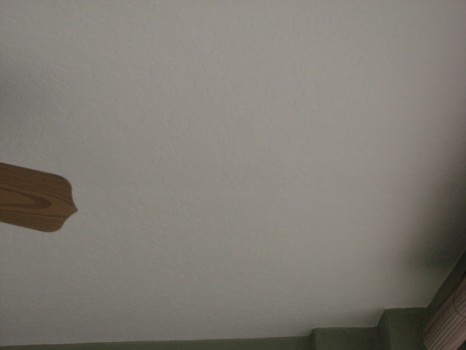
    Lanai ceiling skimmed, textured, primed and painted

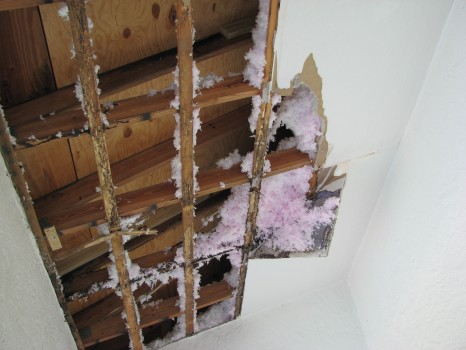
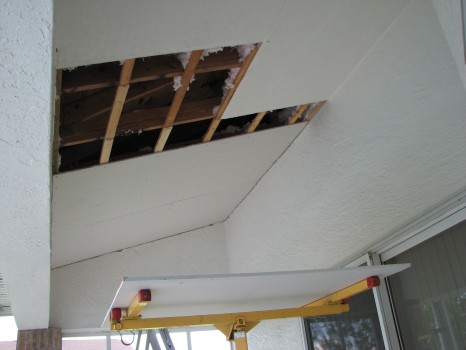
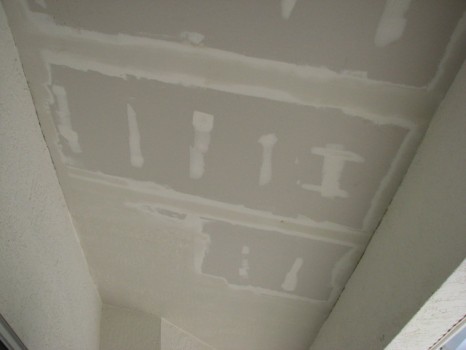
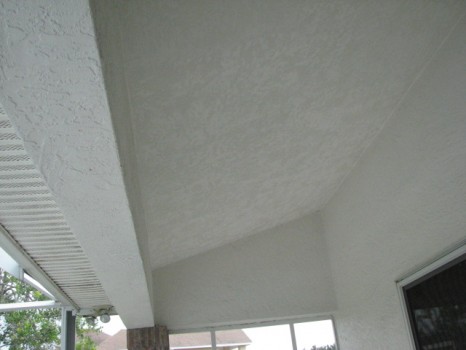
    Roof leak caused major water damage to this ceiling in Suntree

    Repair water damaged pool patio ceiling caused by a roof leak in the suntree area of Melbourne. Not only was a large section drywall ceiling in need of replacement. The furrings strips that hold the ceiling up had termite damage and rusted screws from all of the moisture from the roof leak.
    Read more about how a roof leak caused major water damage to a ceiling…

    Termite damage to furring strips

    Termite damage to furring strips


    Second sheet of drywall installed

    Second sheet of drywall installed


    Drywall finishing-Second coat

    Drywall finishing-Second coat 45 minute setting type compound


    Skip trowel texture applied to the ceiling

    Skip trowel texture applied to the ceiling and ready for primer and paint

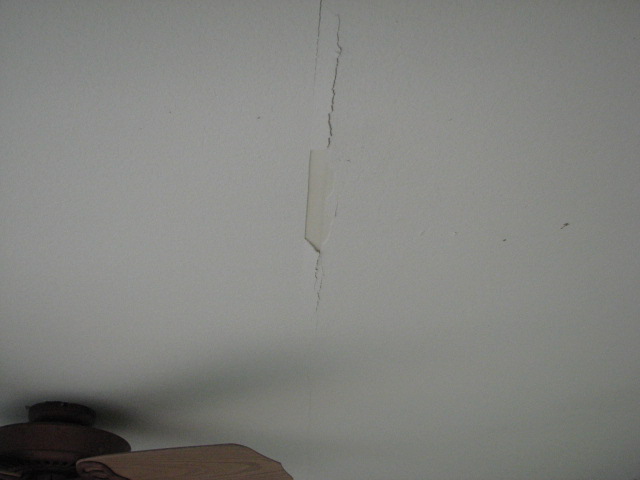
    The paper tape joints were cracking and starting to fall down on this ceiling in Viera.

    This type of problem is very common on interior and exterior drywall ceilings. Over time the paper drywall tape begins to crack and fall down due to the heat and humidity from our harsh Florida climate.

    The extreme weather changes cause the wood framing to expand and contract on a daily basis in turn causing just enough movement of your ceiling to crack and pop the paper tape joints. Especially if the ceiling was nailed or not enough screws were added during the drywall installation process when your home was built.
    Read more about this ceiling repair in Viera…

    Exterior ceiling repair-paper tape cracking and falling down

    Exterior ceiling repair-paper tape cracking and falling down


    Applying the final coat to the tape joint

    Applying the final skim coat to one of the repaired tape joints


    Close up of the new skip trowel ceiling

    Close up of the new skip trowel ceiling

    Water damage drywall repair and orange peel texture matching project in Indialantic

    We were contacted by a past customer to do a drywall repair on the already cut out and dried out the water damaged walls in two of the guest bedrooms of their home. Water had got the drywall wet on the one exterior wall in each of the two guest bedrooms of this four bedroom home here in Brevard County.
    Read more about this water damage repair in Indialantic…

    Water damage - Drywall cutout - Bedroom-1

    Drywall cutout at 16″ just below the electrical outlet – Bedroom-1


    Primed and painted-1

    Primed and painted-1

    Soundproofing an existing wall to help reduce noise in Merritt Island

    On this master bedroom and bathroom remodeling project in Merritt Island, FL I’ll be adding some sound reduction drywall w/ Green Glue compound and sealant to try and reduce the noise in a master bedroom coming from a home theater entertainment system on the other side of the existing master bedroom wall.
    Read more about this soundproofing project in Merritt Island…

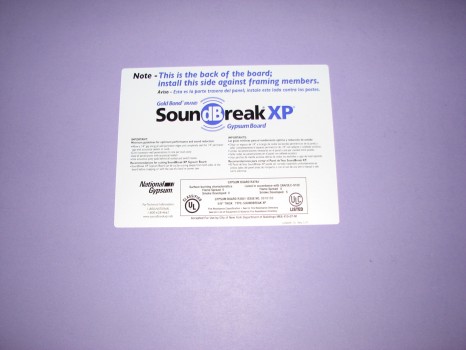
    Soundproofing a wall

    Gold Bond® BRAND 5/8″ SoundBreak® XP® Gypsum Board with Sporgard™


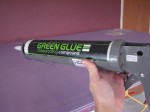
    Applying Green Glue Noiseproofing Compound

    Applying Green Glue Noiseproofing Compound


    master bedroom remodel- soundproofing- orange peel texture-2

    master bedroom remodel- soundproofing- orange peel texture-2


    [ebs_seo_cp_map_only]


    Peck Drywall and Painting

    Professional Drywall and Painting Company

    Feel free to call or Email us for more information about our Drywall and Painting services!

    Schedule Your Estimate Here

    Serving all of Brevard County

    Brevard County Licensed Contractor-Peck Drywall and Painting

    Drywall and Painting Contractor

    Brevard County Painting License # PT393

    State Drywall License # RX11066969

    Please give us a call for a prompt and accurate quote!

    Melbourne/Viera/Beachside: 321-777-9337

    Merritt Island/Cocoa Beach: 321-453-6233

    Titusville/Port Saint John: 321-383-3574

    Indialantic Drywall and Painting Contractor since 1995

    Brevard County Drywall Contractor and Painting Contractor since 1995


    Get Your Expert Drywall and Painting Quotes:


      Your Name

      Address

      City

      Phone

      Email

      Project Description

      What year was your home built?
      Before 19781978 - 2013

      I understand that there is a $35.00 estimate fee that will be refunded upon completion of my project.