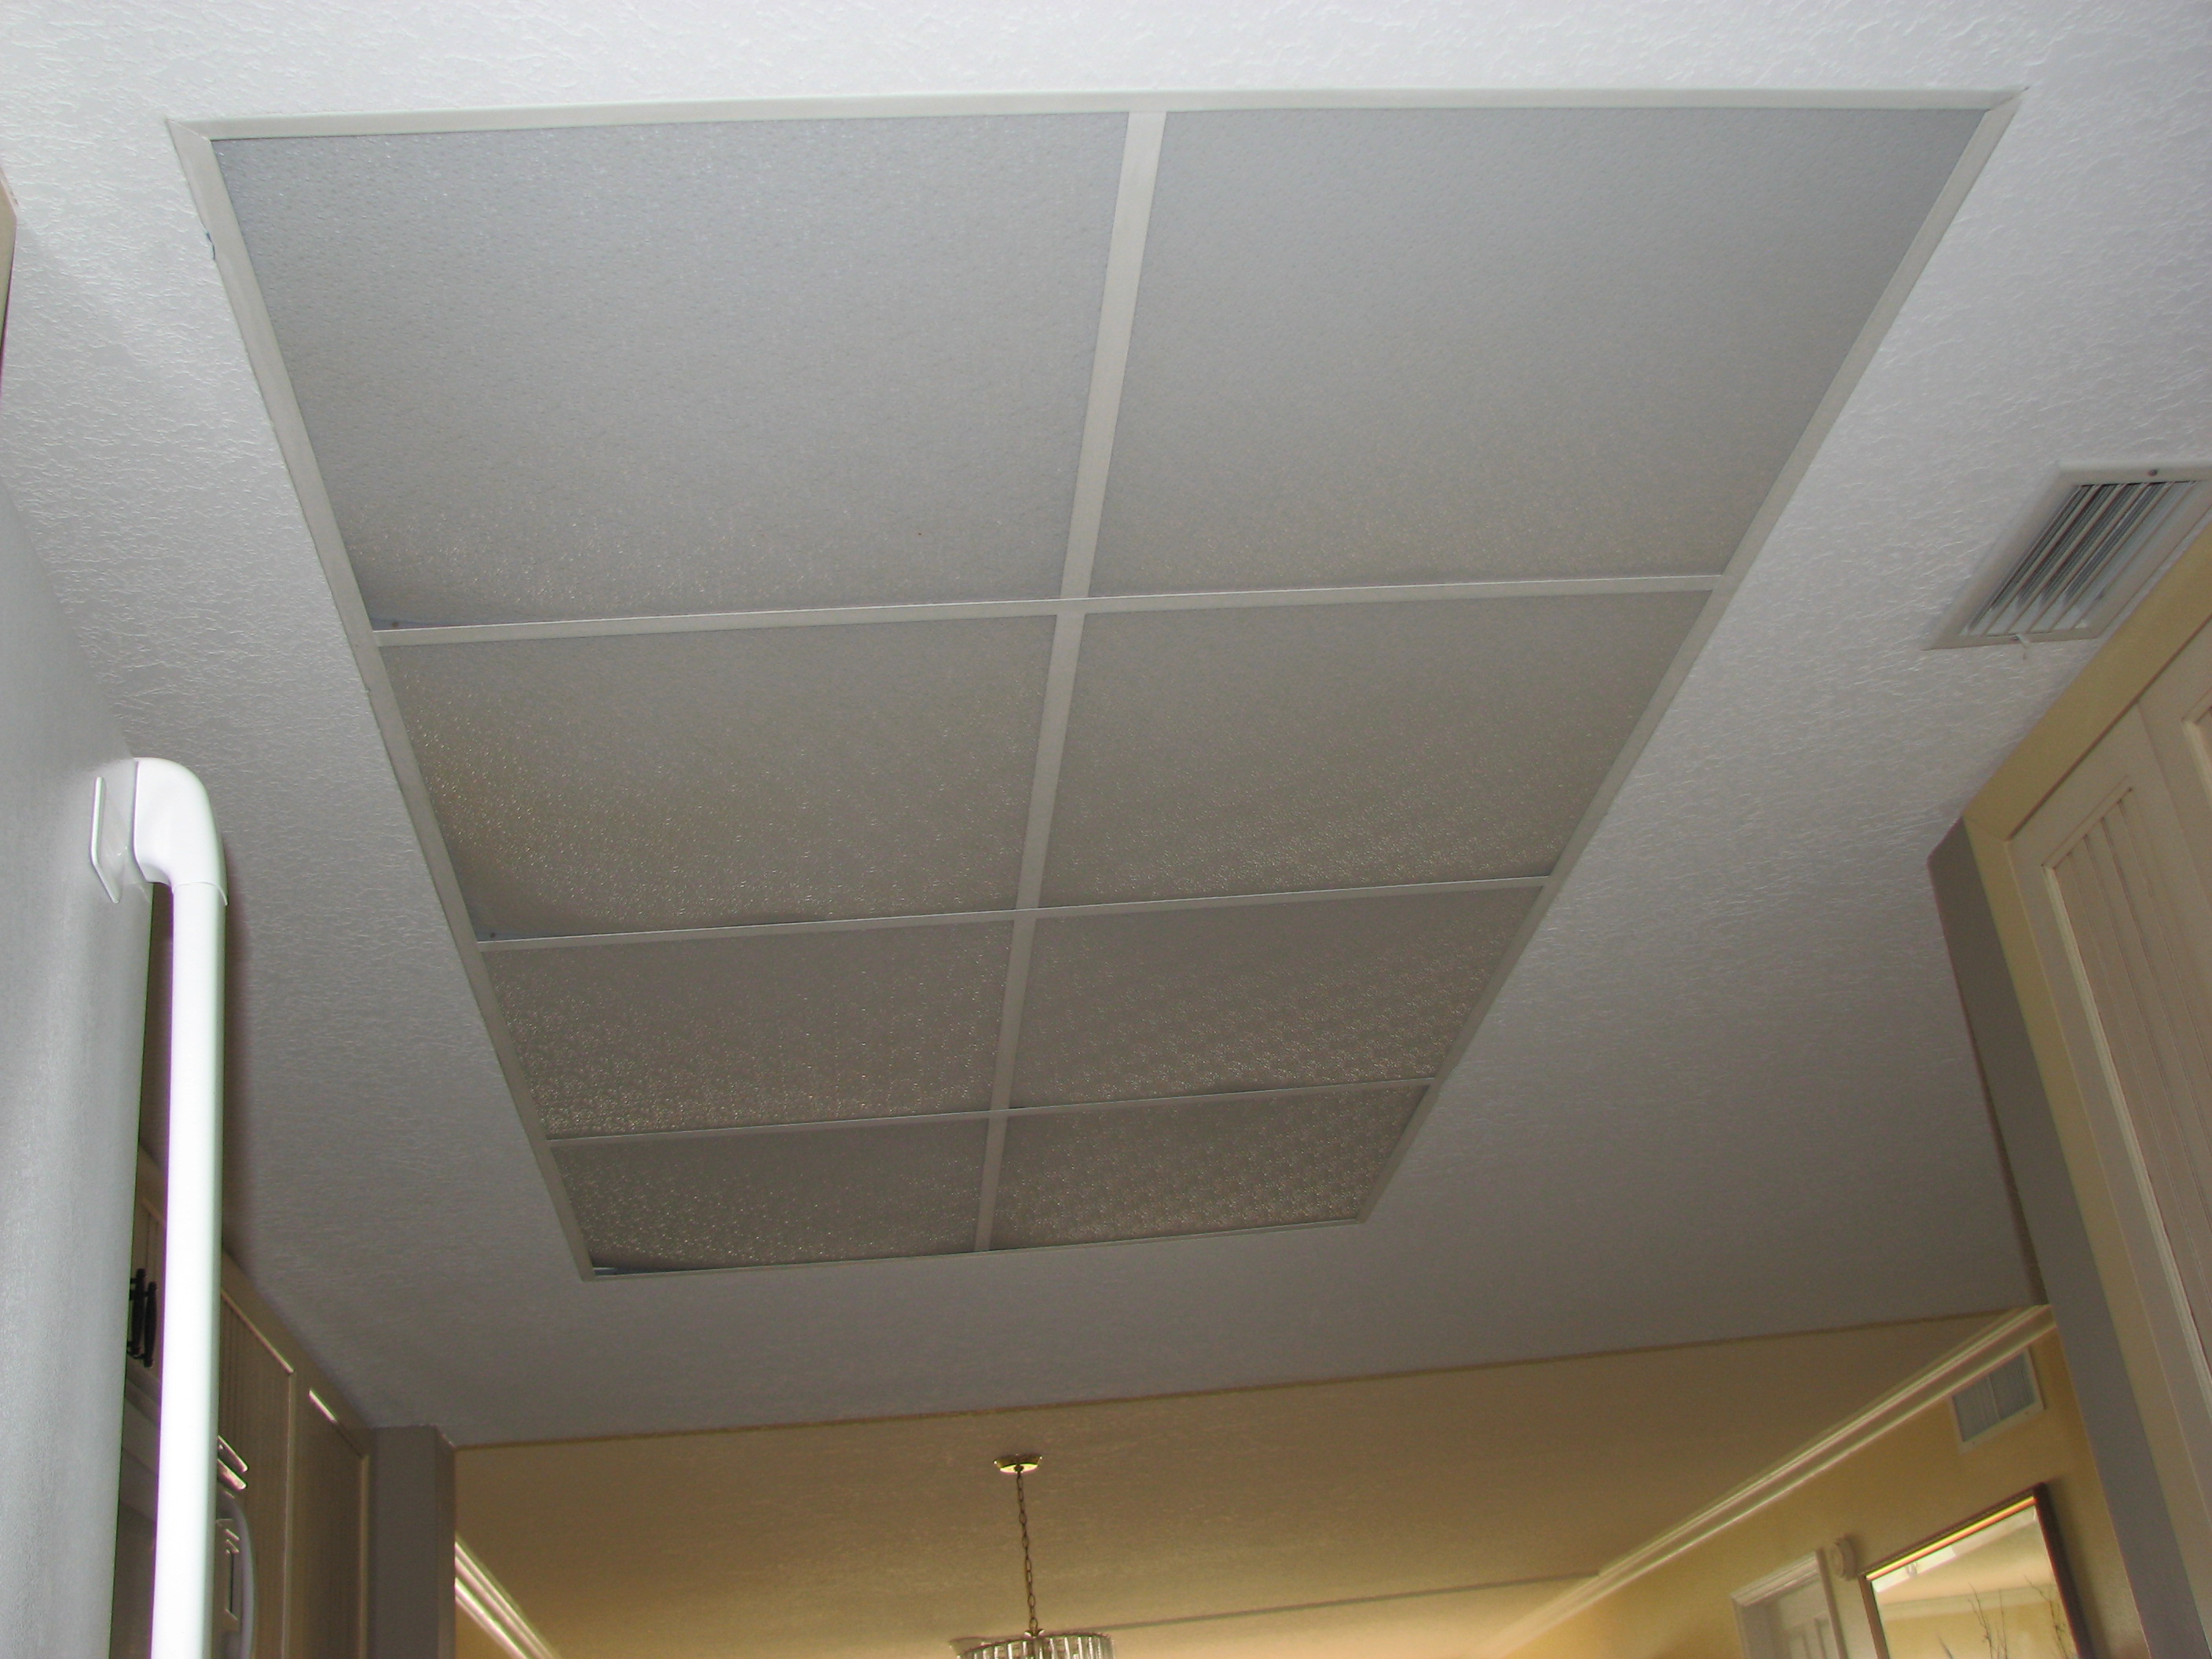
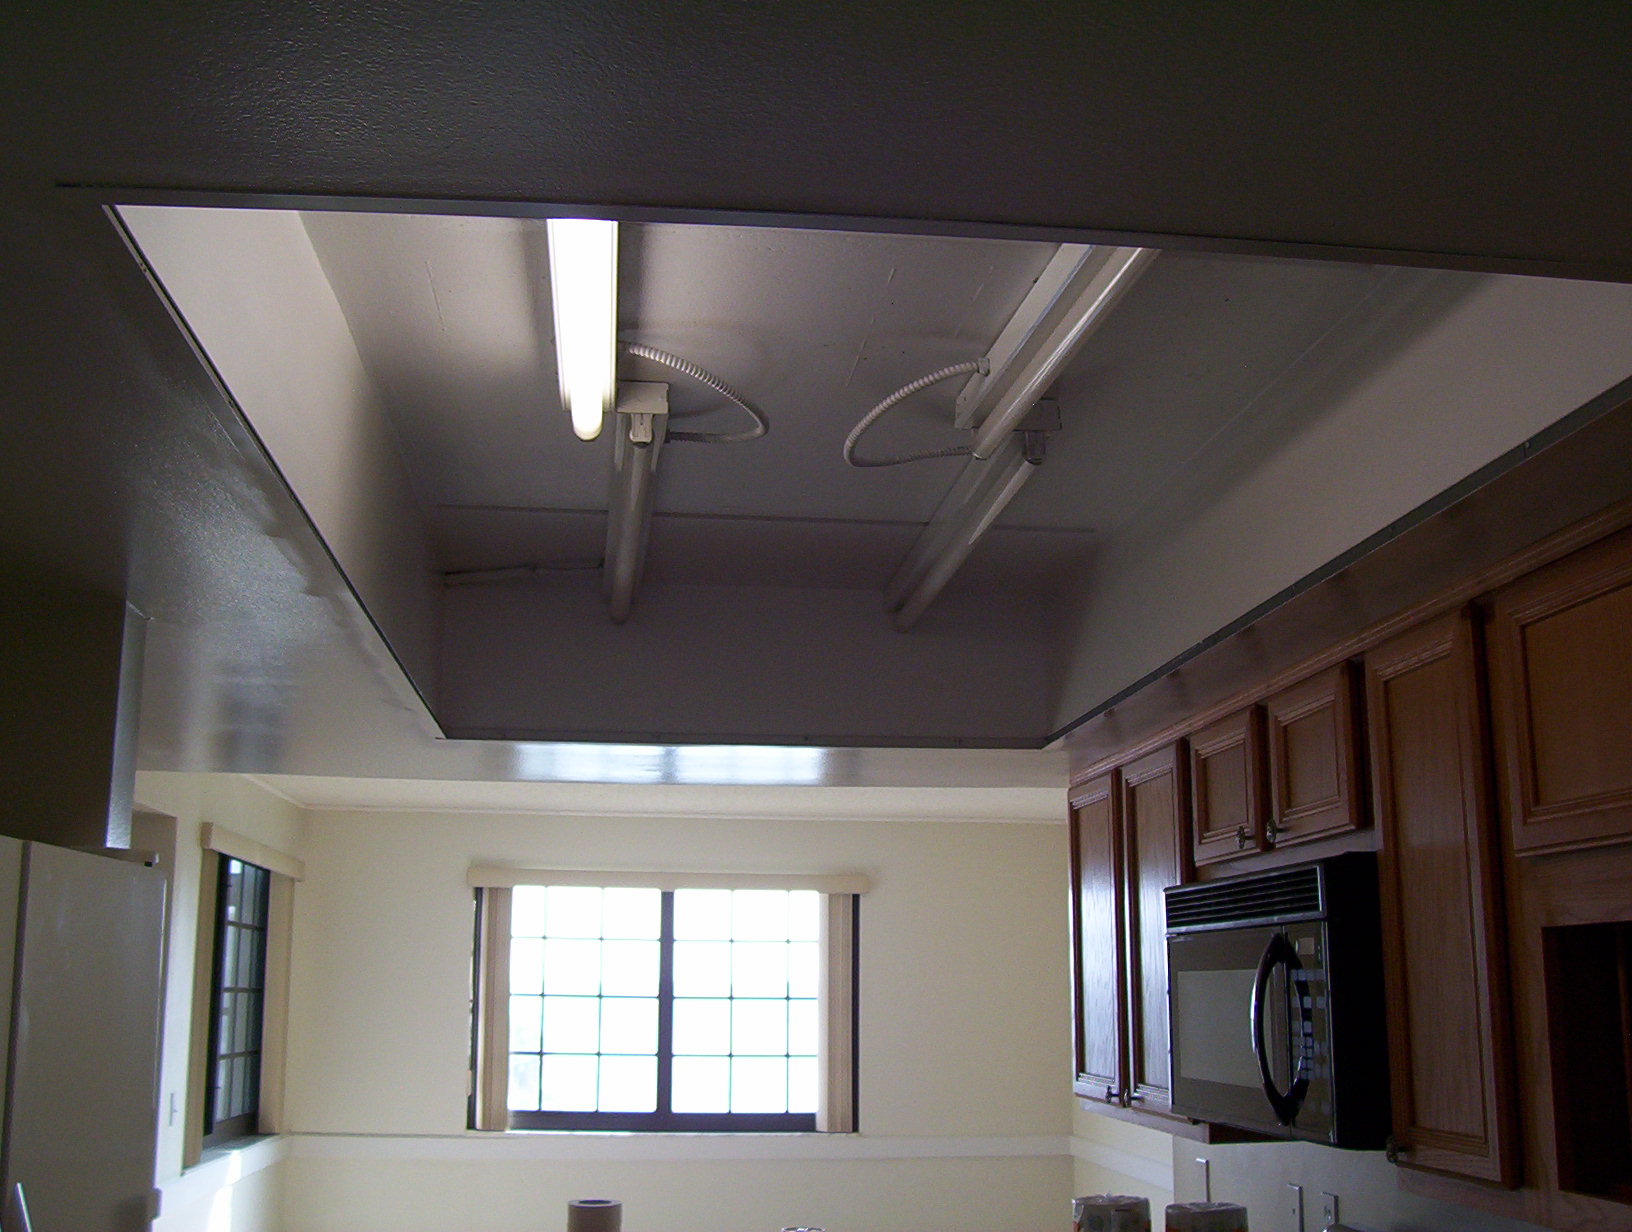
Cocoa Beach condo kitchen ceiling light- Before
It’s a common dilemma among home and condo owners that I’m sure most of you have seen before.
That Ugly, outdated grid lighting system in the kitchen of a Home!
Whether you’re thinking about doing a new kitchen remodel or your just looking to modernize and open up your kitchens feel and get rid of that outdated kitchen drop ceiling and kitchen lights.
This process that I developed many years ago will turn any of these eyesore ceilings into a show piece that you will love and your neighbors will envy. I’ve installed close to one hundred of these types of trey ceilings here in the Brevard County area over the years.
Here some photo’s of the process:
Kitchen drop ceiling light Before:
1980’s grid style kitchen Light- Before
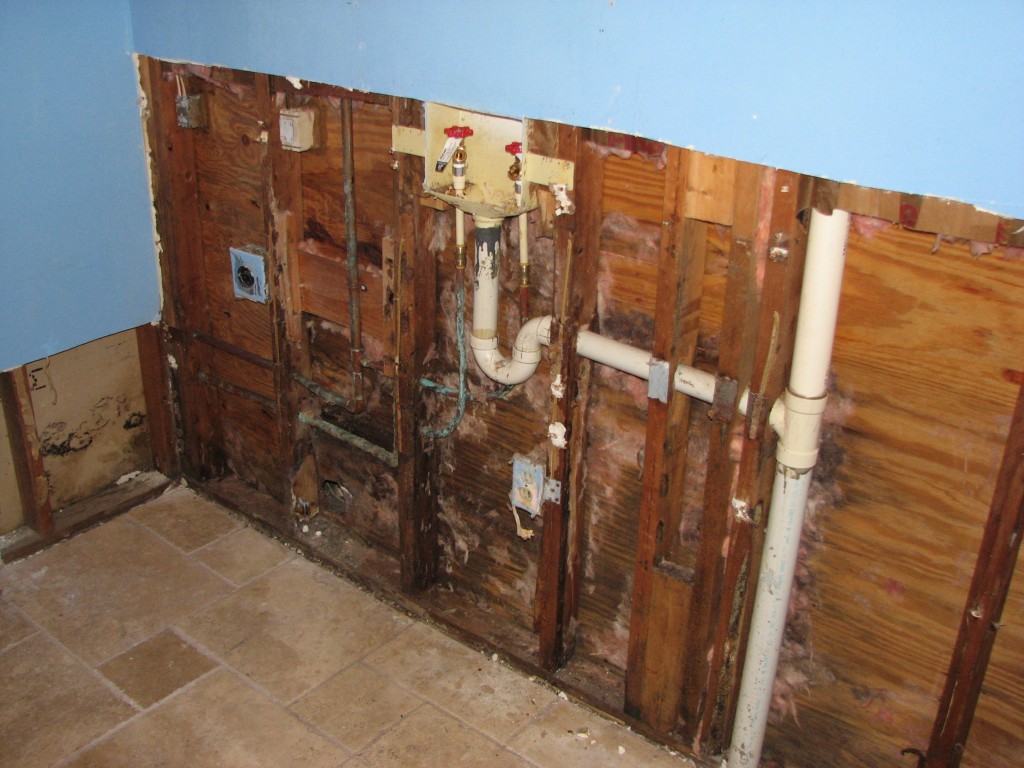
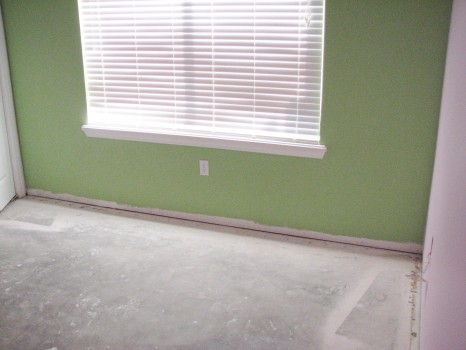
Kitchen drop ceiling removed:
Makes the kitchen feel bigger already.
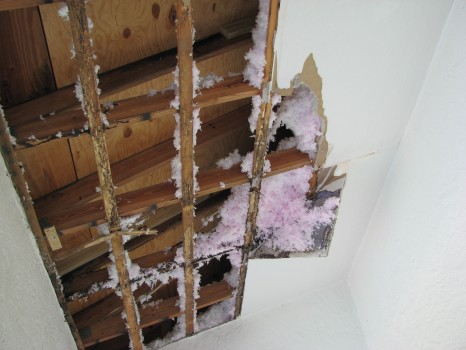
Fluorescent kitchen lights removed:
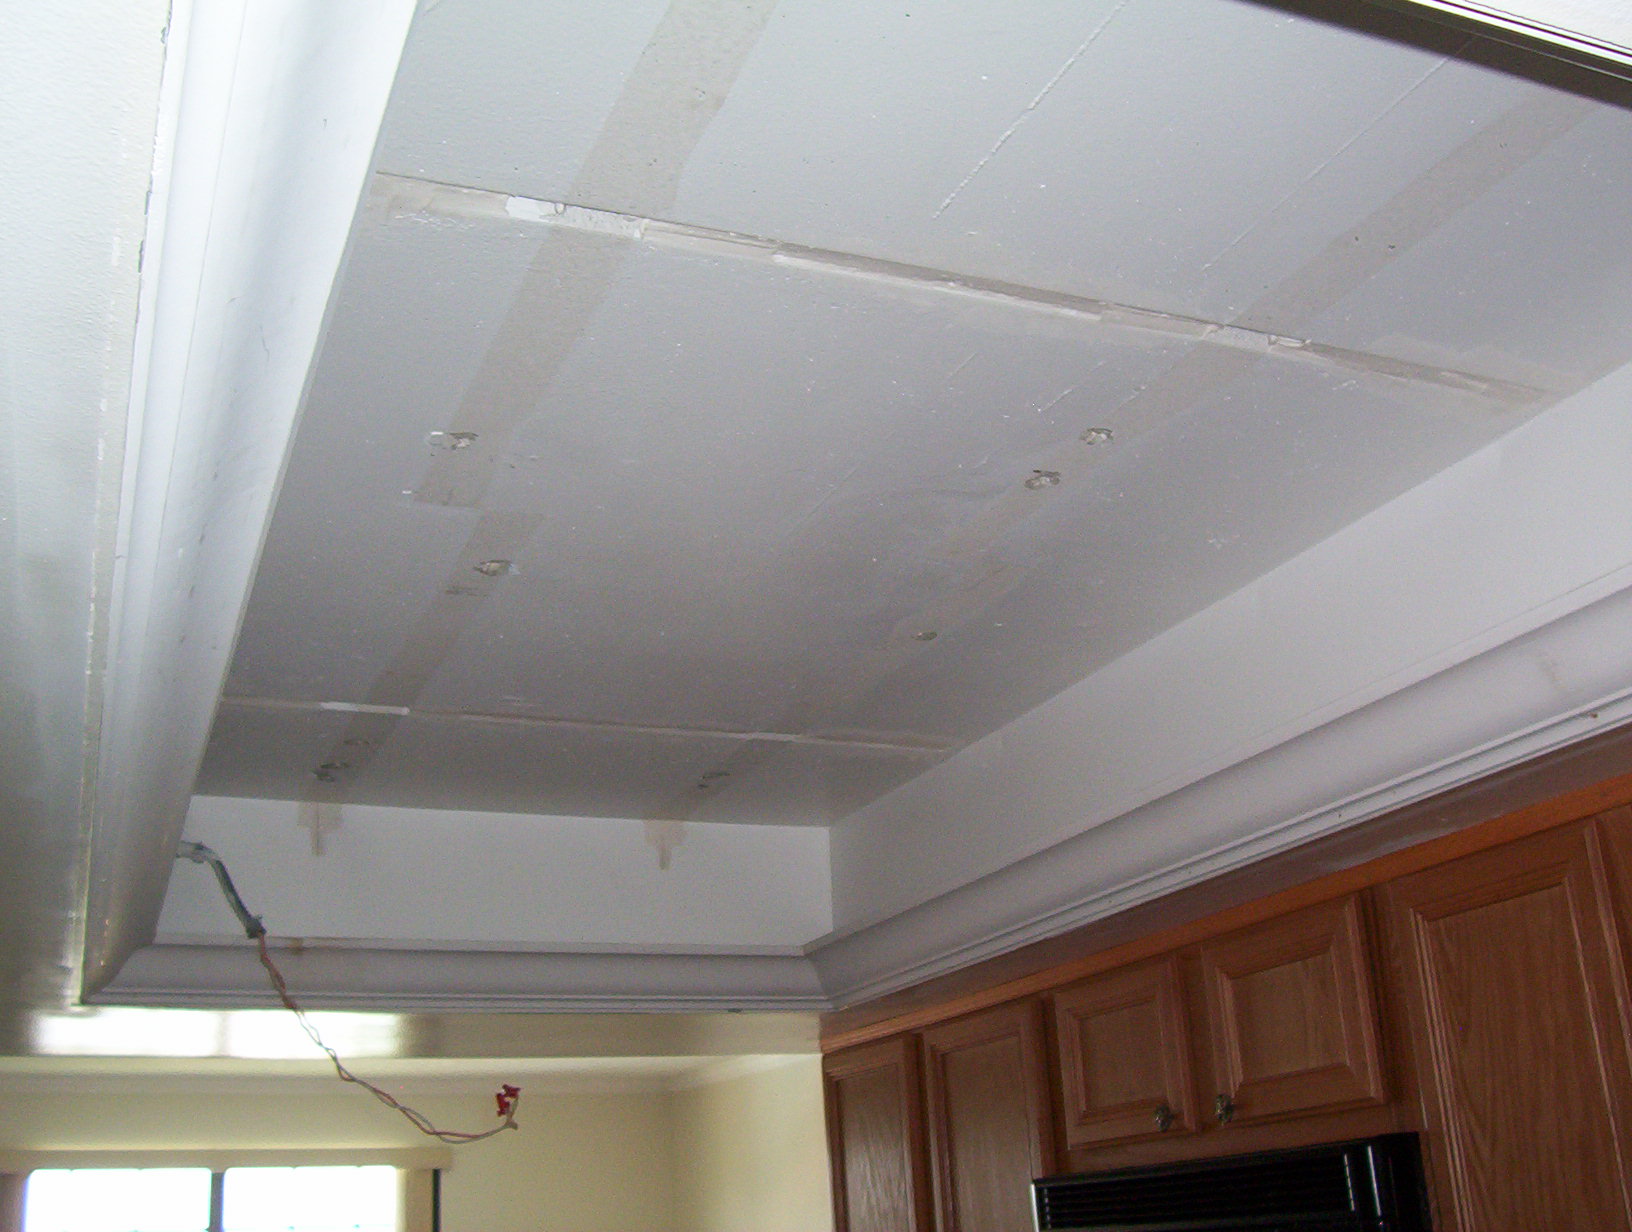
Concrete ceiling exposed.
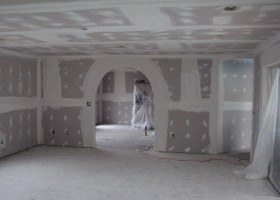
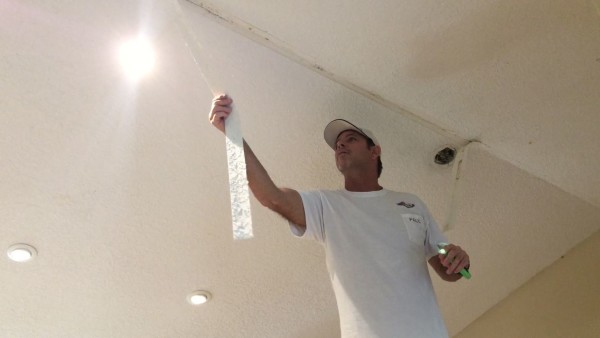
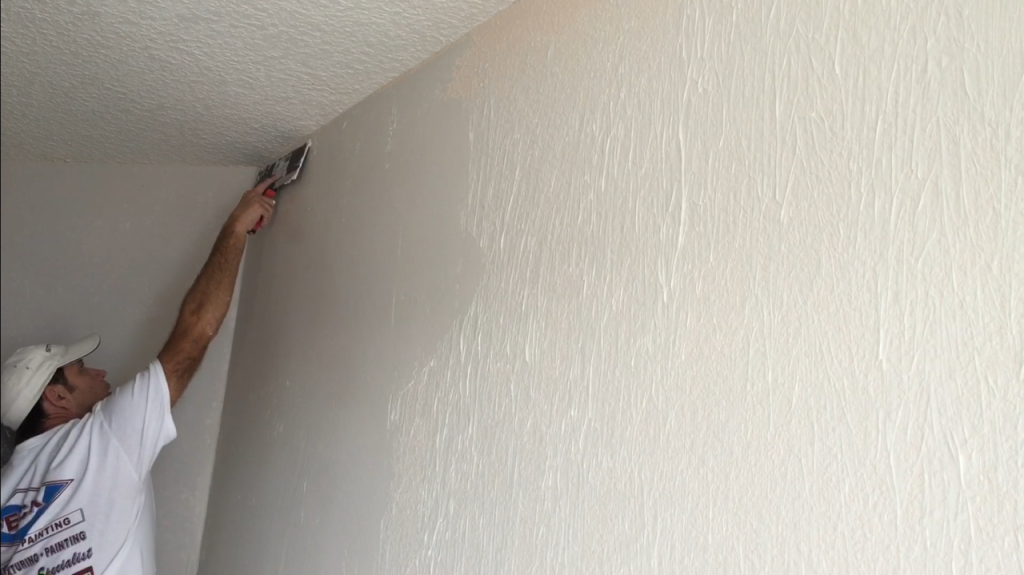
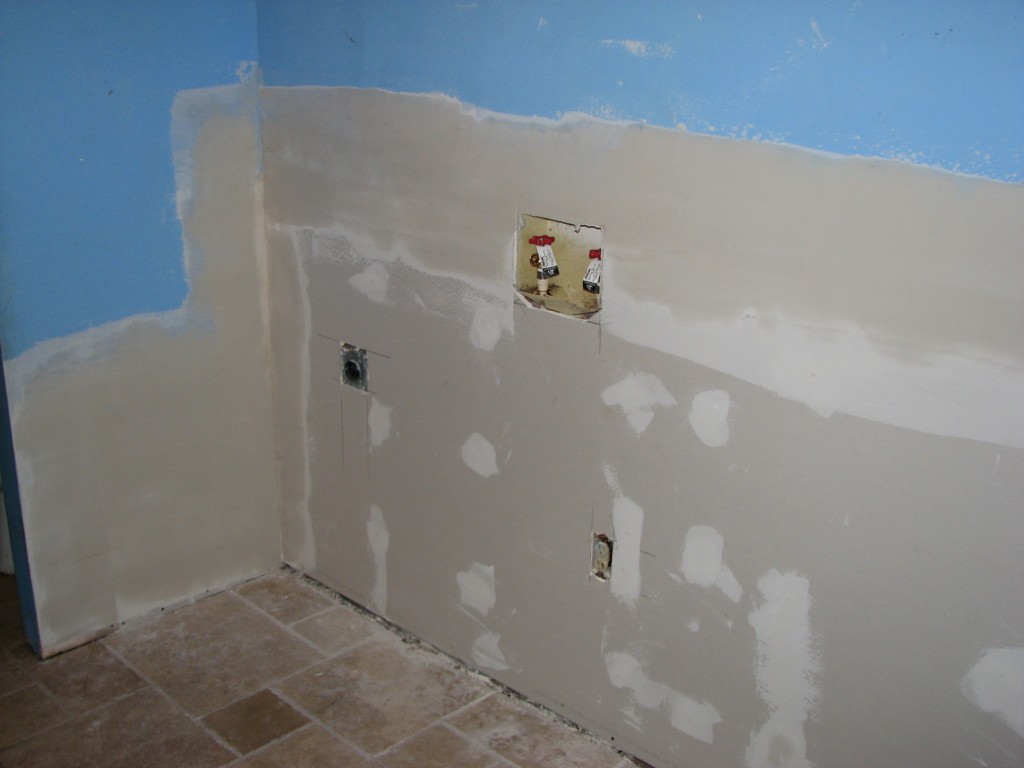
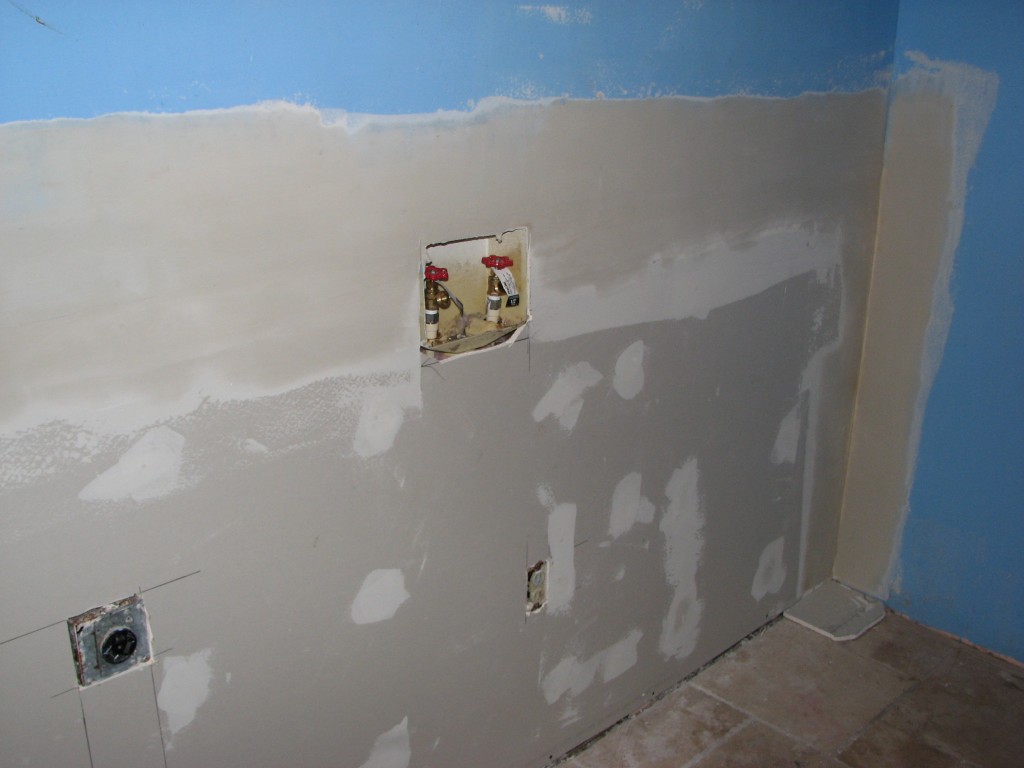
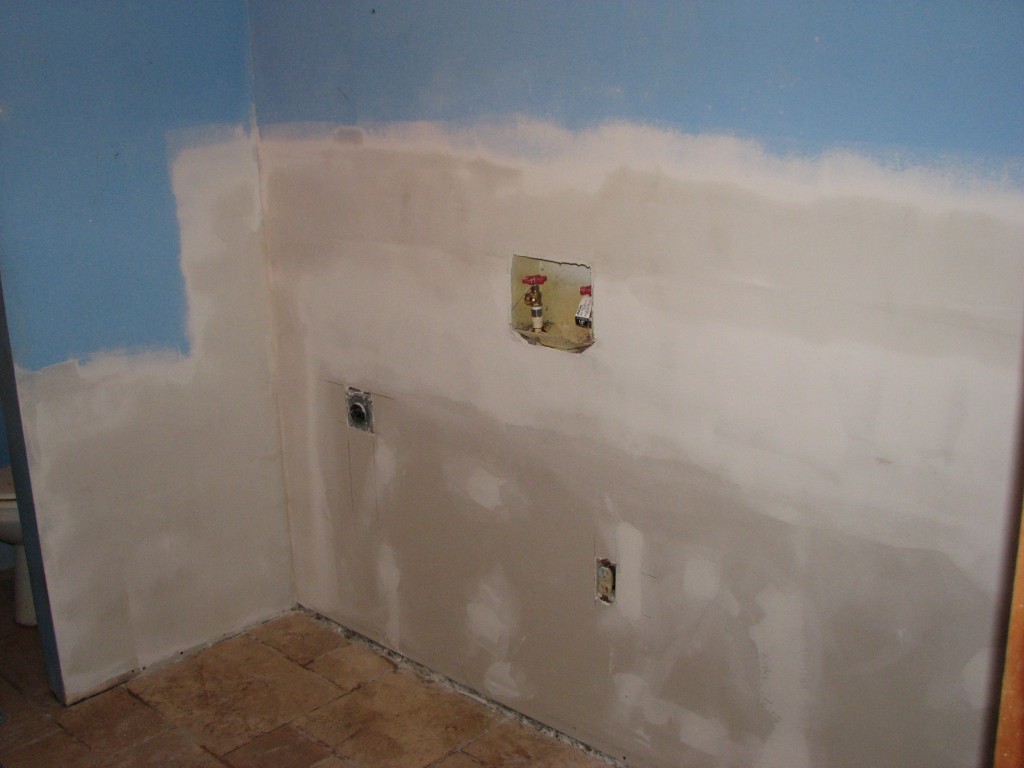
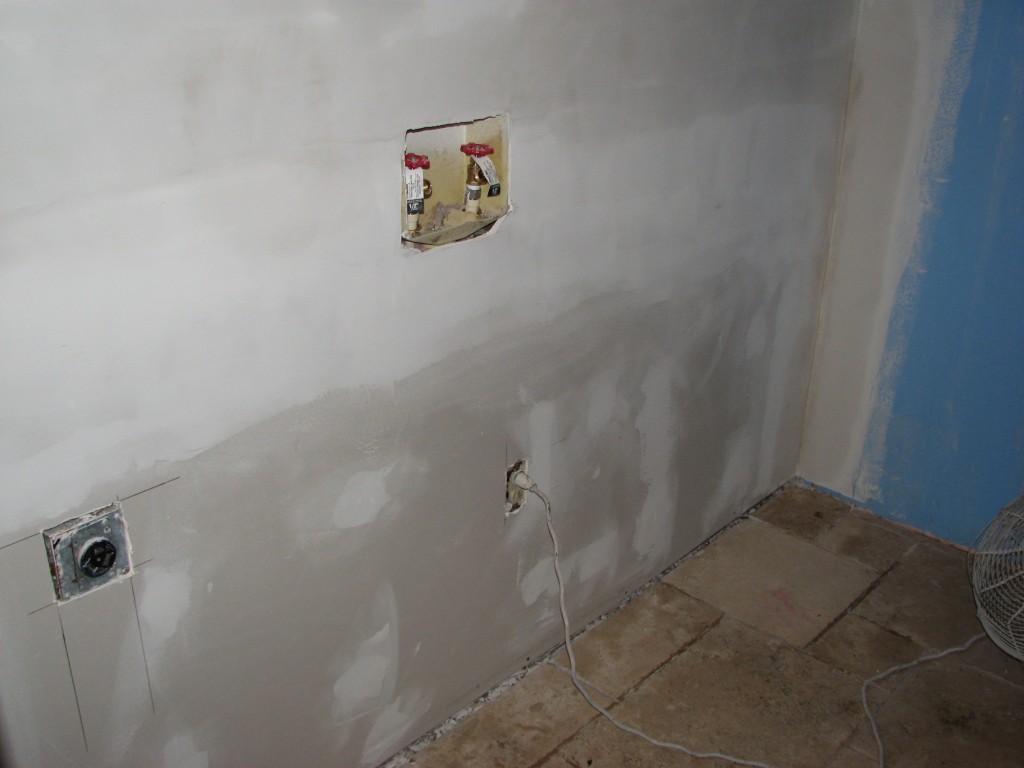
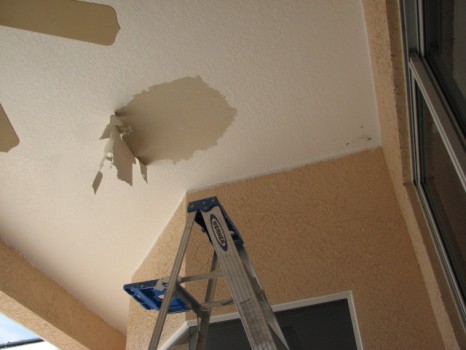
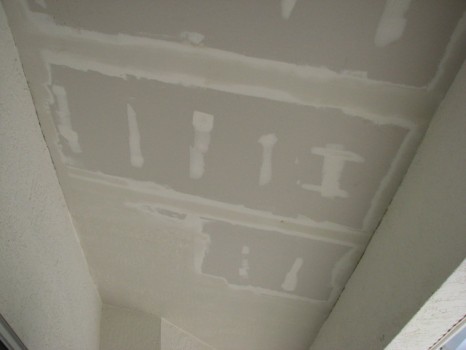
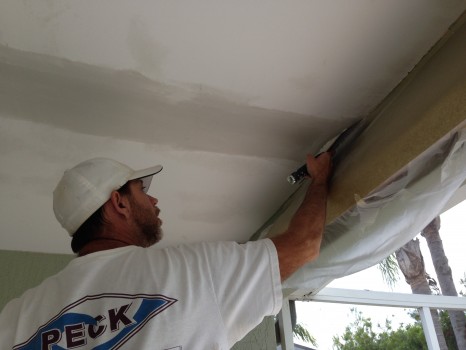
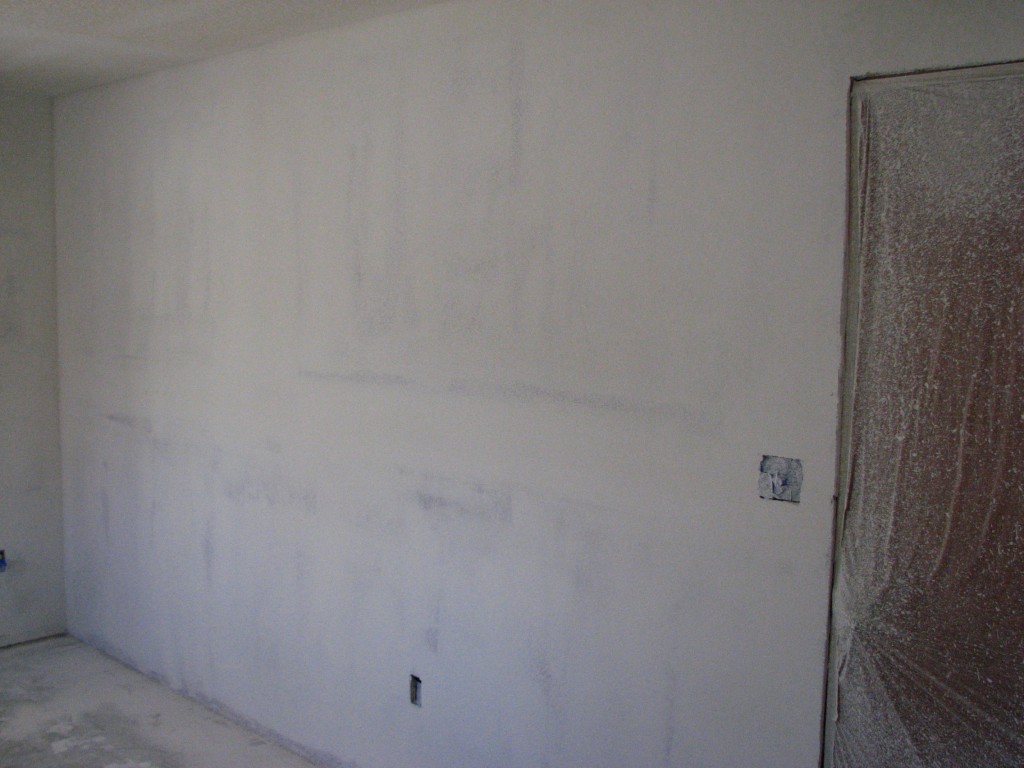
After the Kitchen drop ceiling and lighting is removed. It’s time for a little drywall repair and mud work:
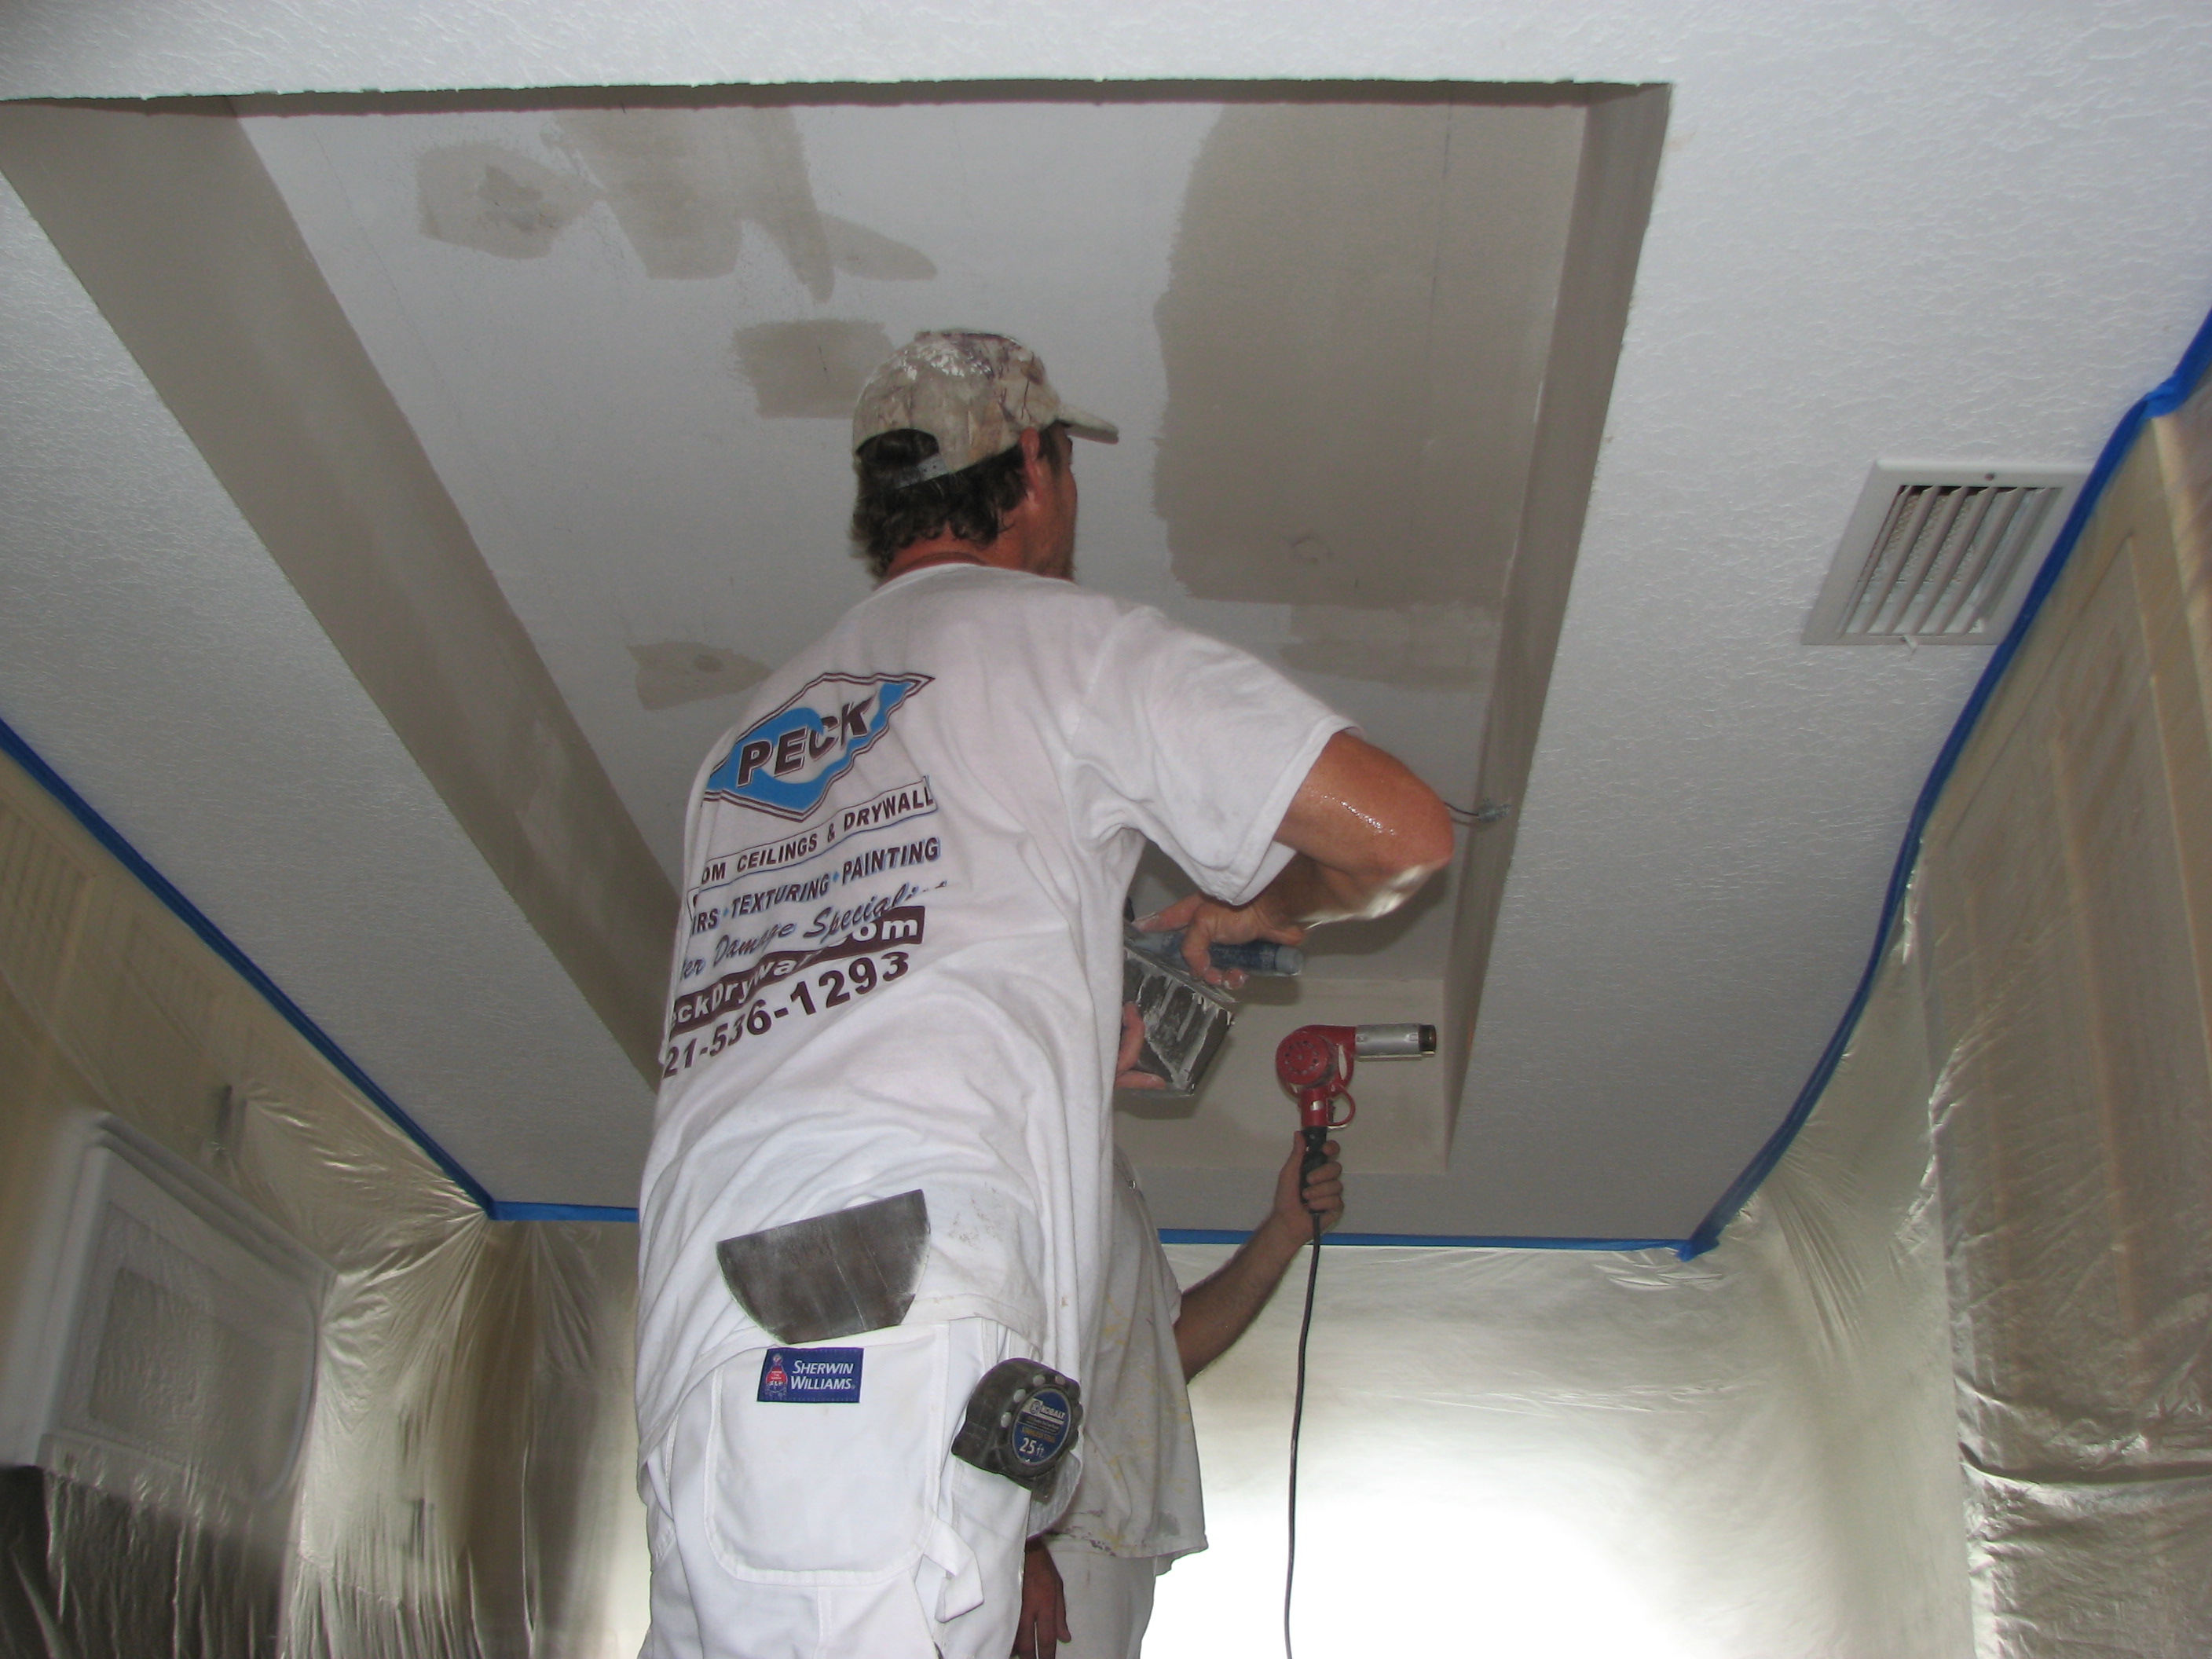
Doing some drywall repair and mud work.
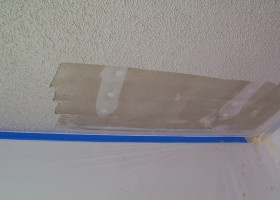
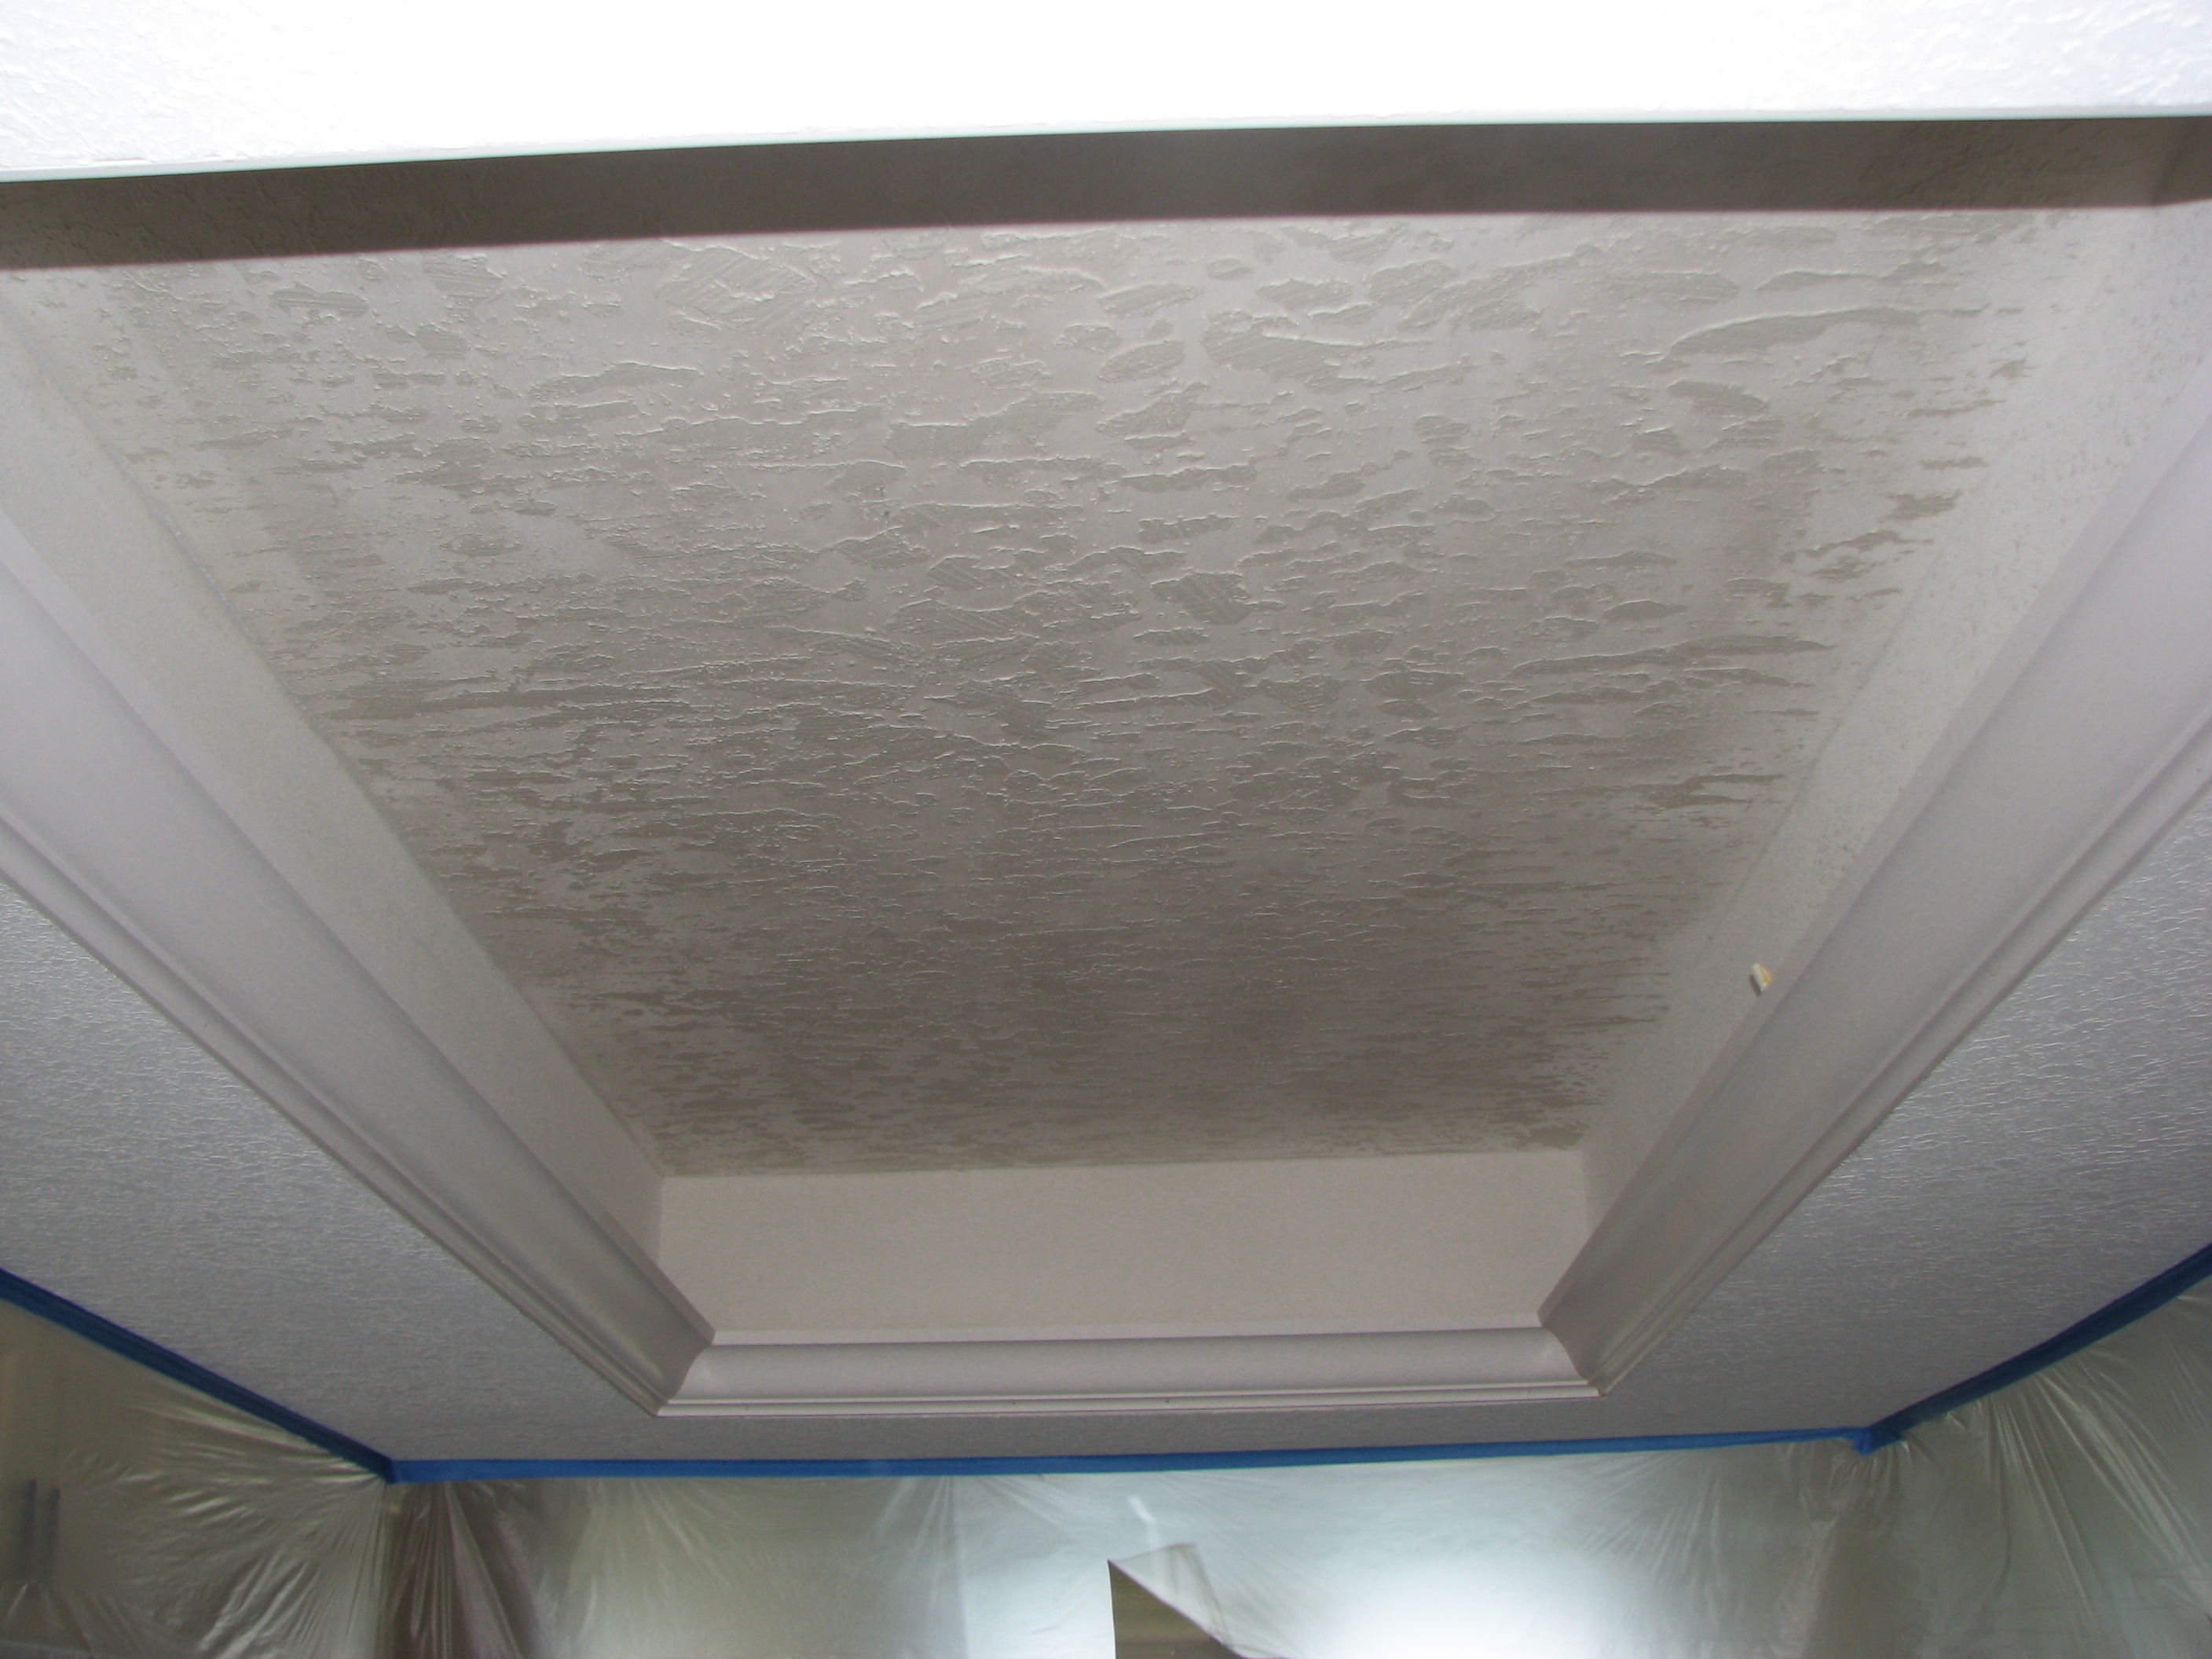
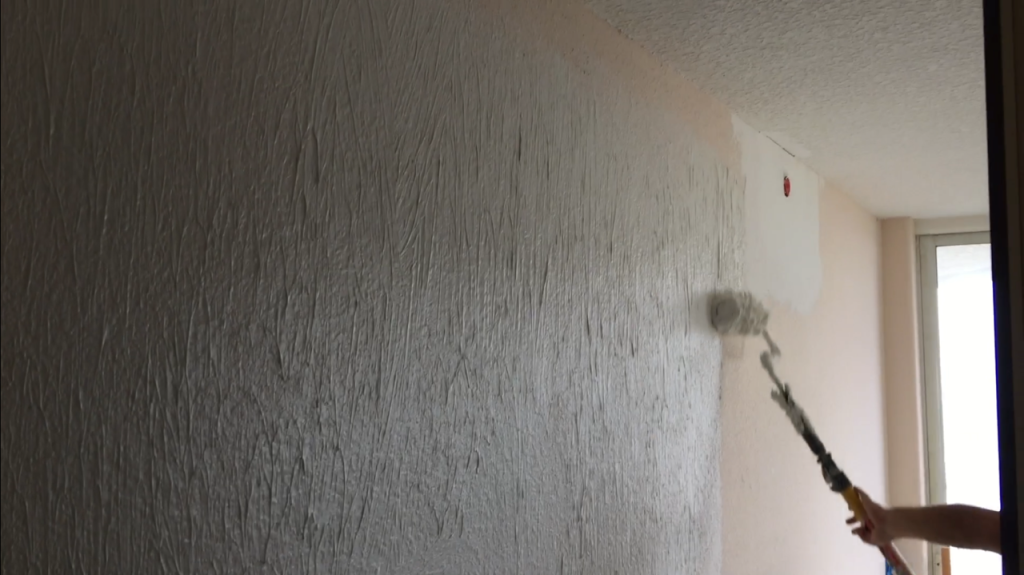
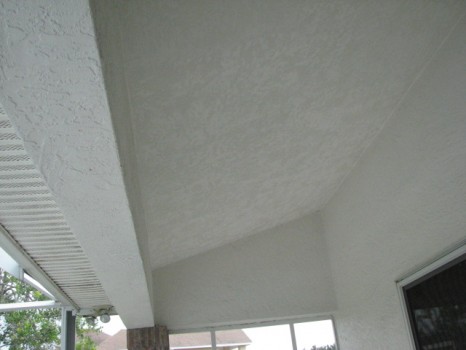
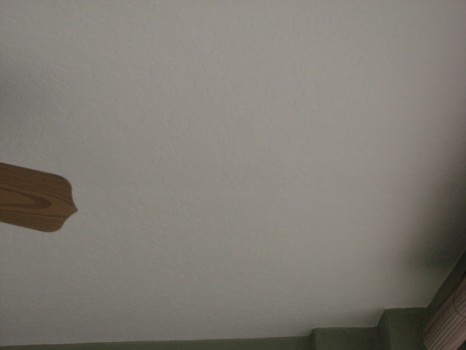
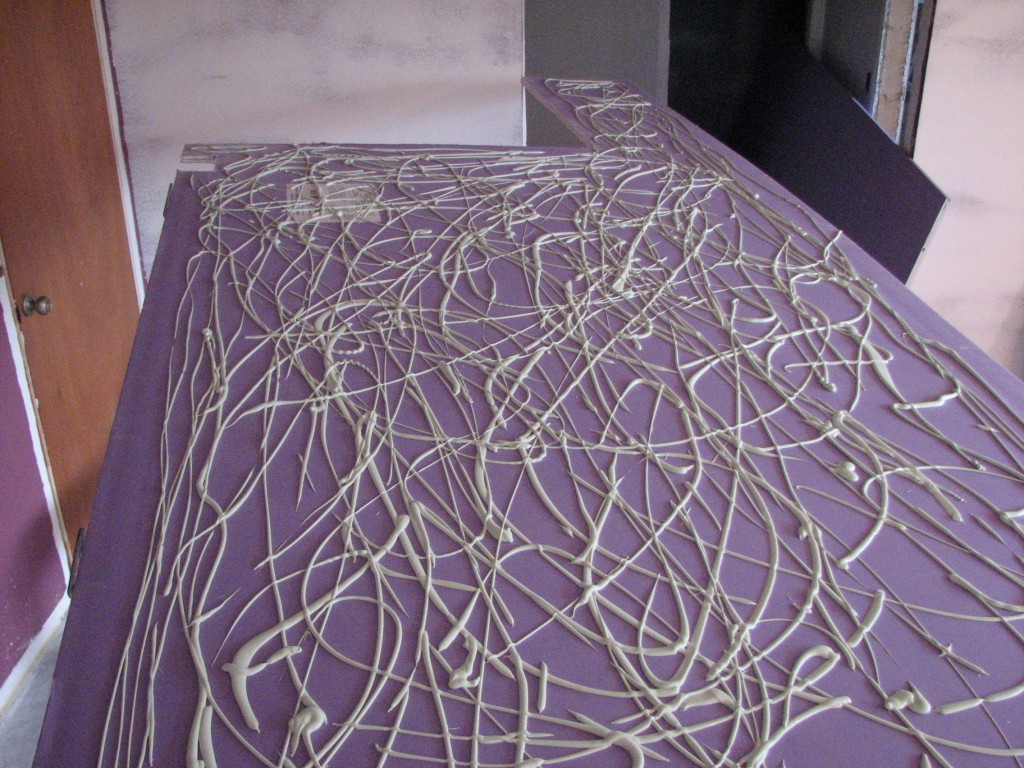
After the drywall was repaired, It was time to apply a new and more modern texture called Skip Trowel:
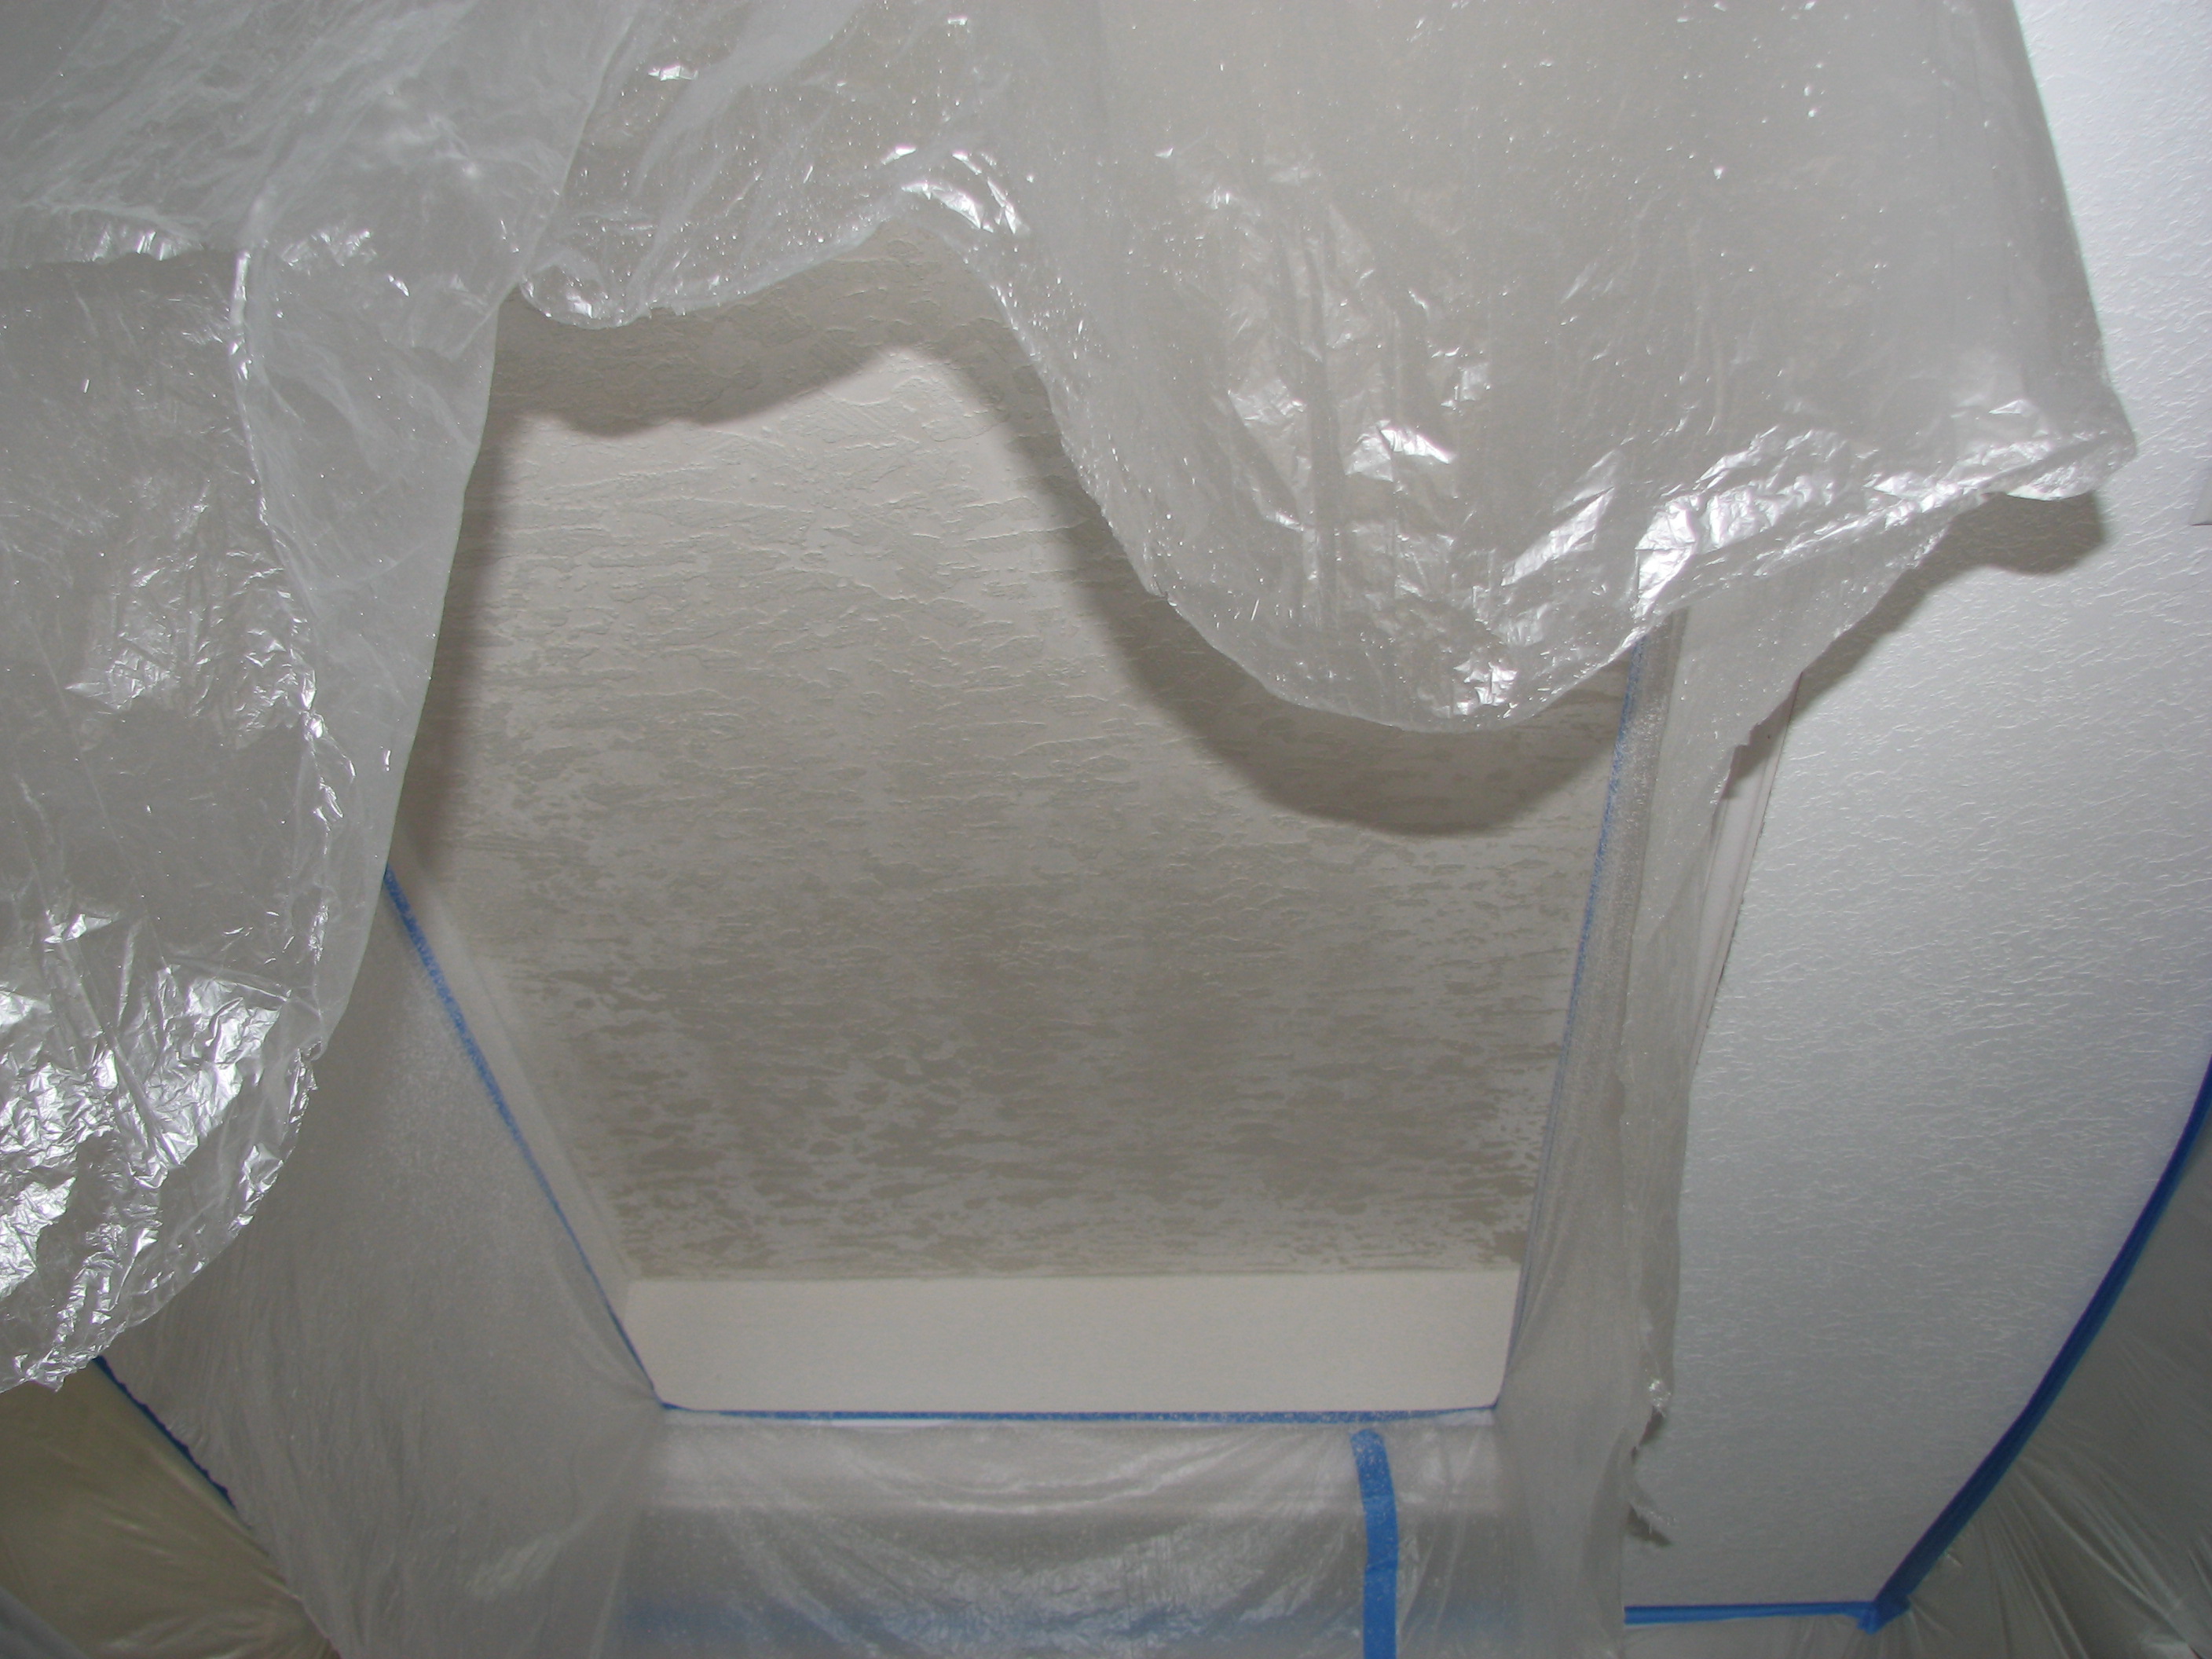
Skip Trowel texture applied.
After the Skip Trowel was applied we added crown molding around the perimeter of the new kitchen trey ceiling:
Crown Molding installed.
Ceiling primed and painted with two coats of Sherwin Williams Super Paint semi-gloss extra white:
New trey ceiling primed and painted.
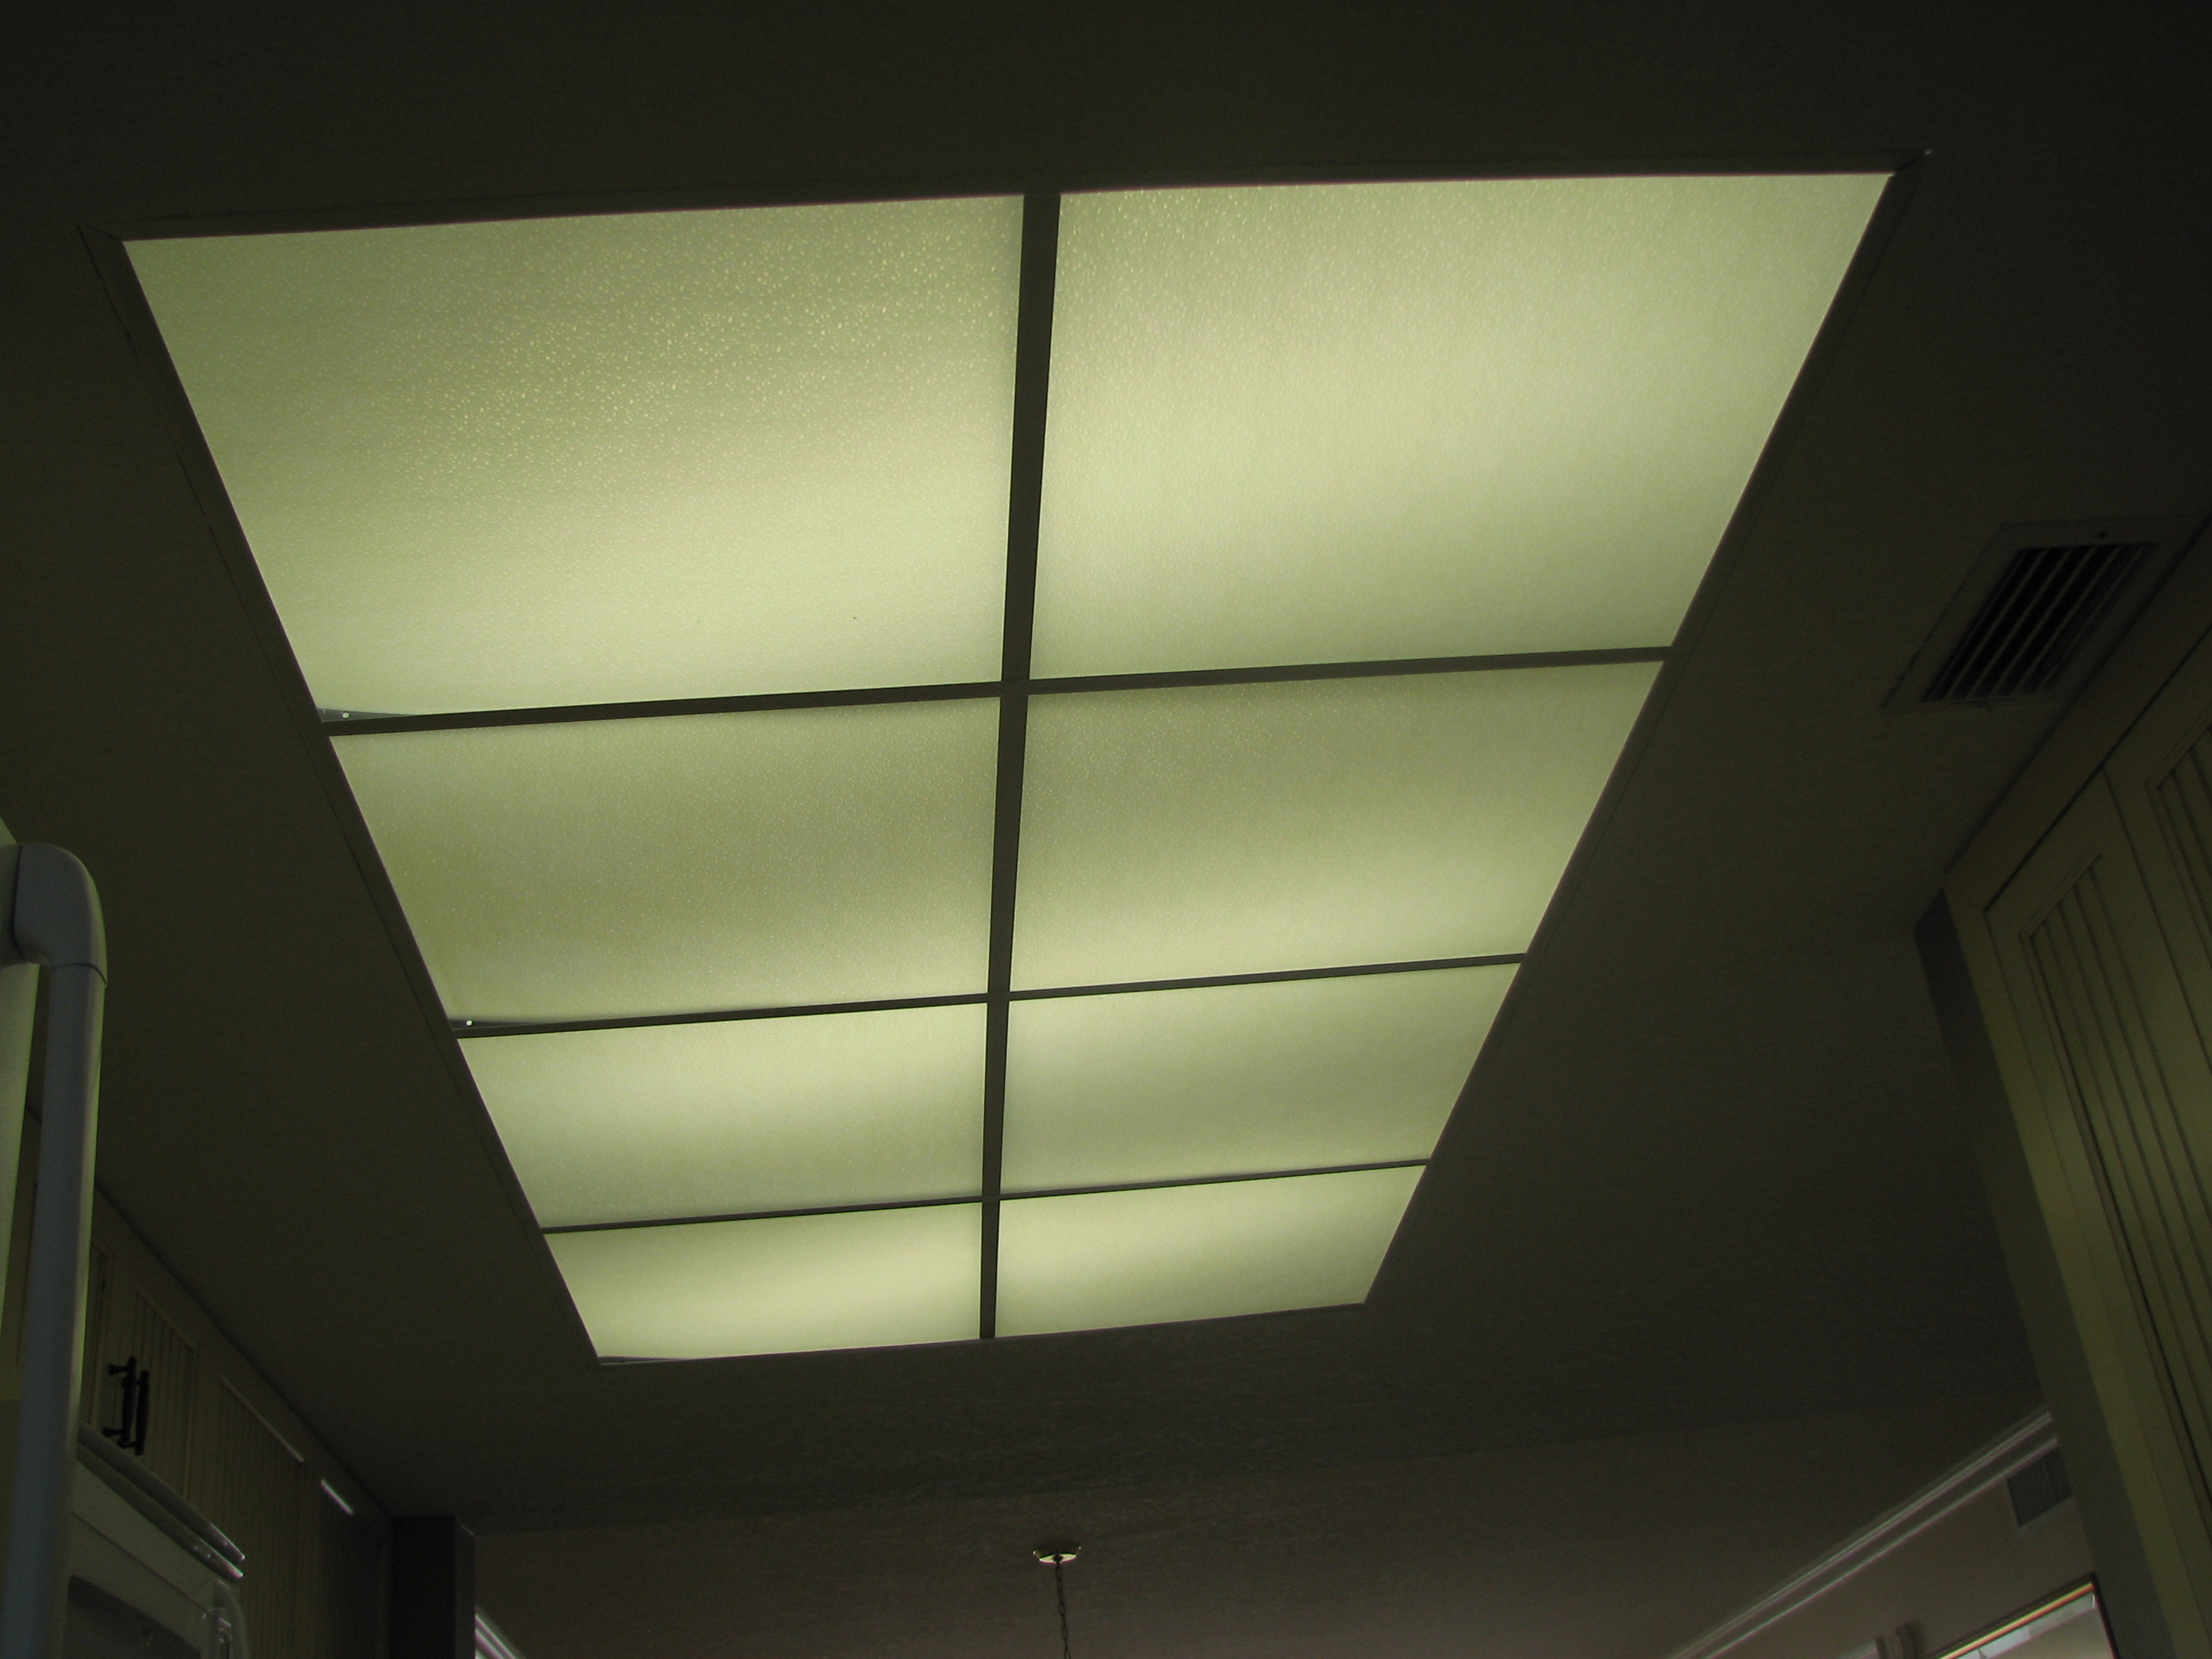
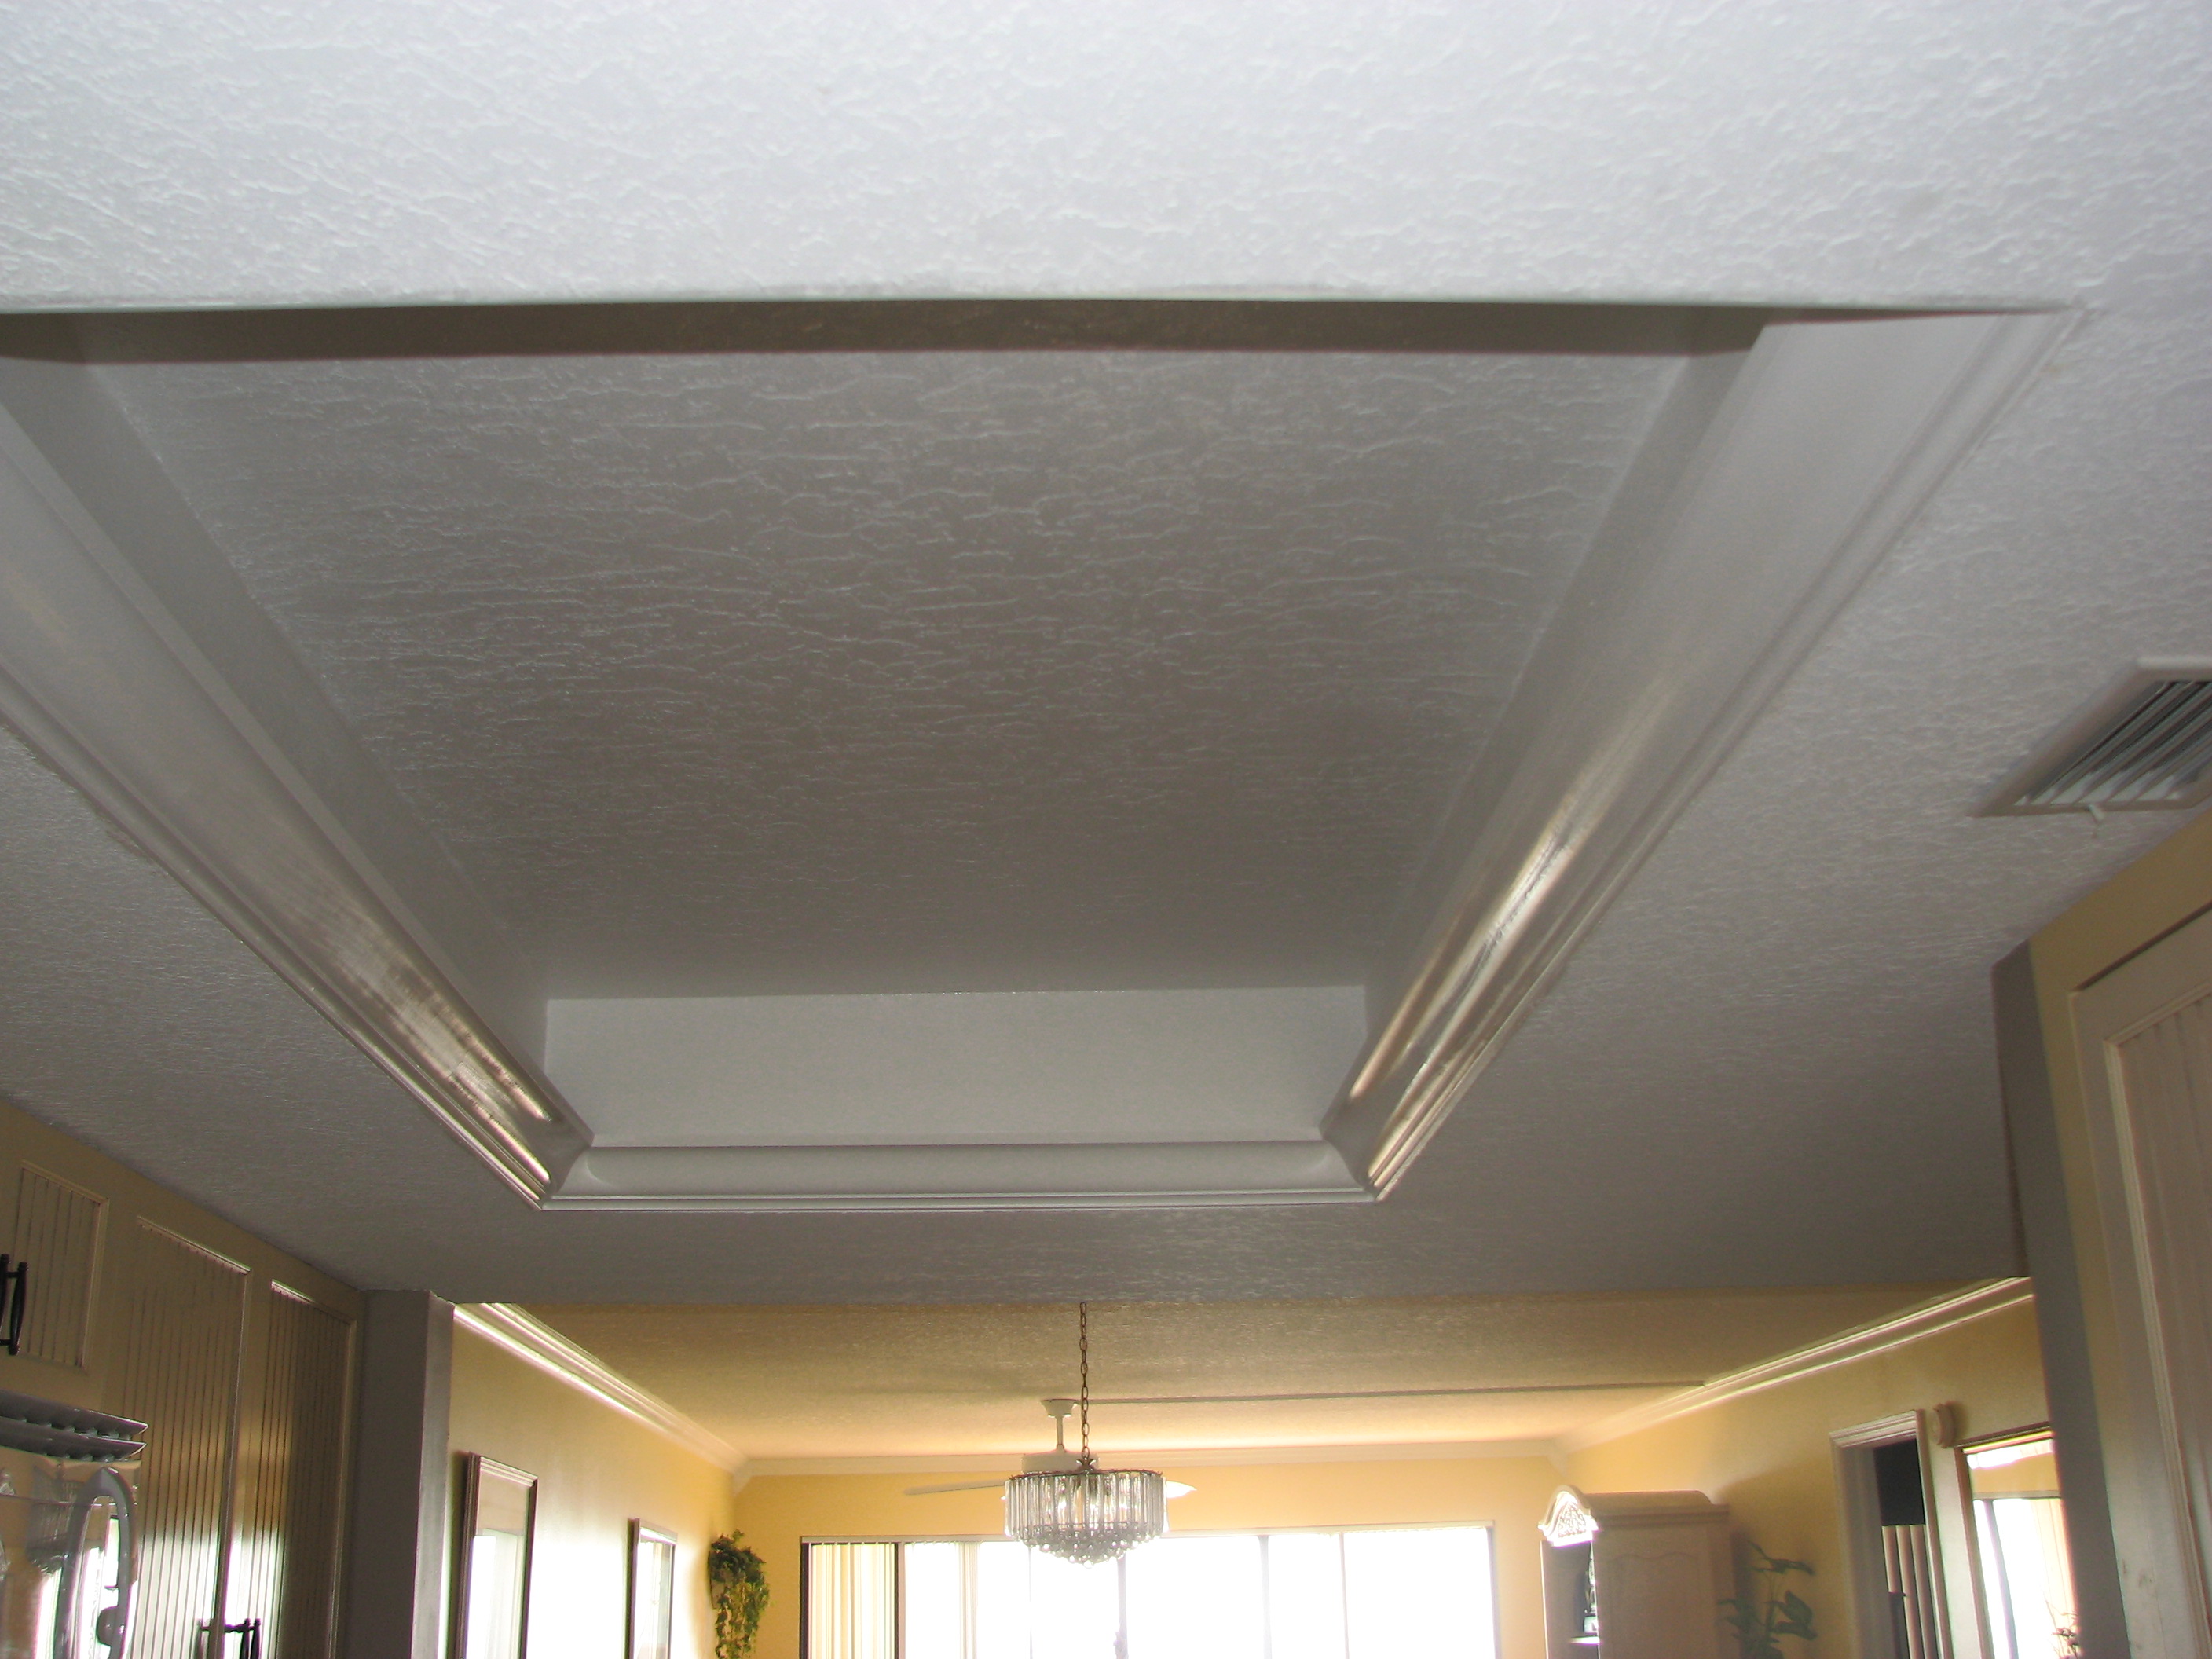
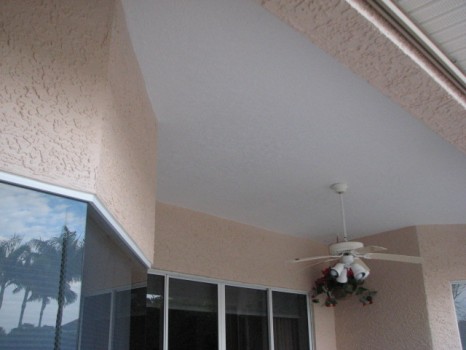
Florescent or LED lights can be installed behind the crown molding for an elegant look:

Custom trey ceiling with LED lighting- After
By: Peck Drywall and Painting
Feel free to call or Email us for more information about our custom trey ceiling and kitchen remodeling services!
Serving all of Brevard County

Kitchen Remodel Specialists
State License # RX11066969
State Qualified # QB61508
County certification # PT393
Please give us a call for a prompt and accurate trey ceiling or kitchen remodel quote!
Melbourne/Beachside: 321-777-9337
Merritt Island/Cocoa Beach: 321-453-6233


")